 Government
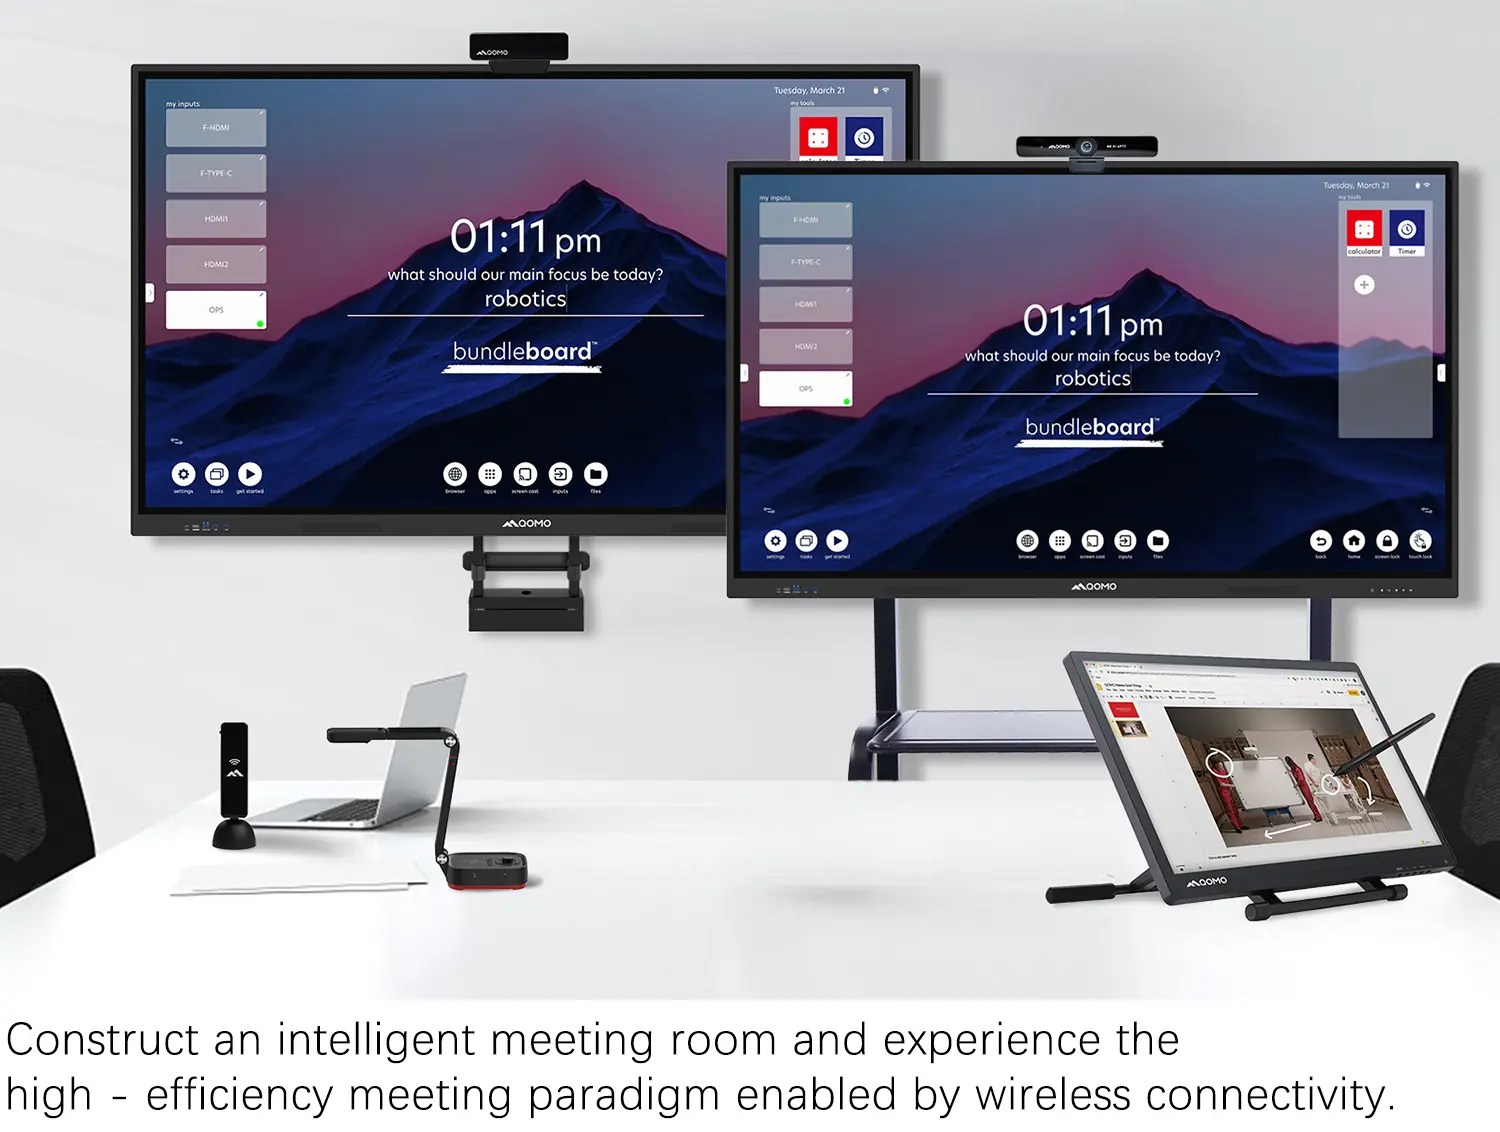 Business
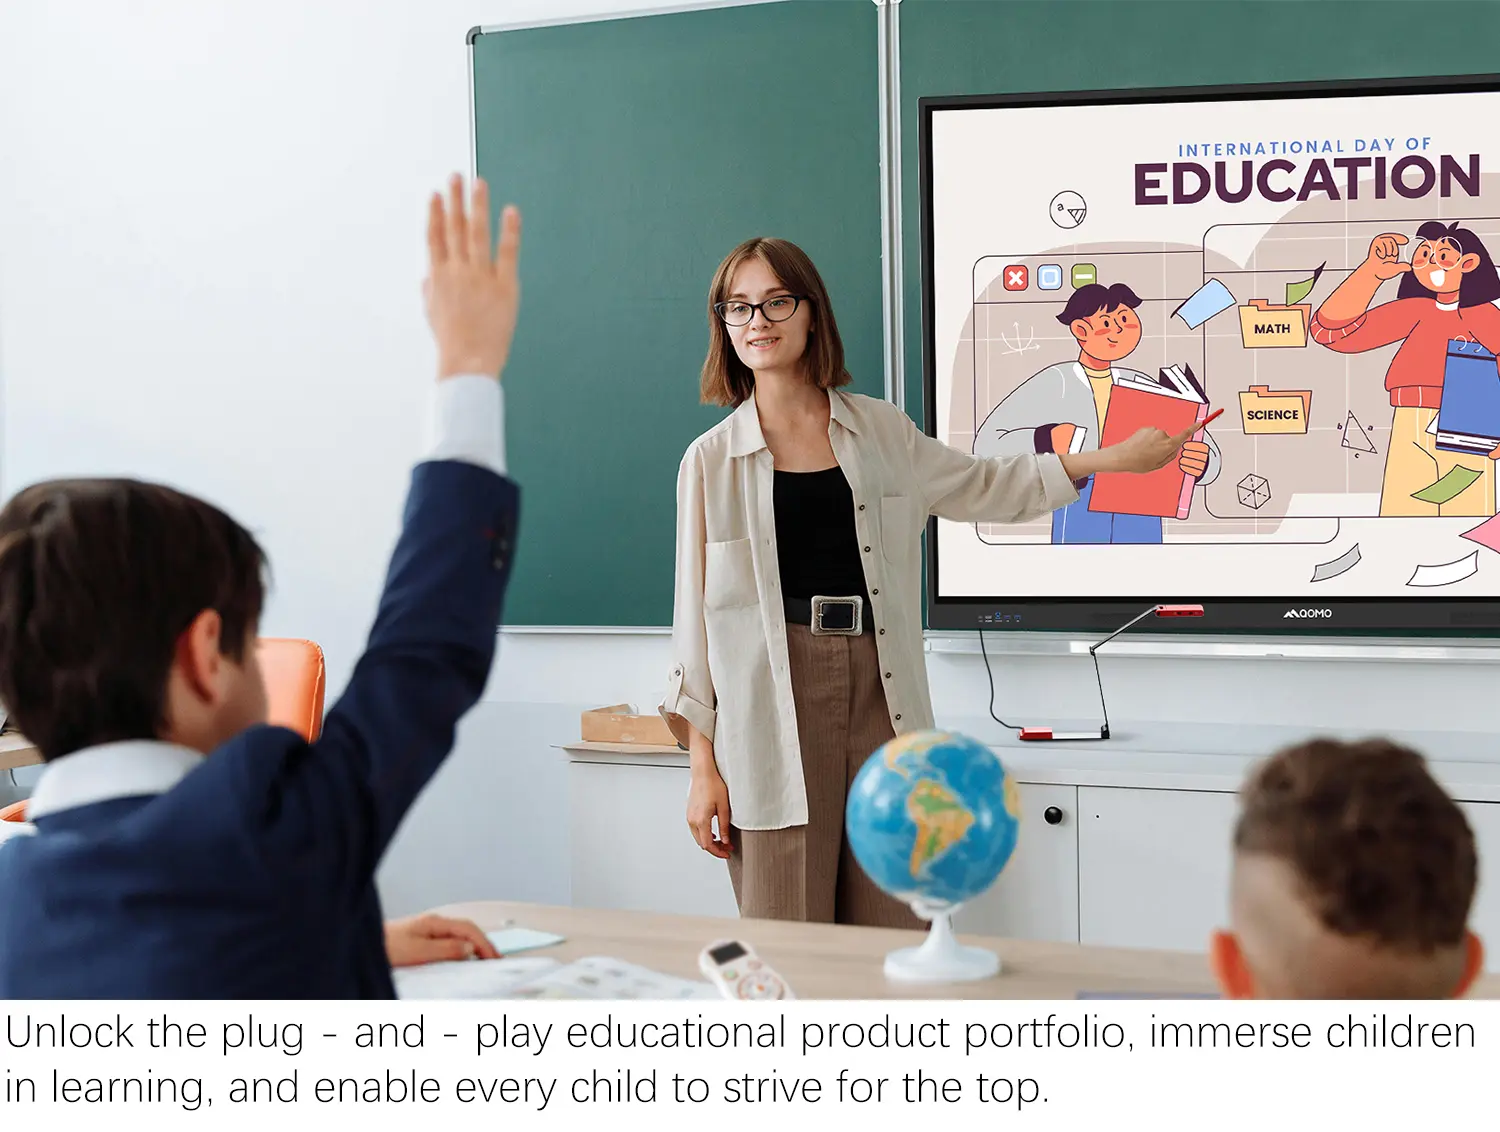 K12
K12
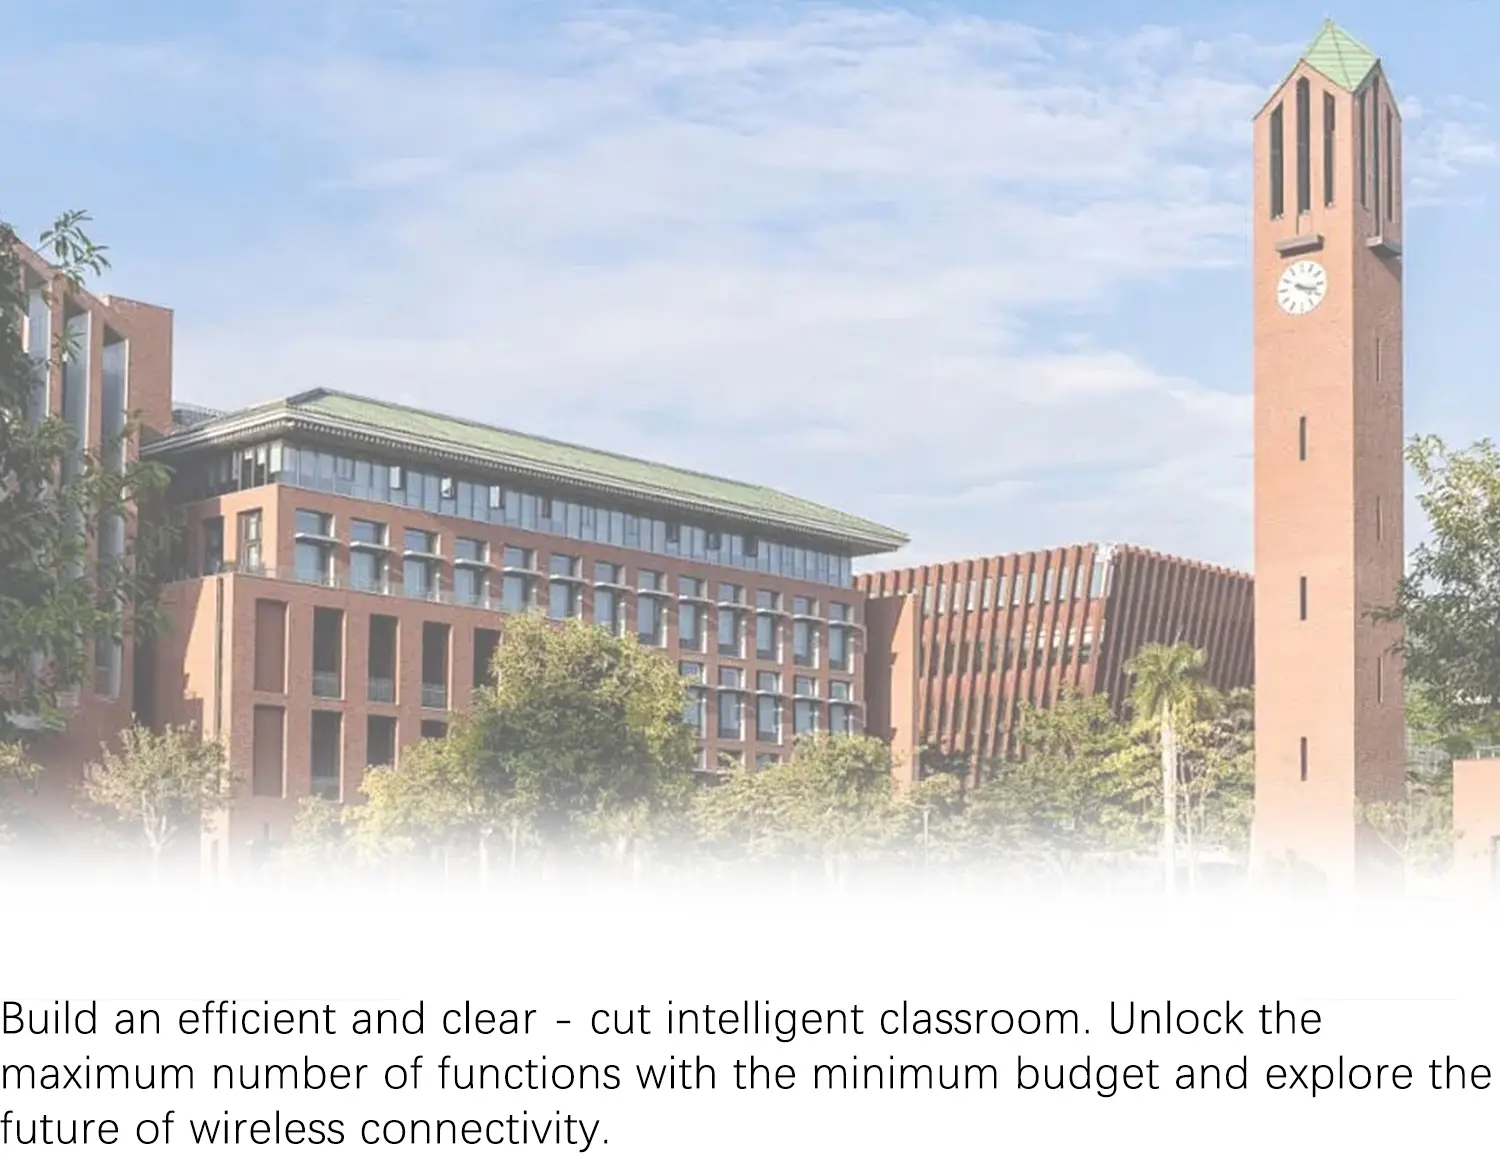 Higher Education
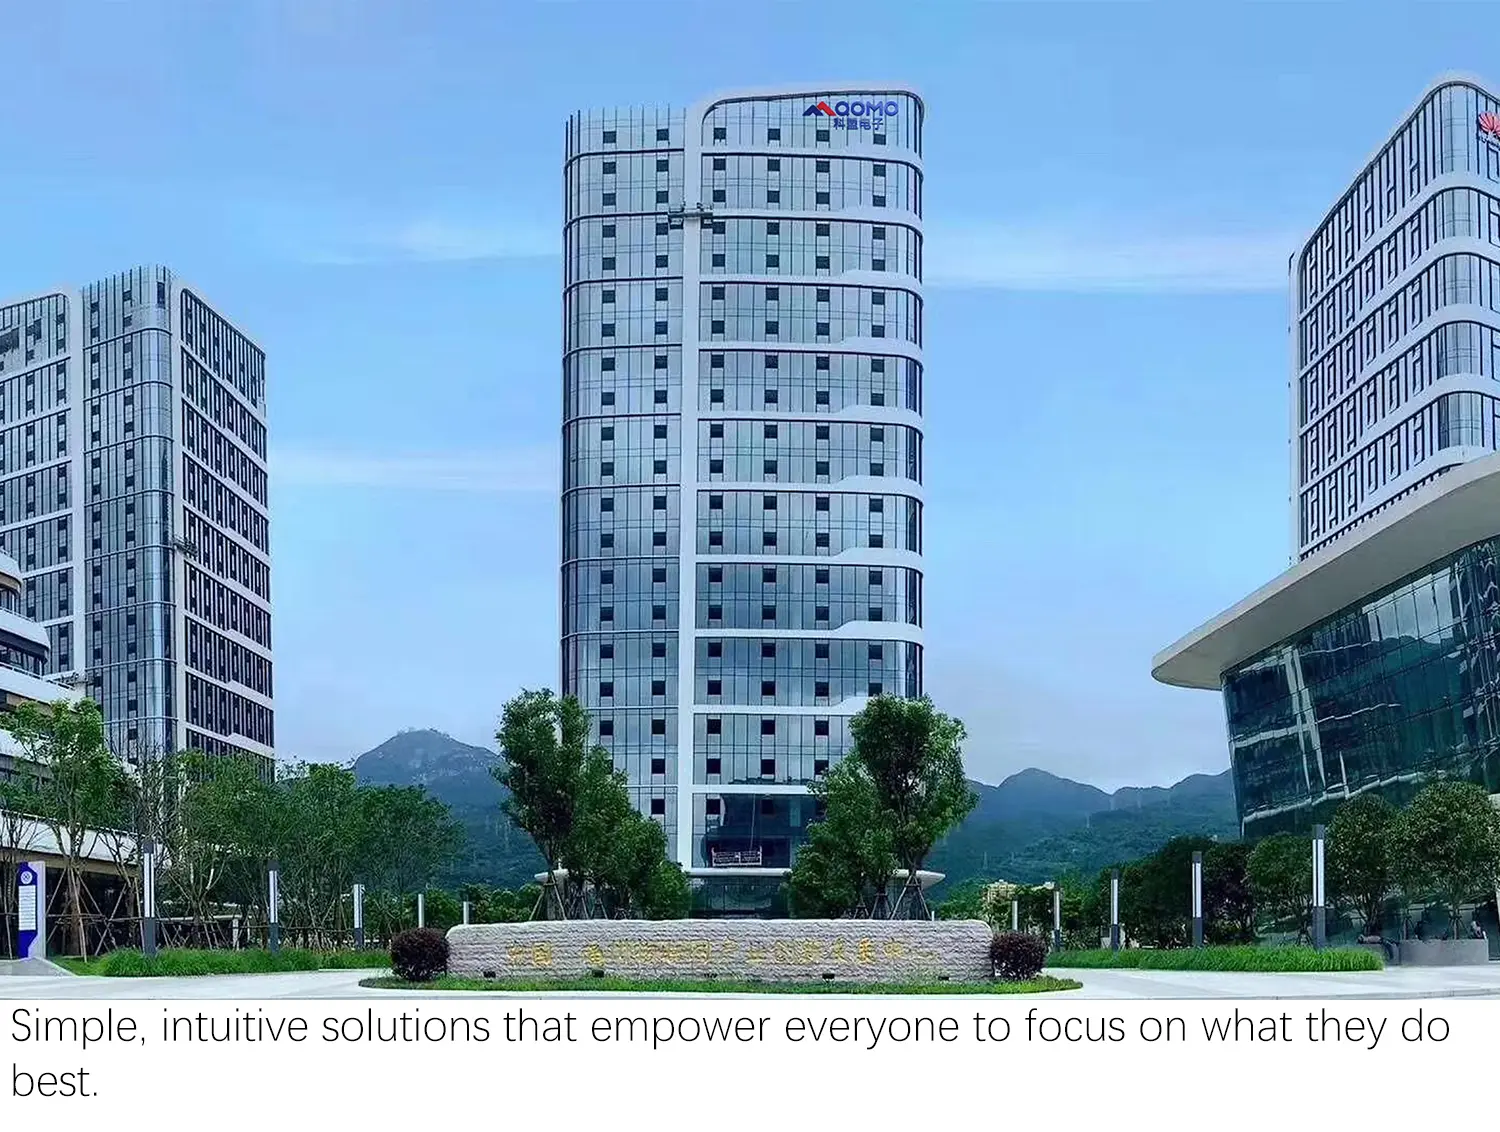 QOMO Introduction
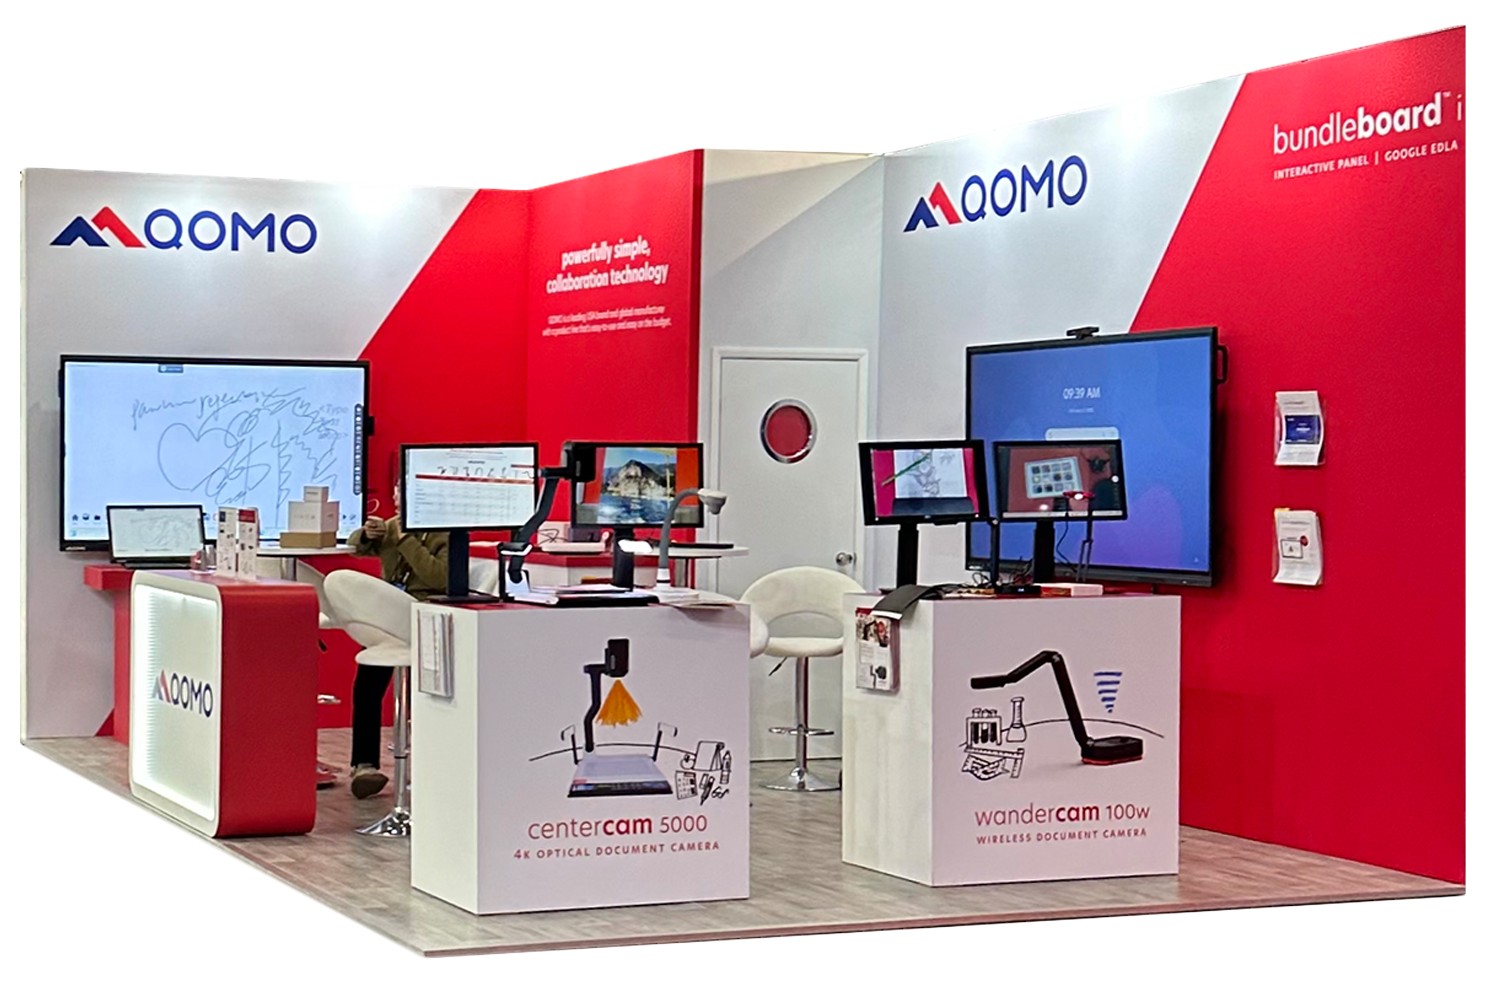 Exhibition Information
 ConferenceCam 006
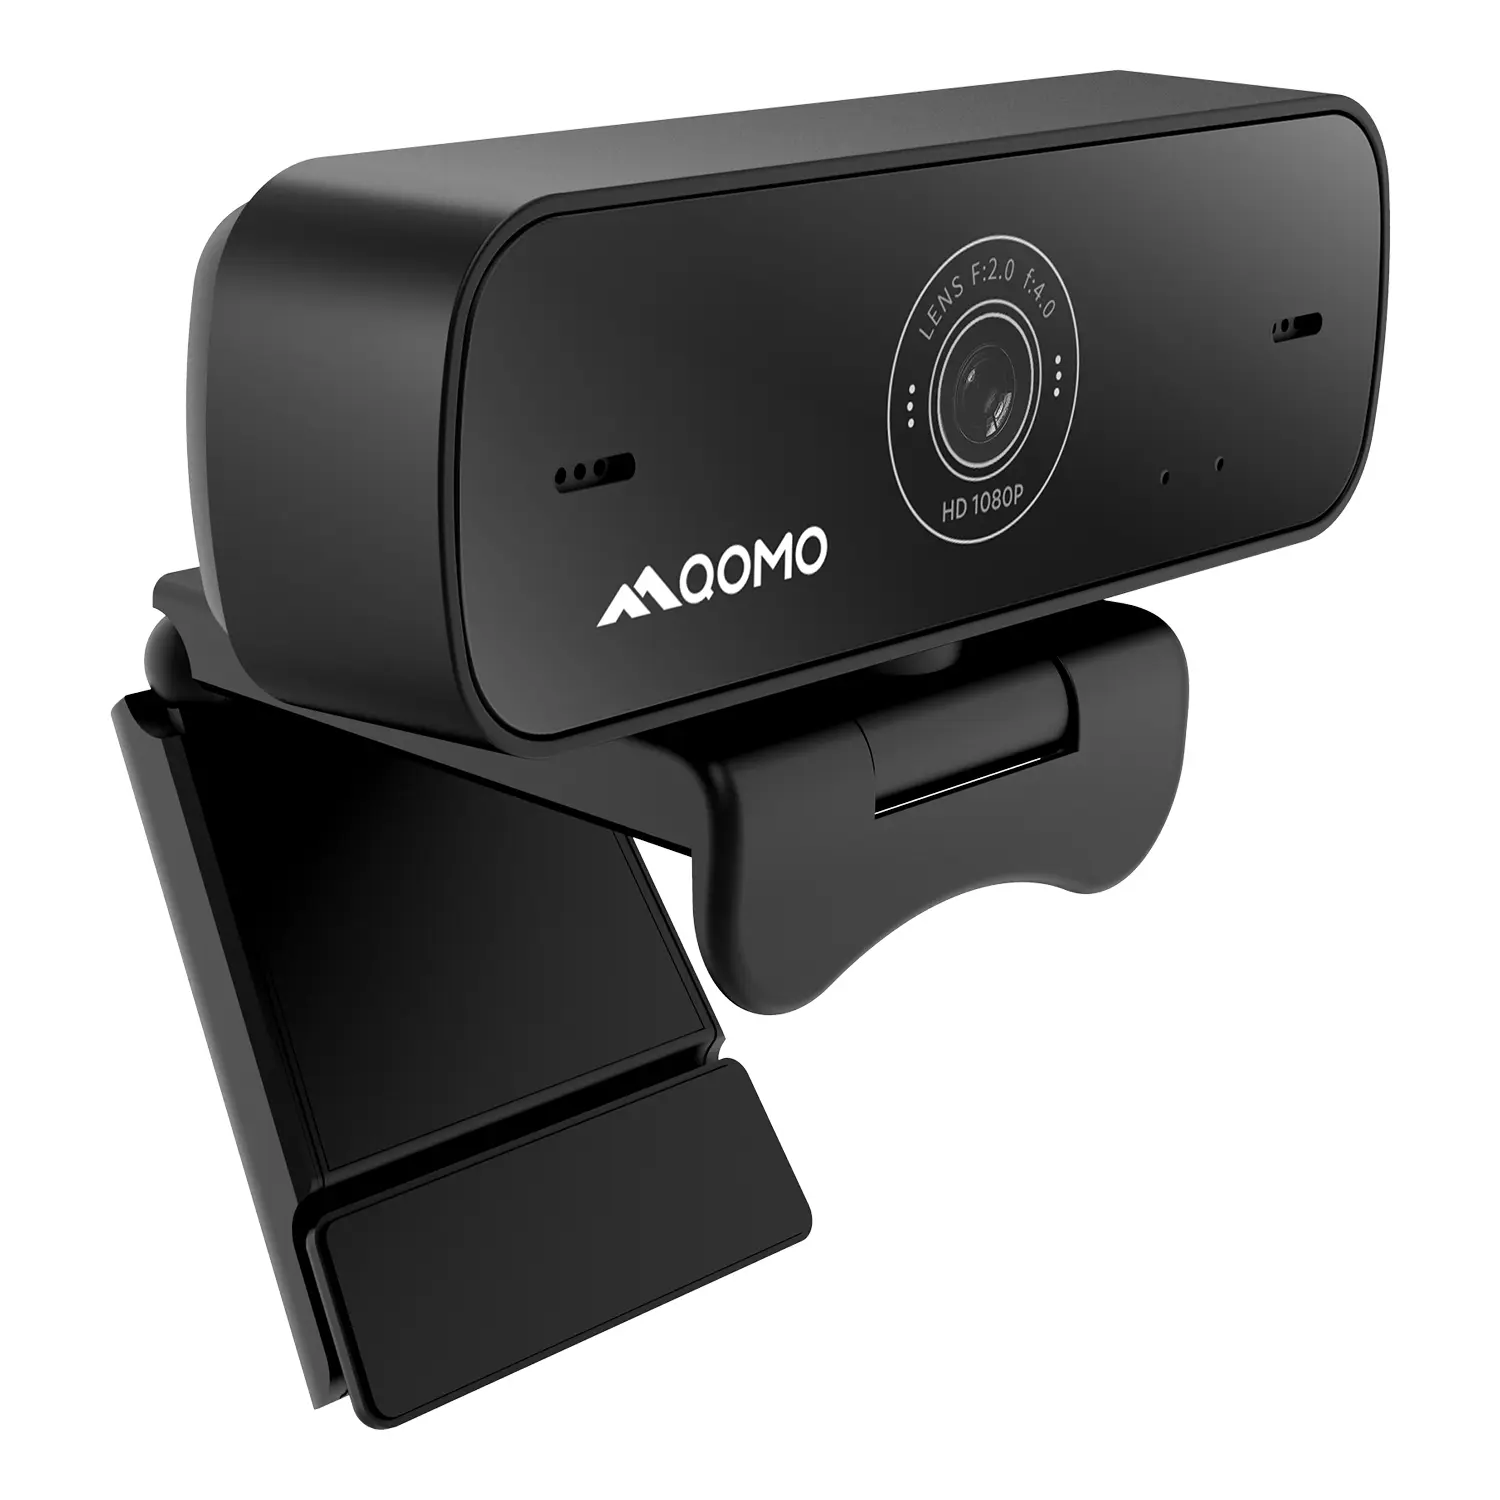 QWC-004
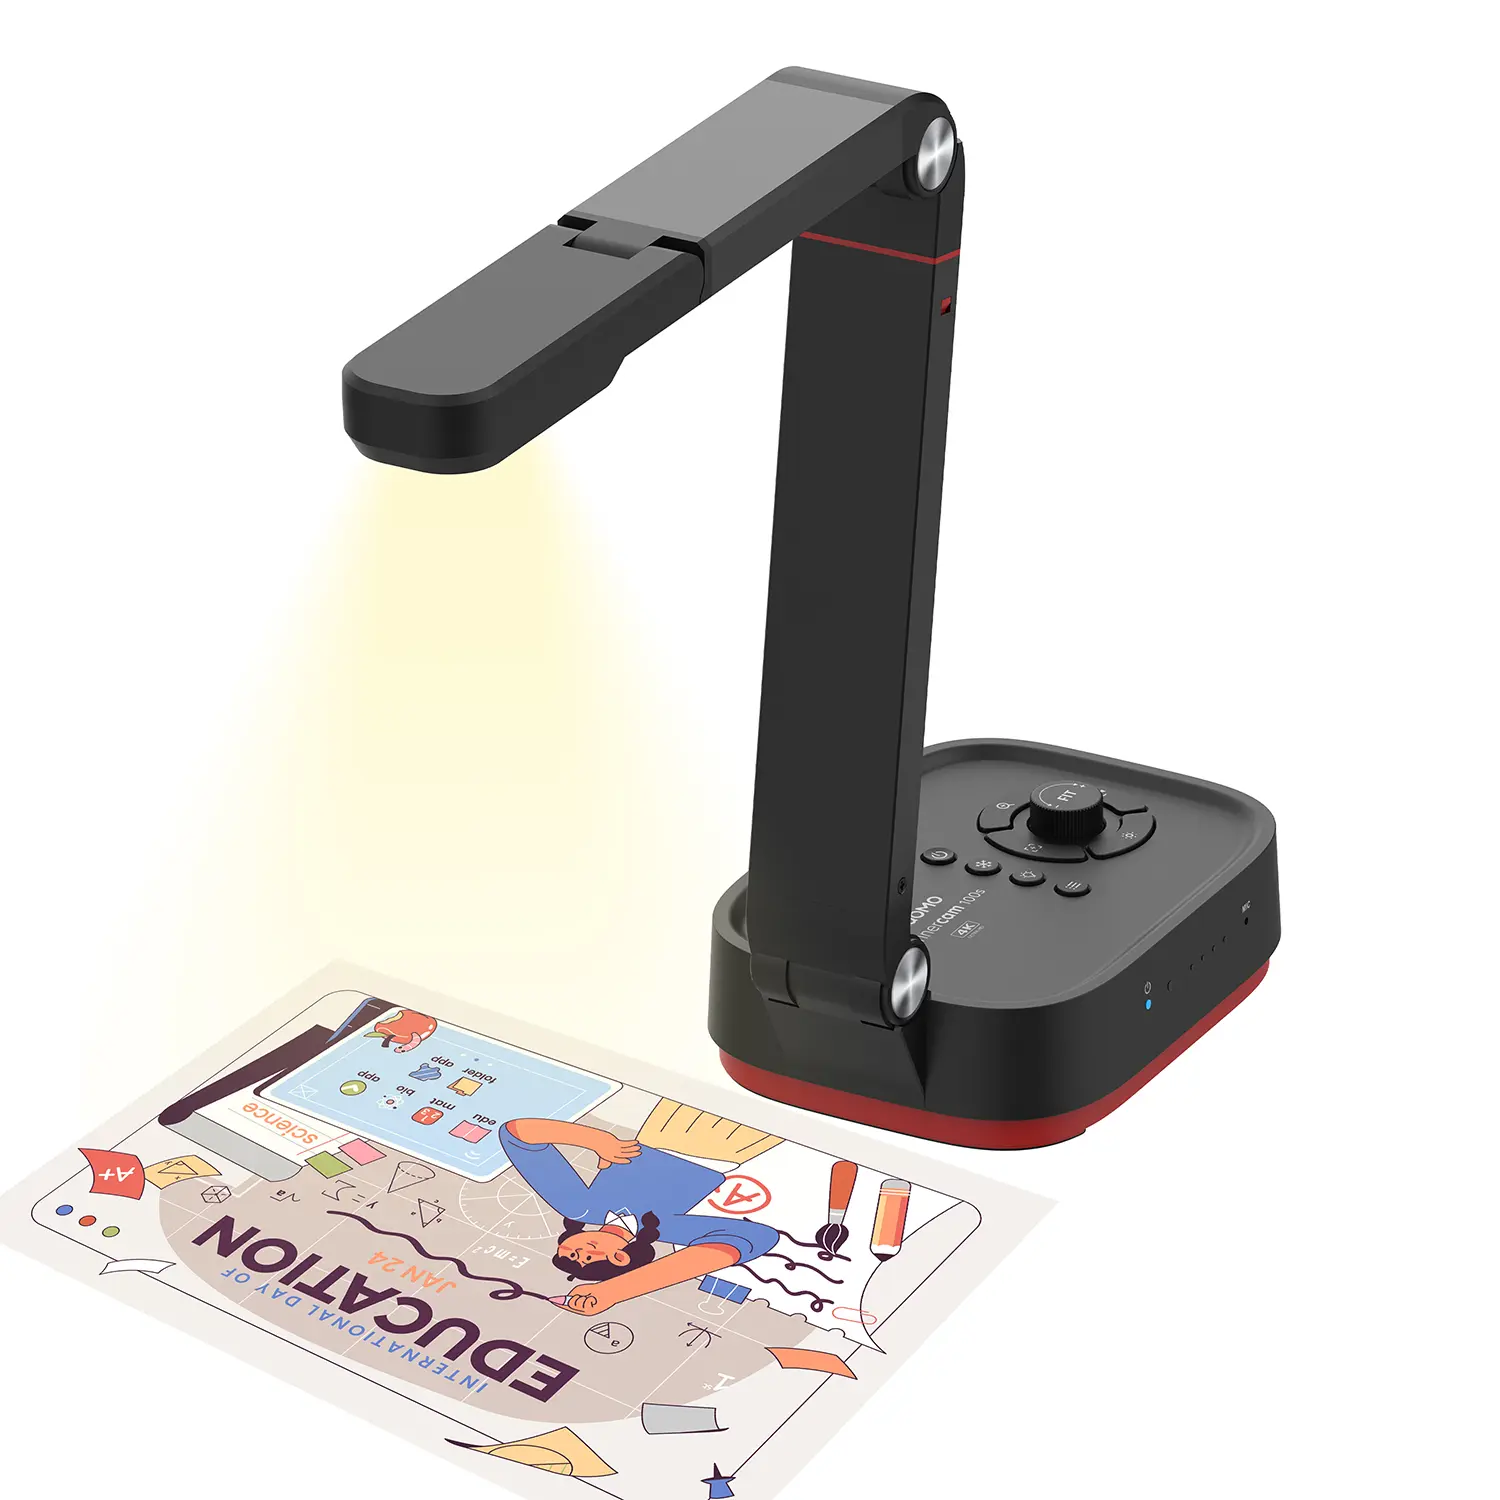 WanderCam Pro
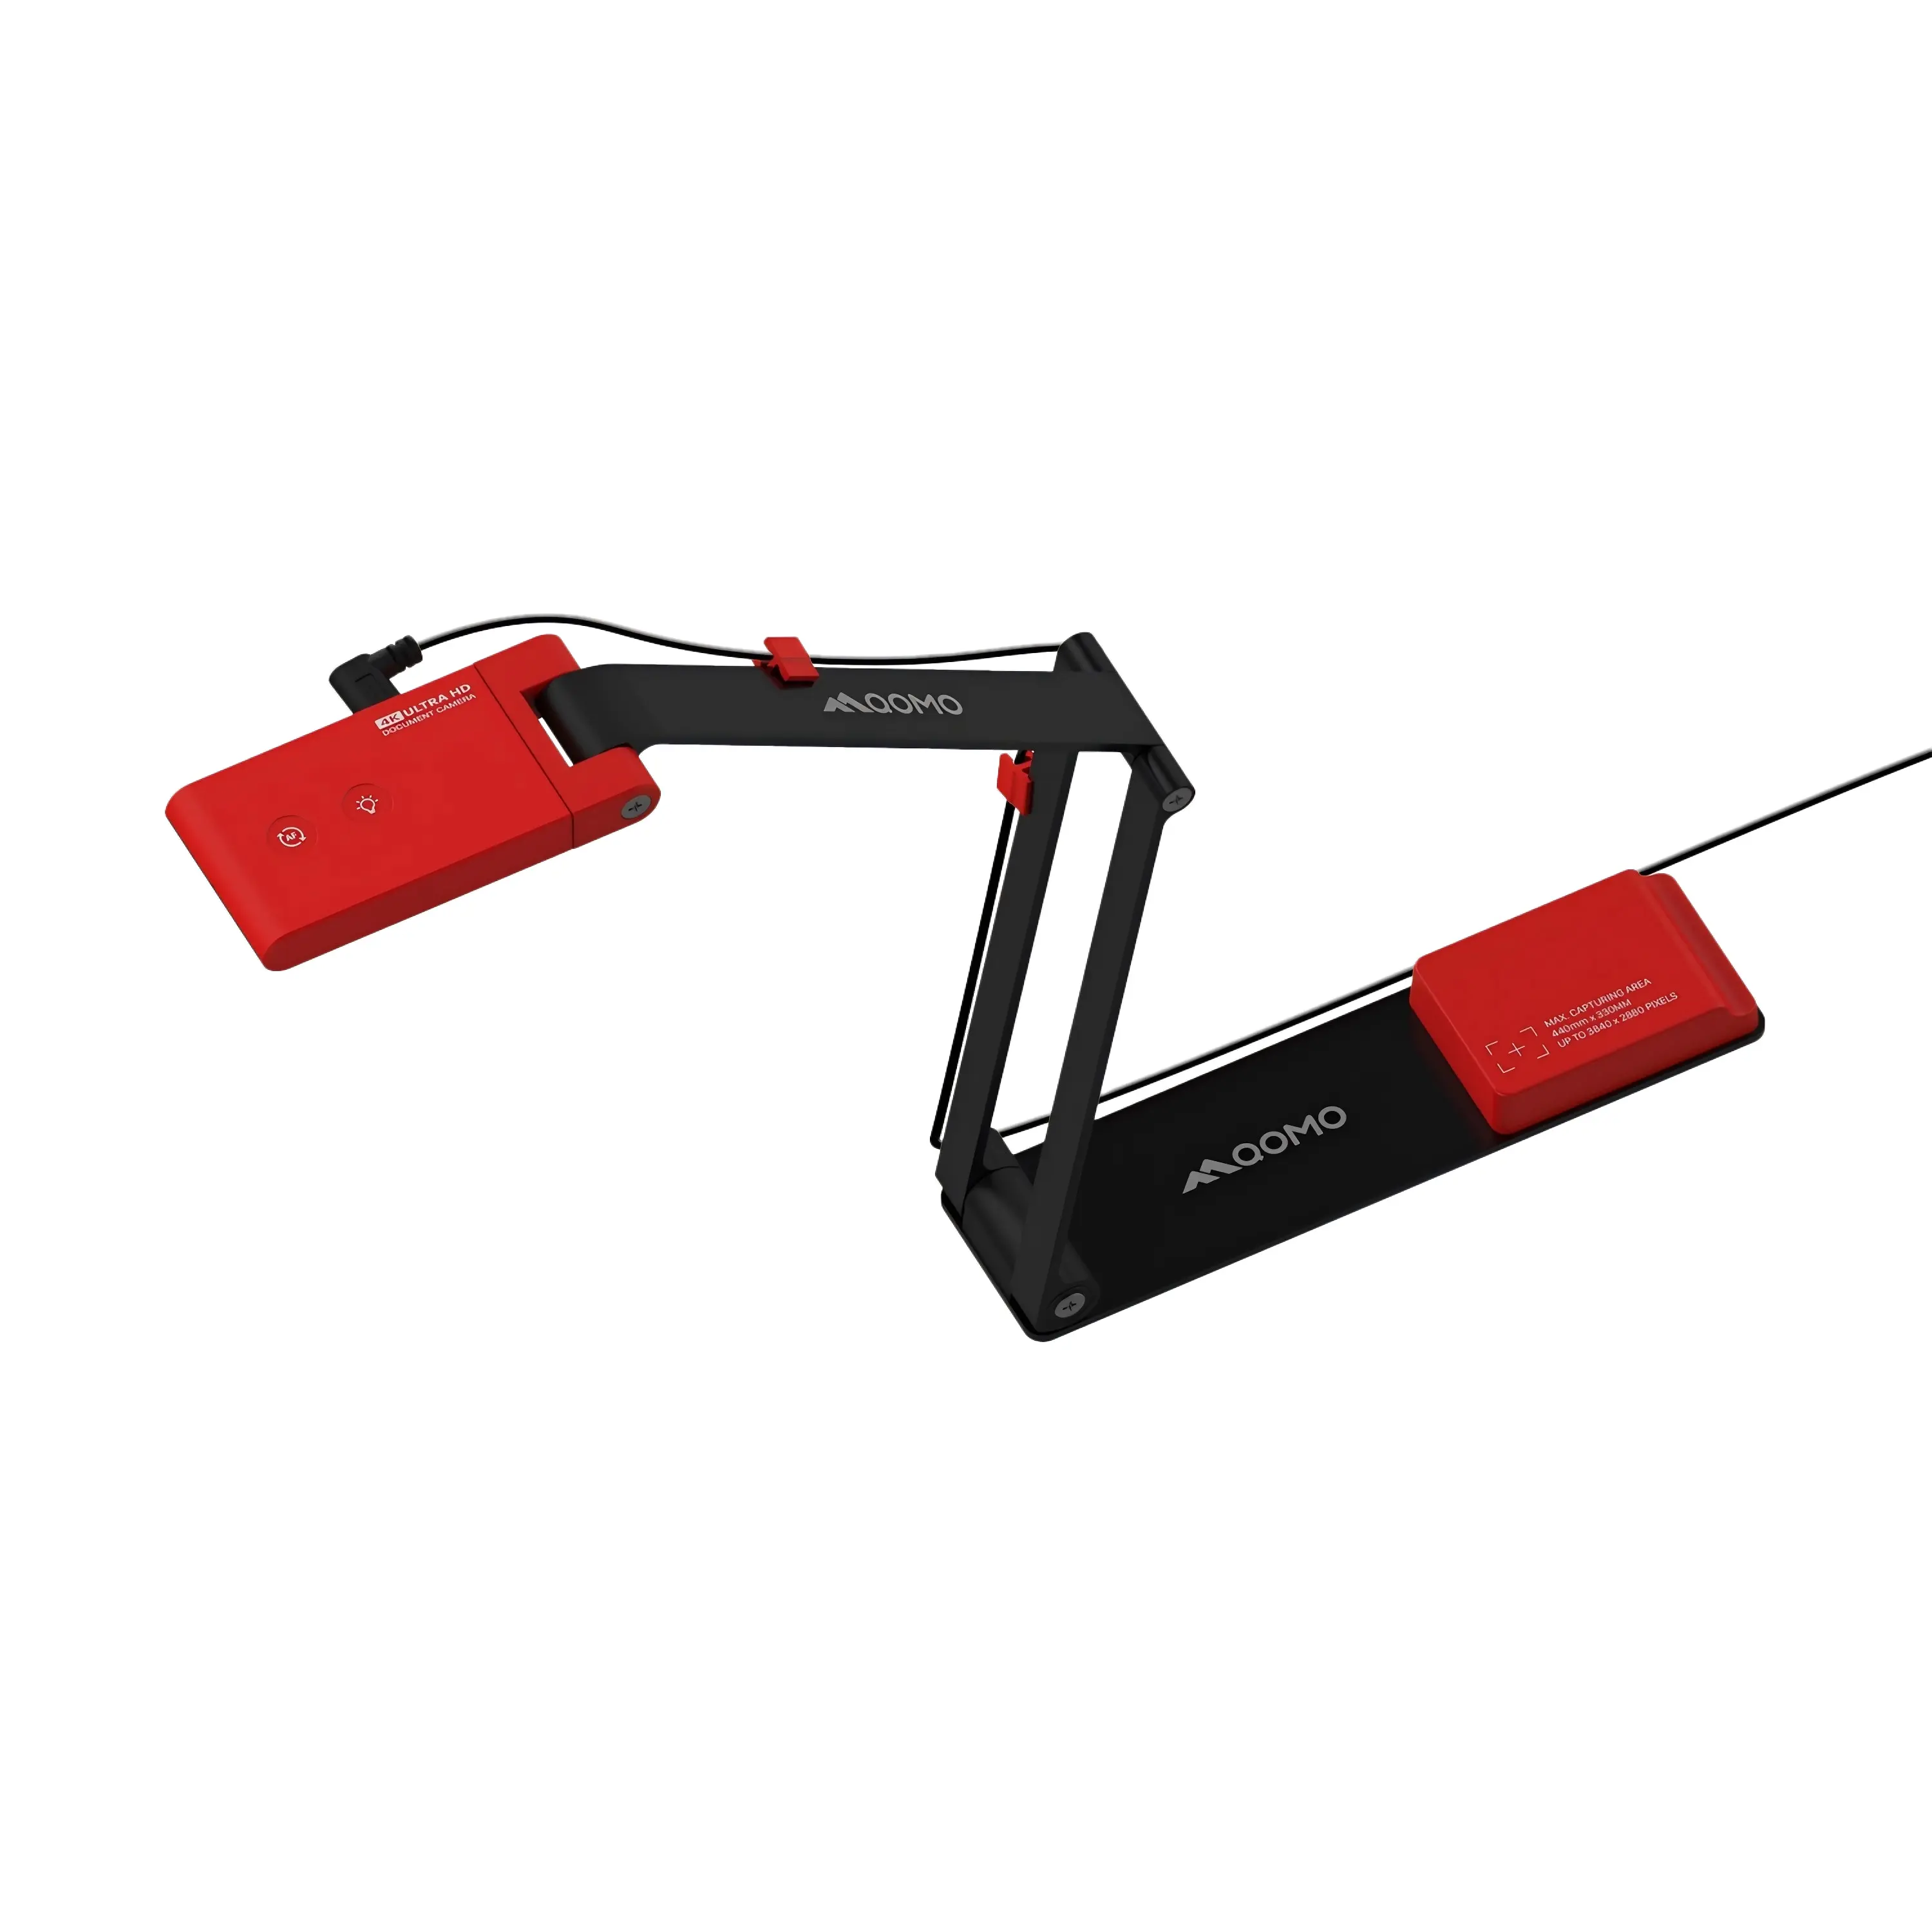 ScannerCam 5
 ScannerCam 100S
 QD3900 H2
 CenterCam 5000
 QPC80 H3
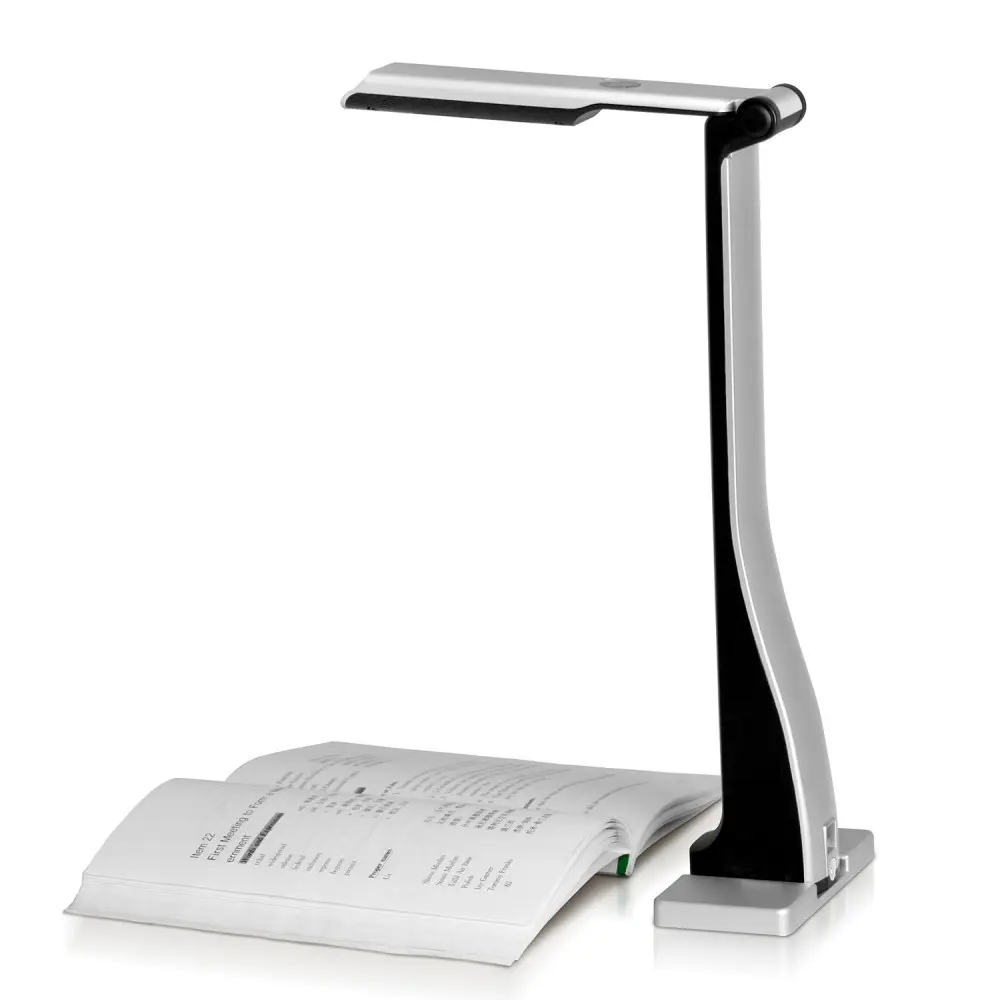 QPC 22
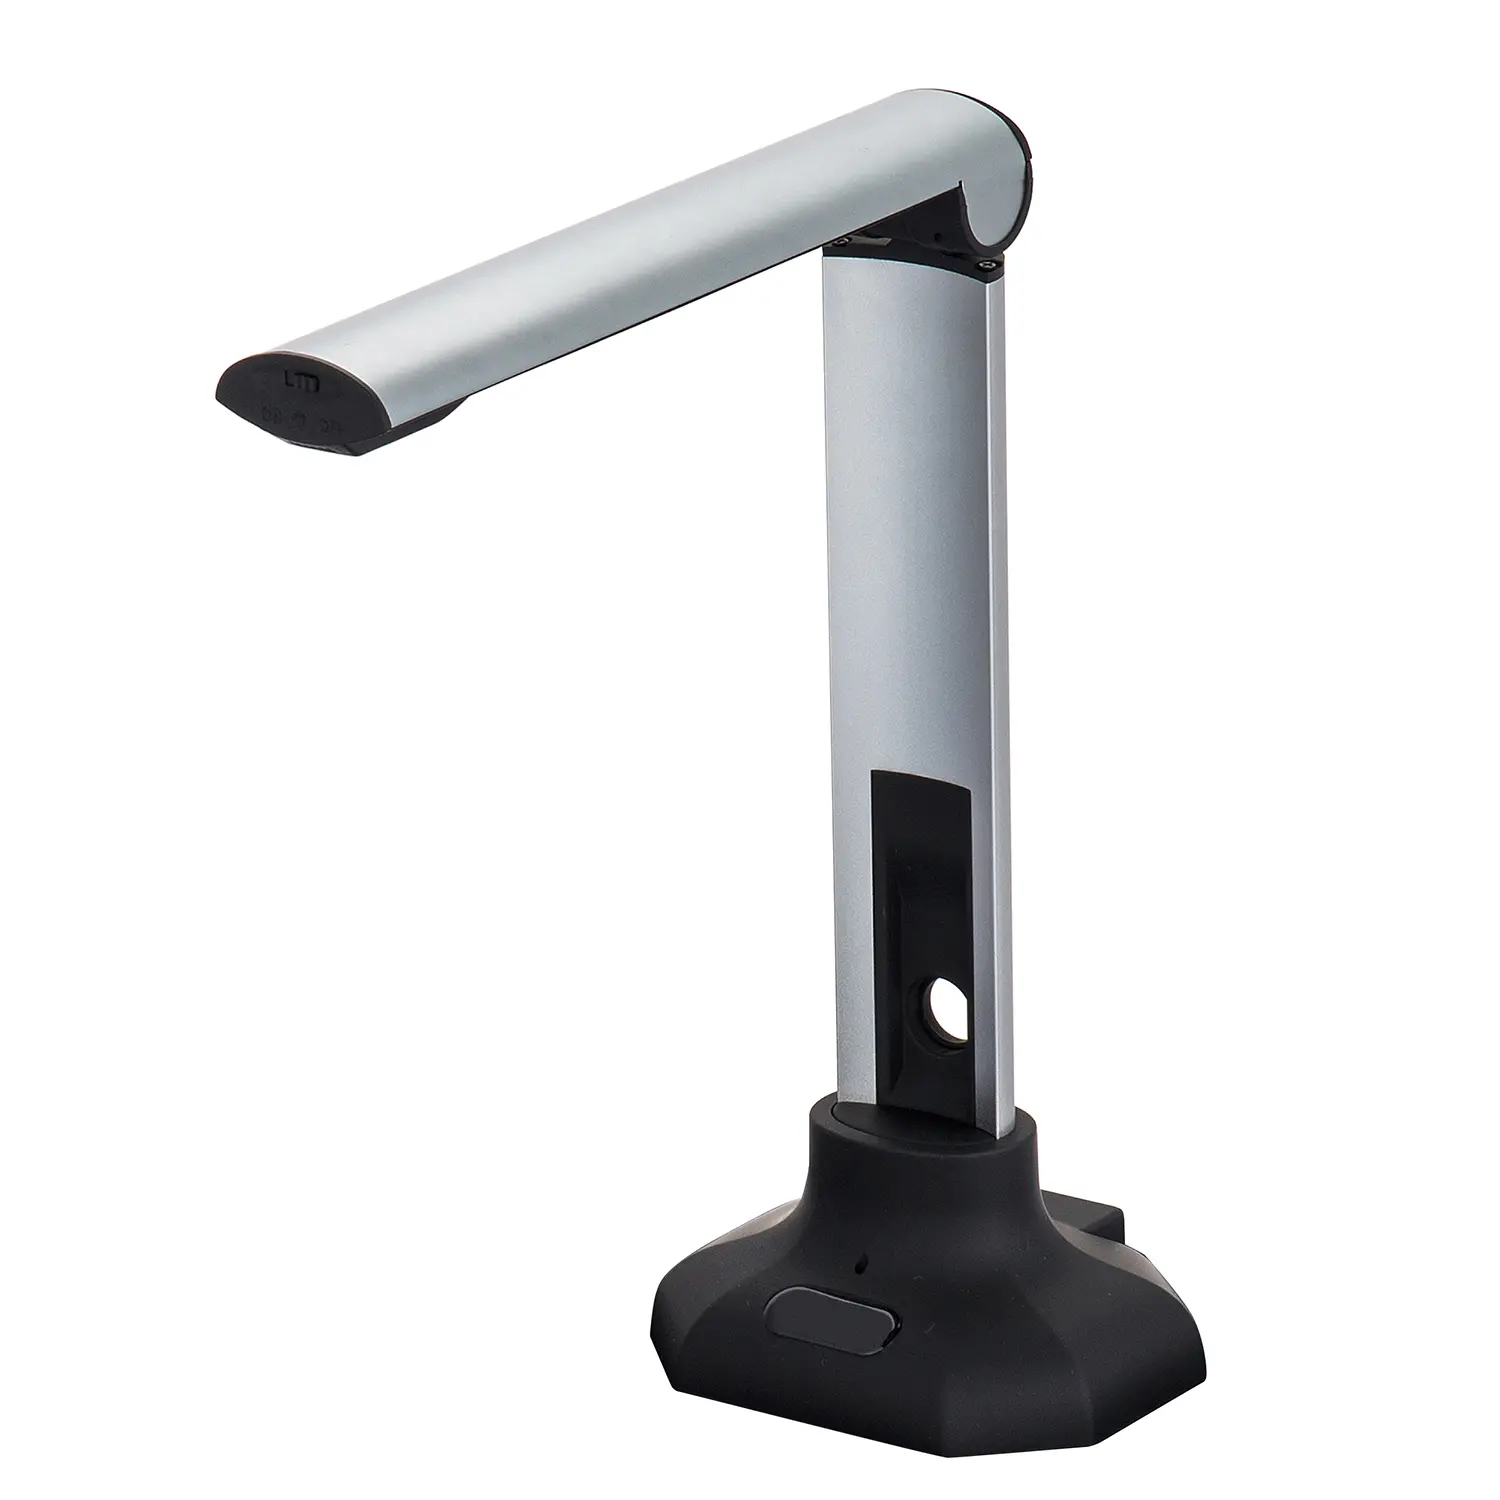 QPC20 F1
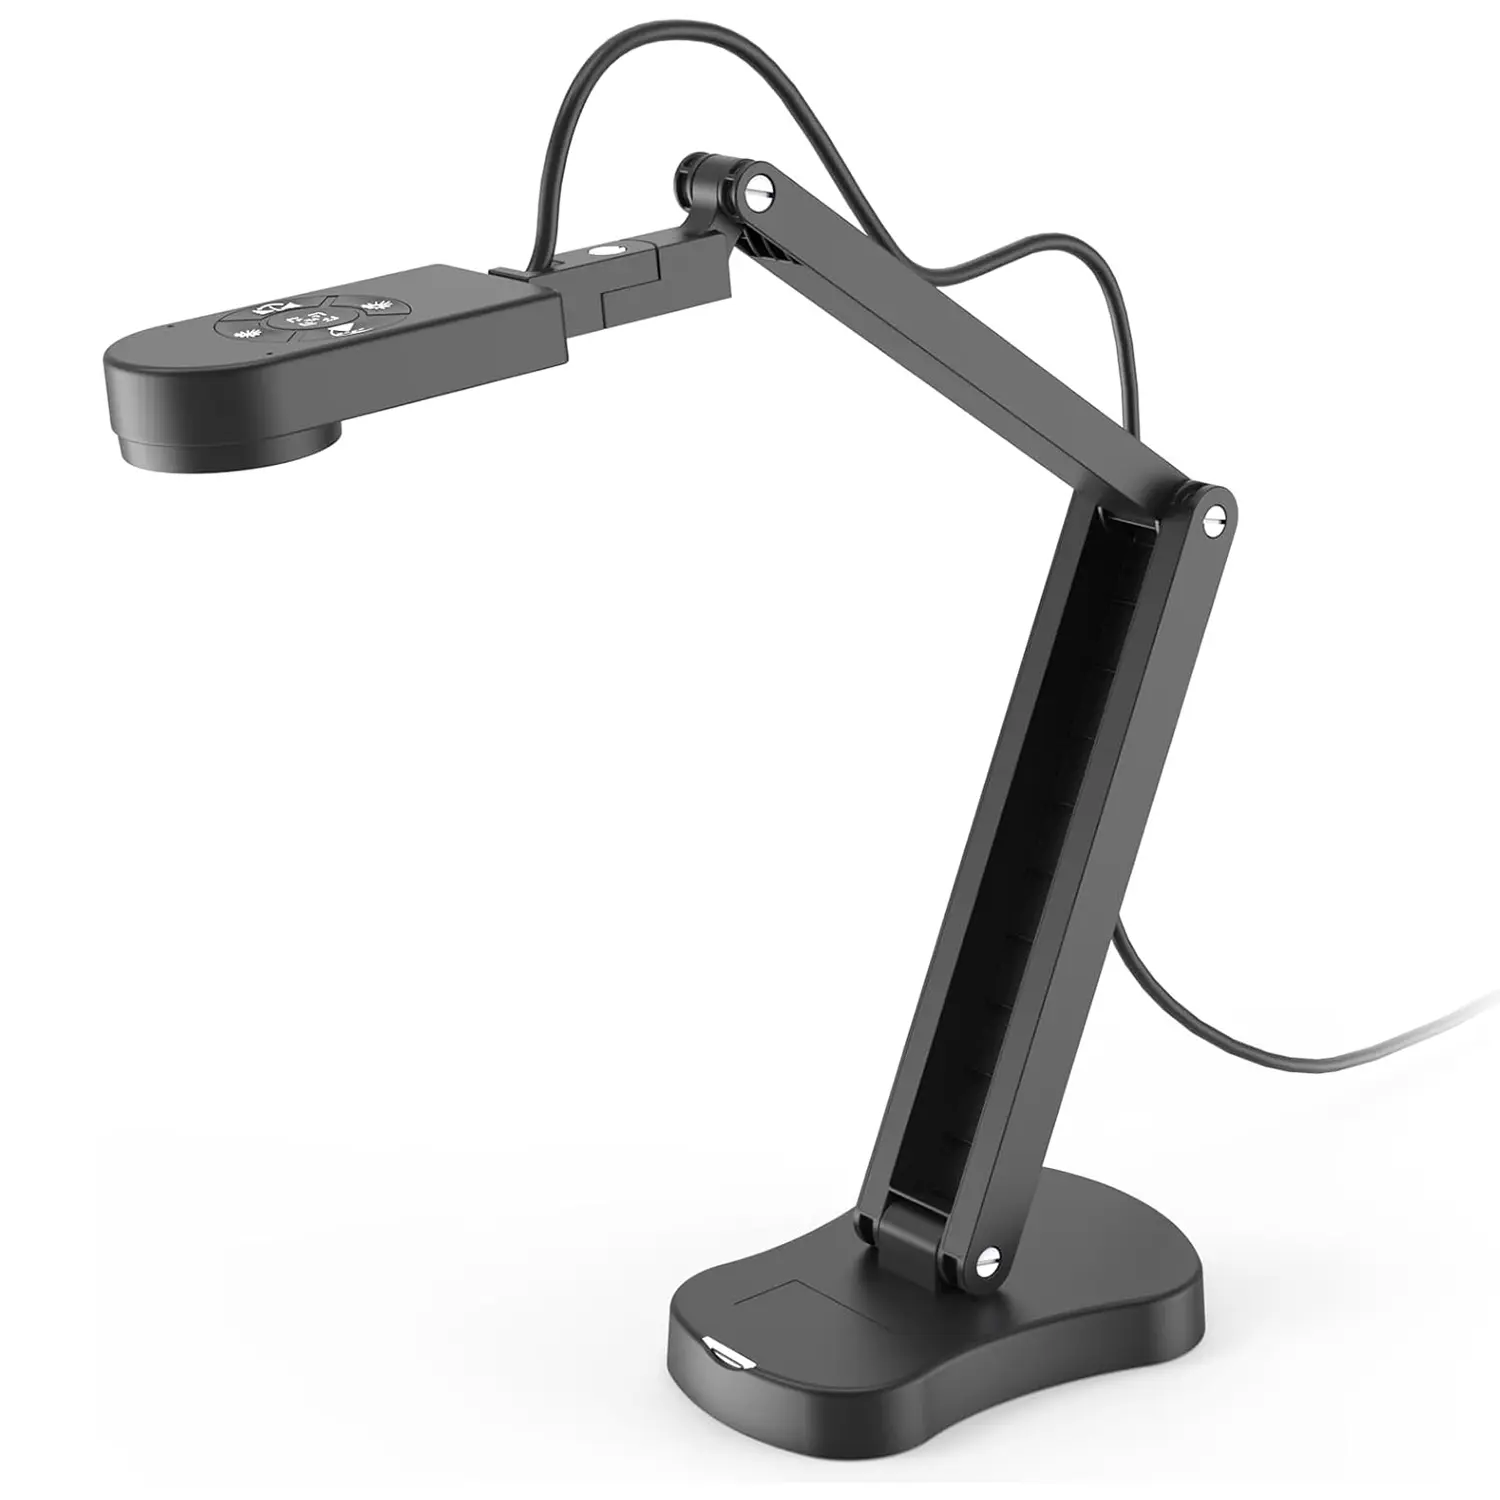 QPC 70
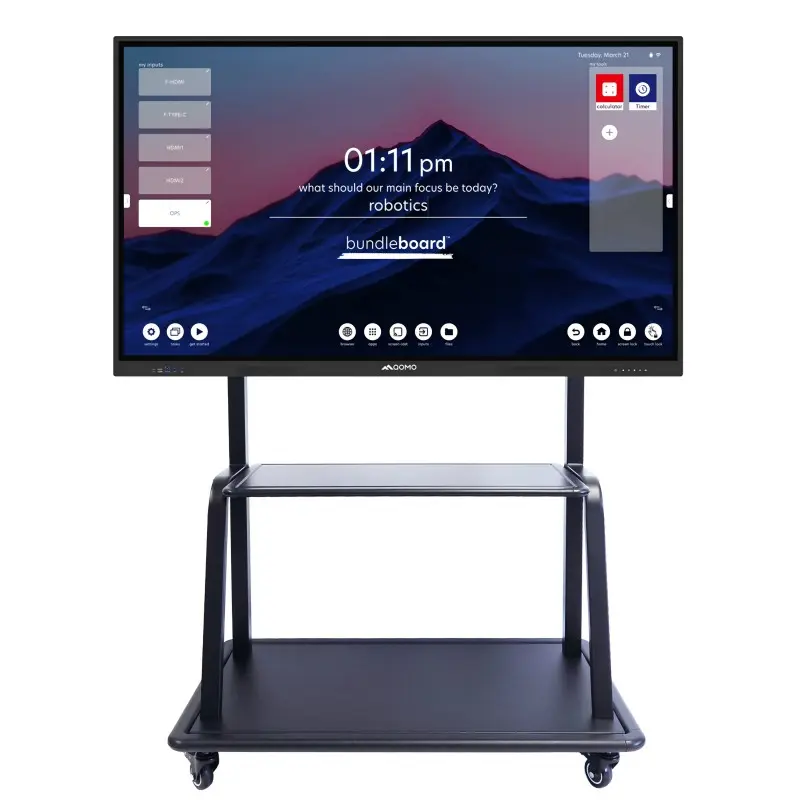 BundleBoard H&H2
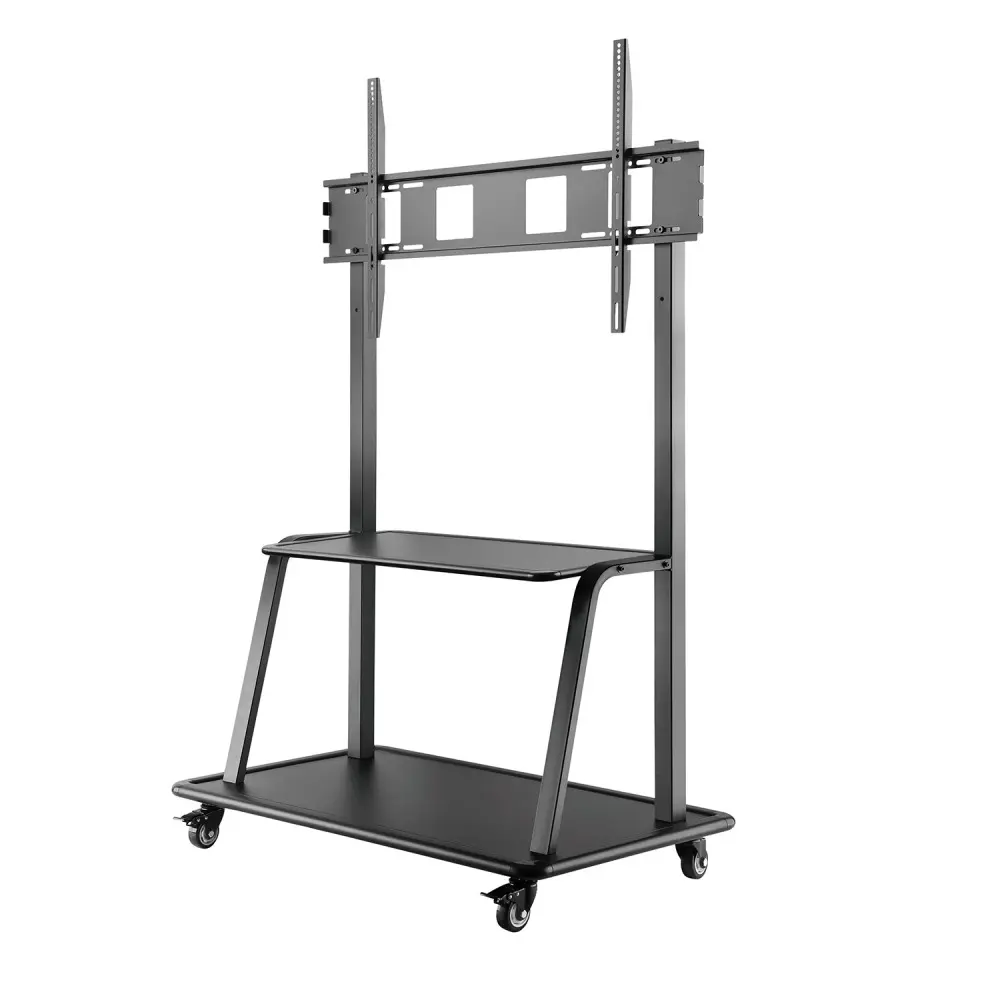 Mobile Stand G
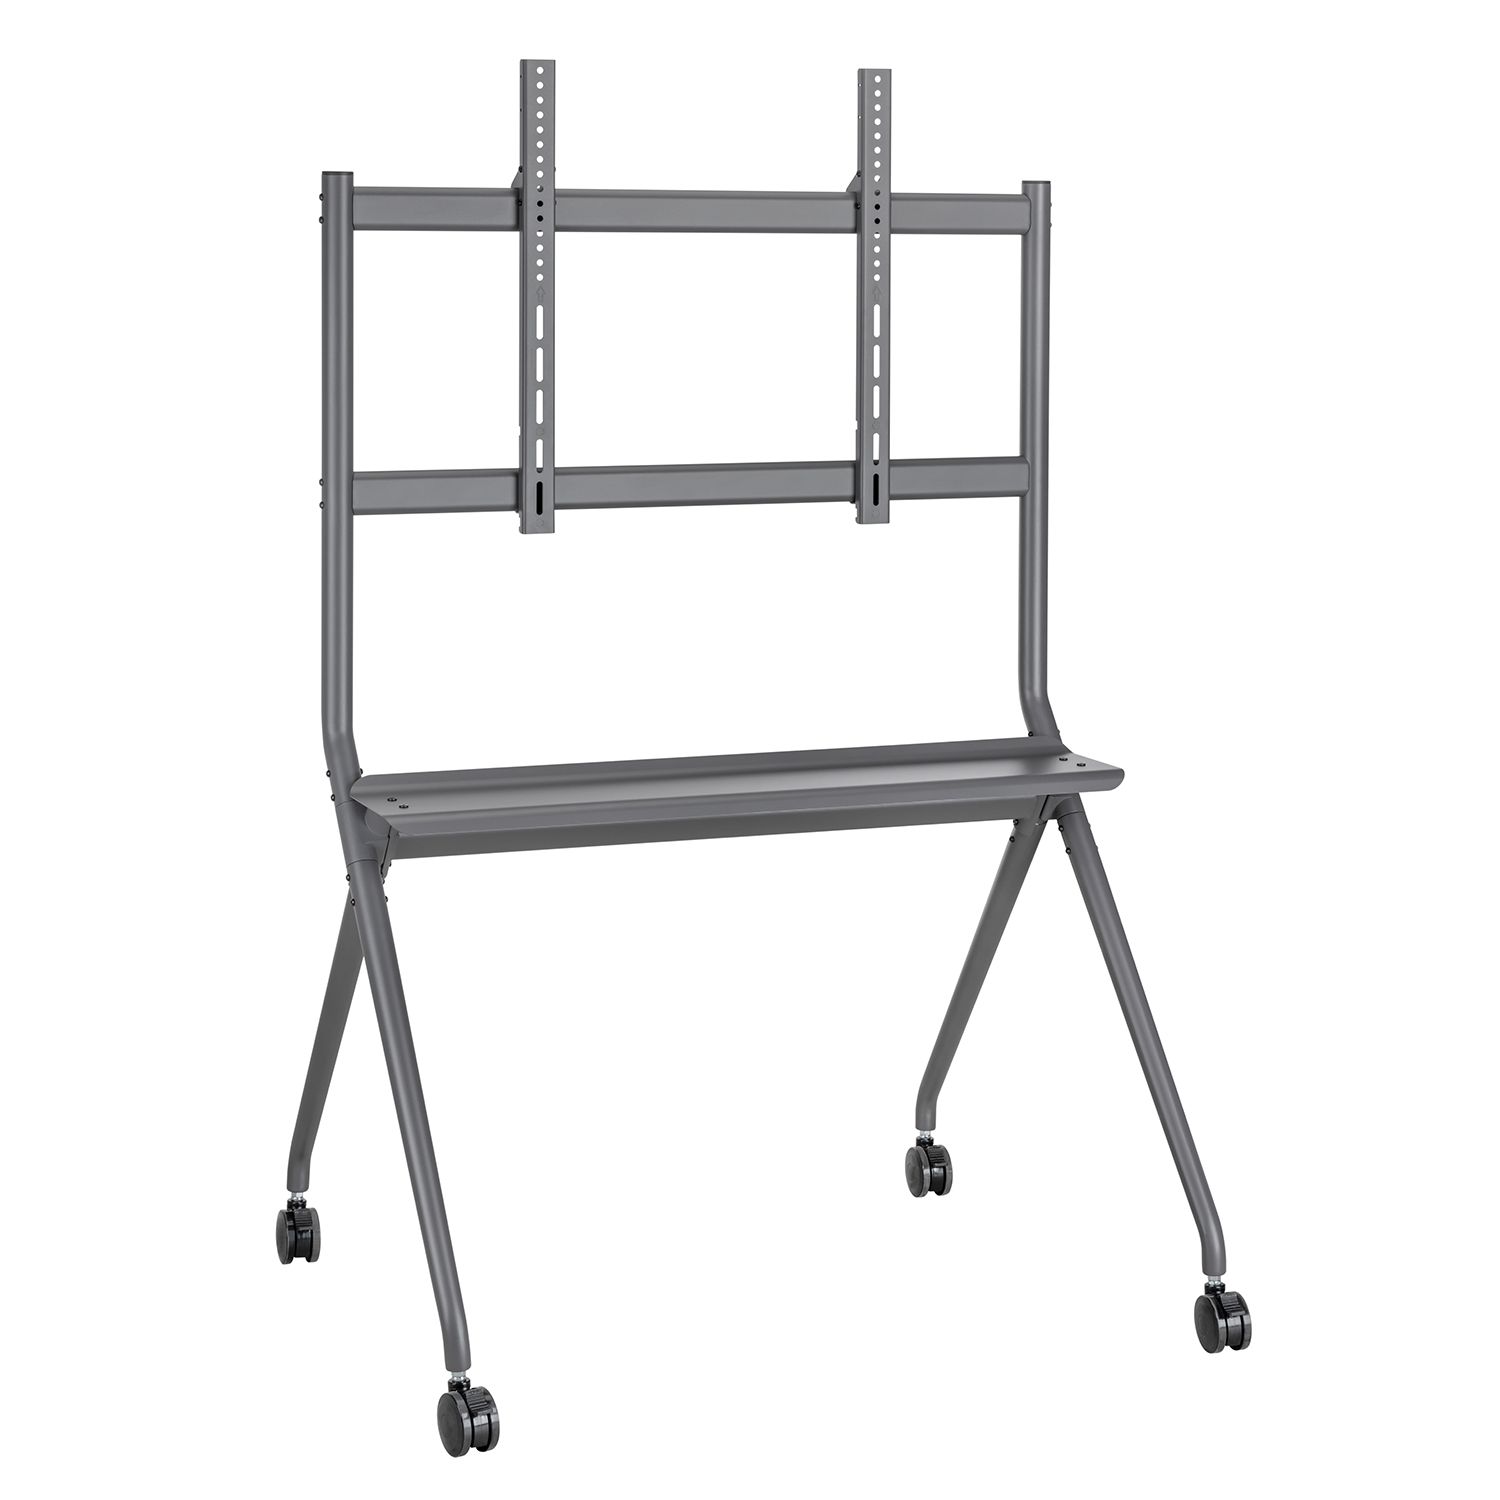 Mobile Stand 2
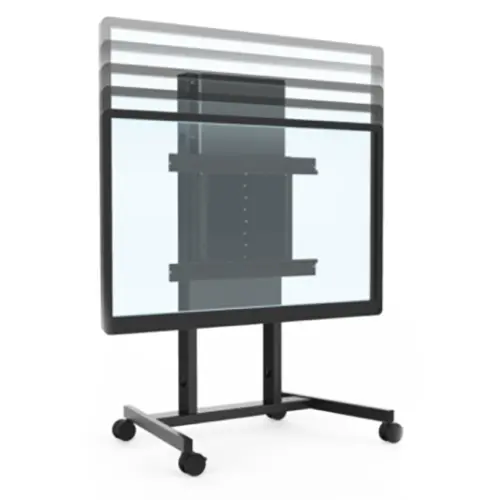 Balance Box
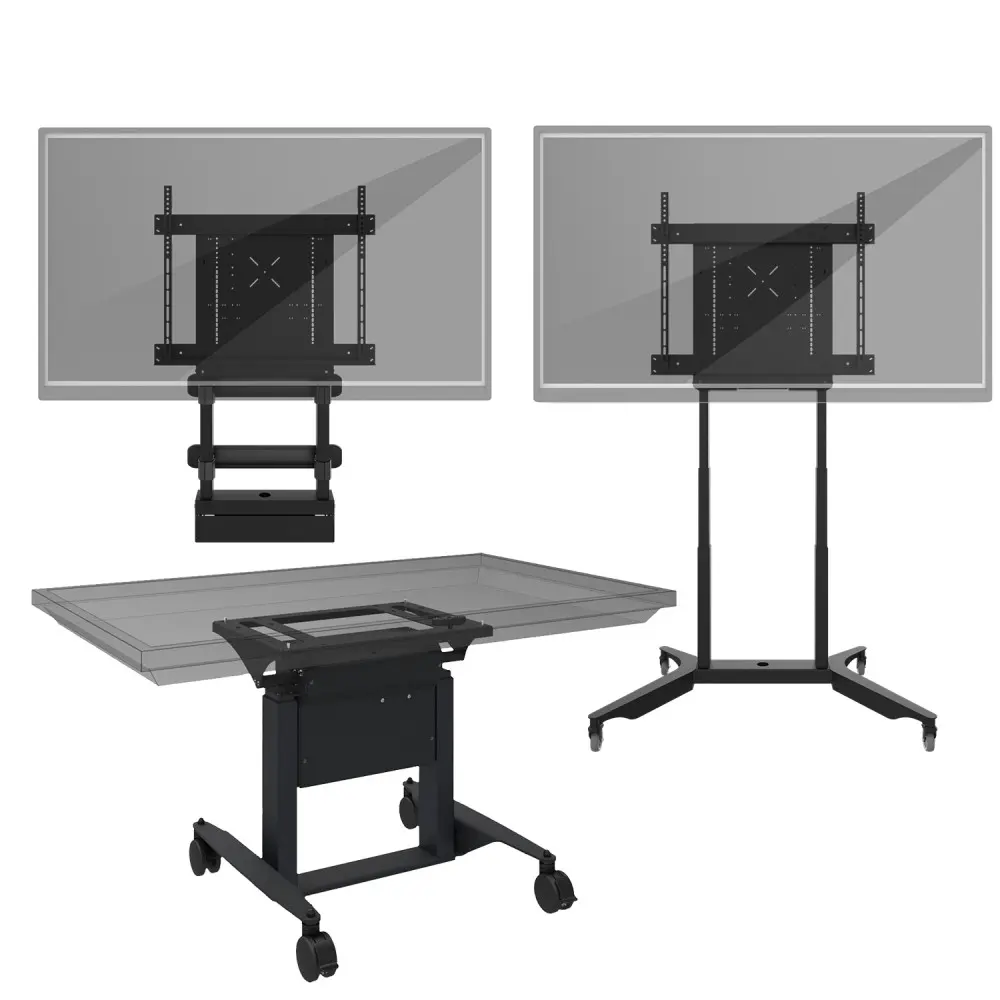 e-Box®
 QWB300
 QRF999
 QRF 997
 QRF888
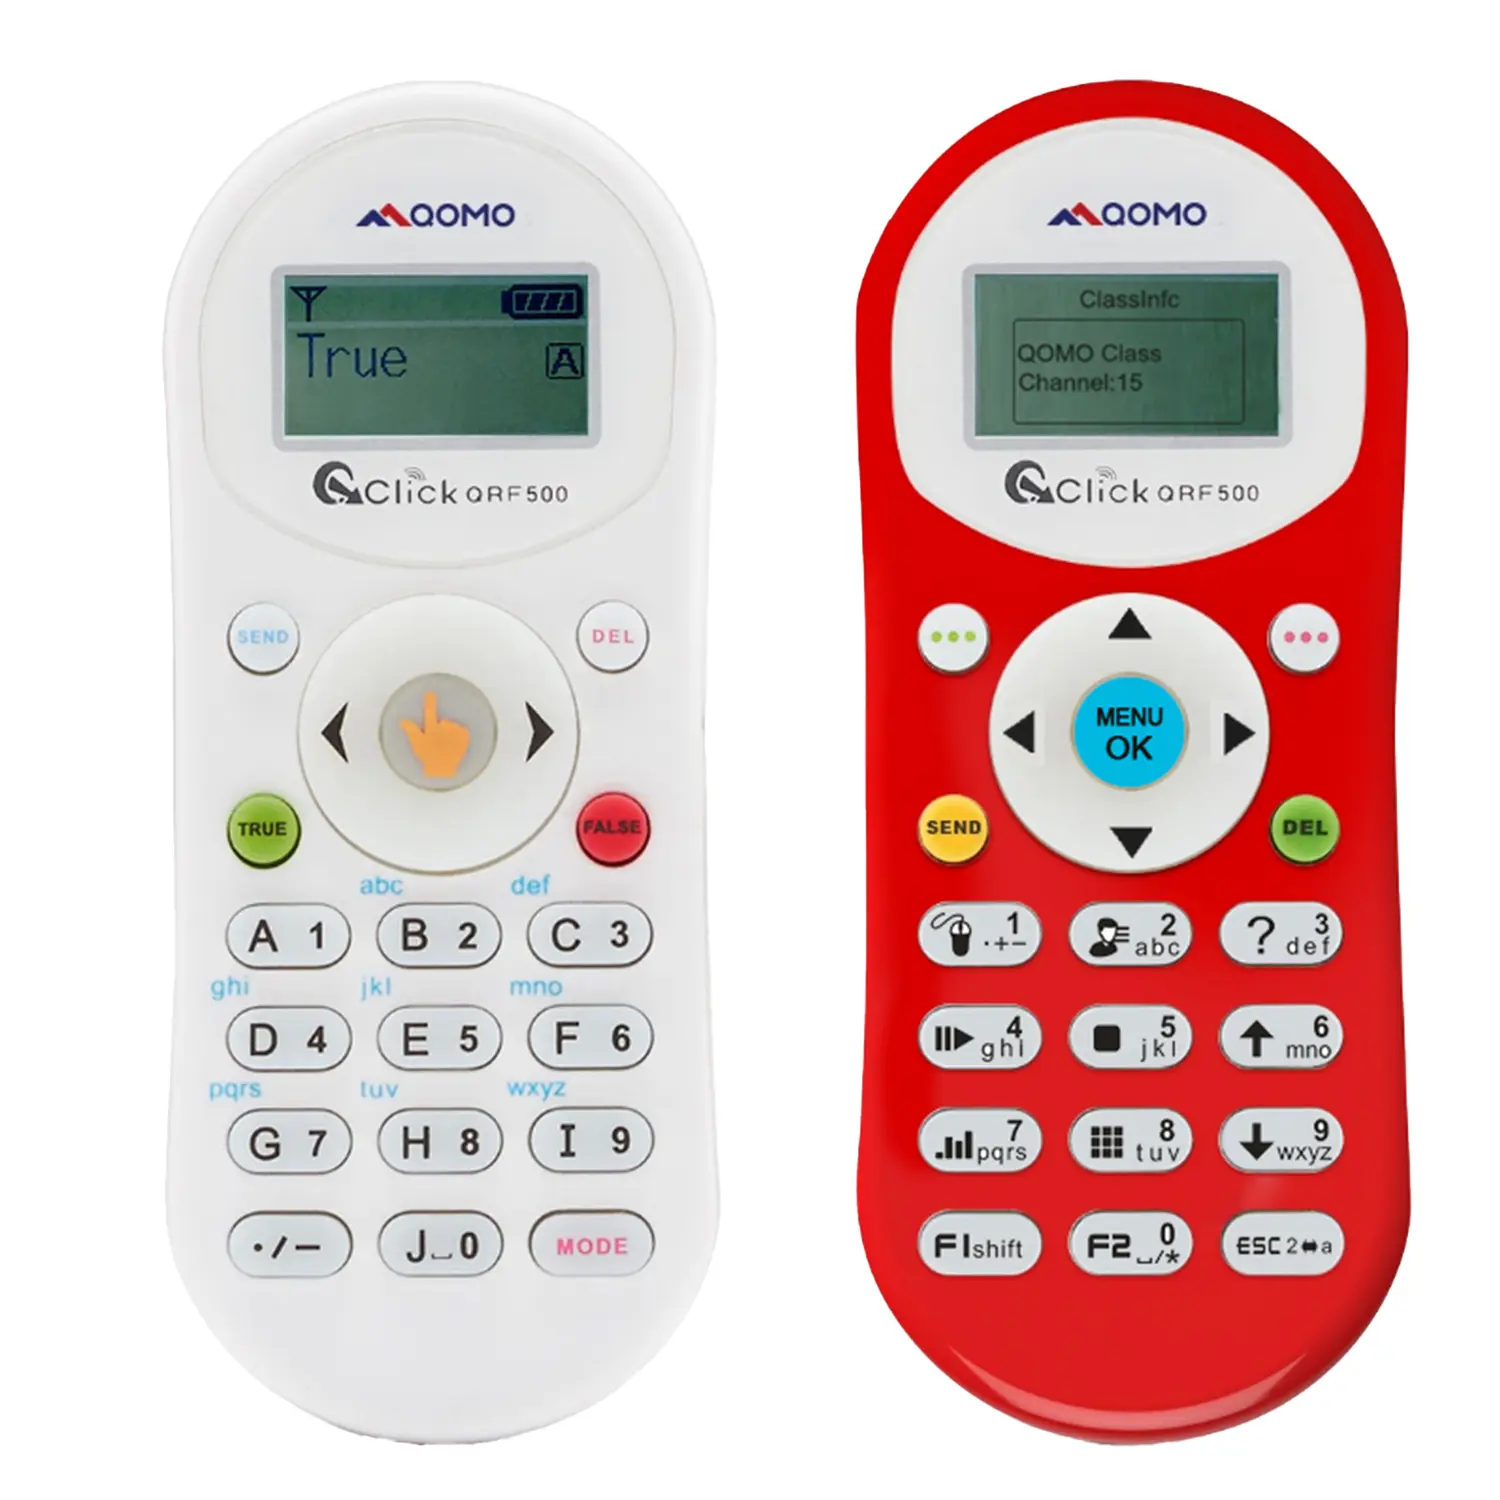 QRF500
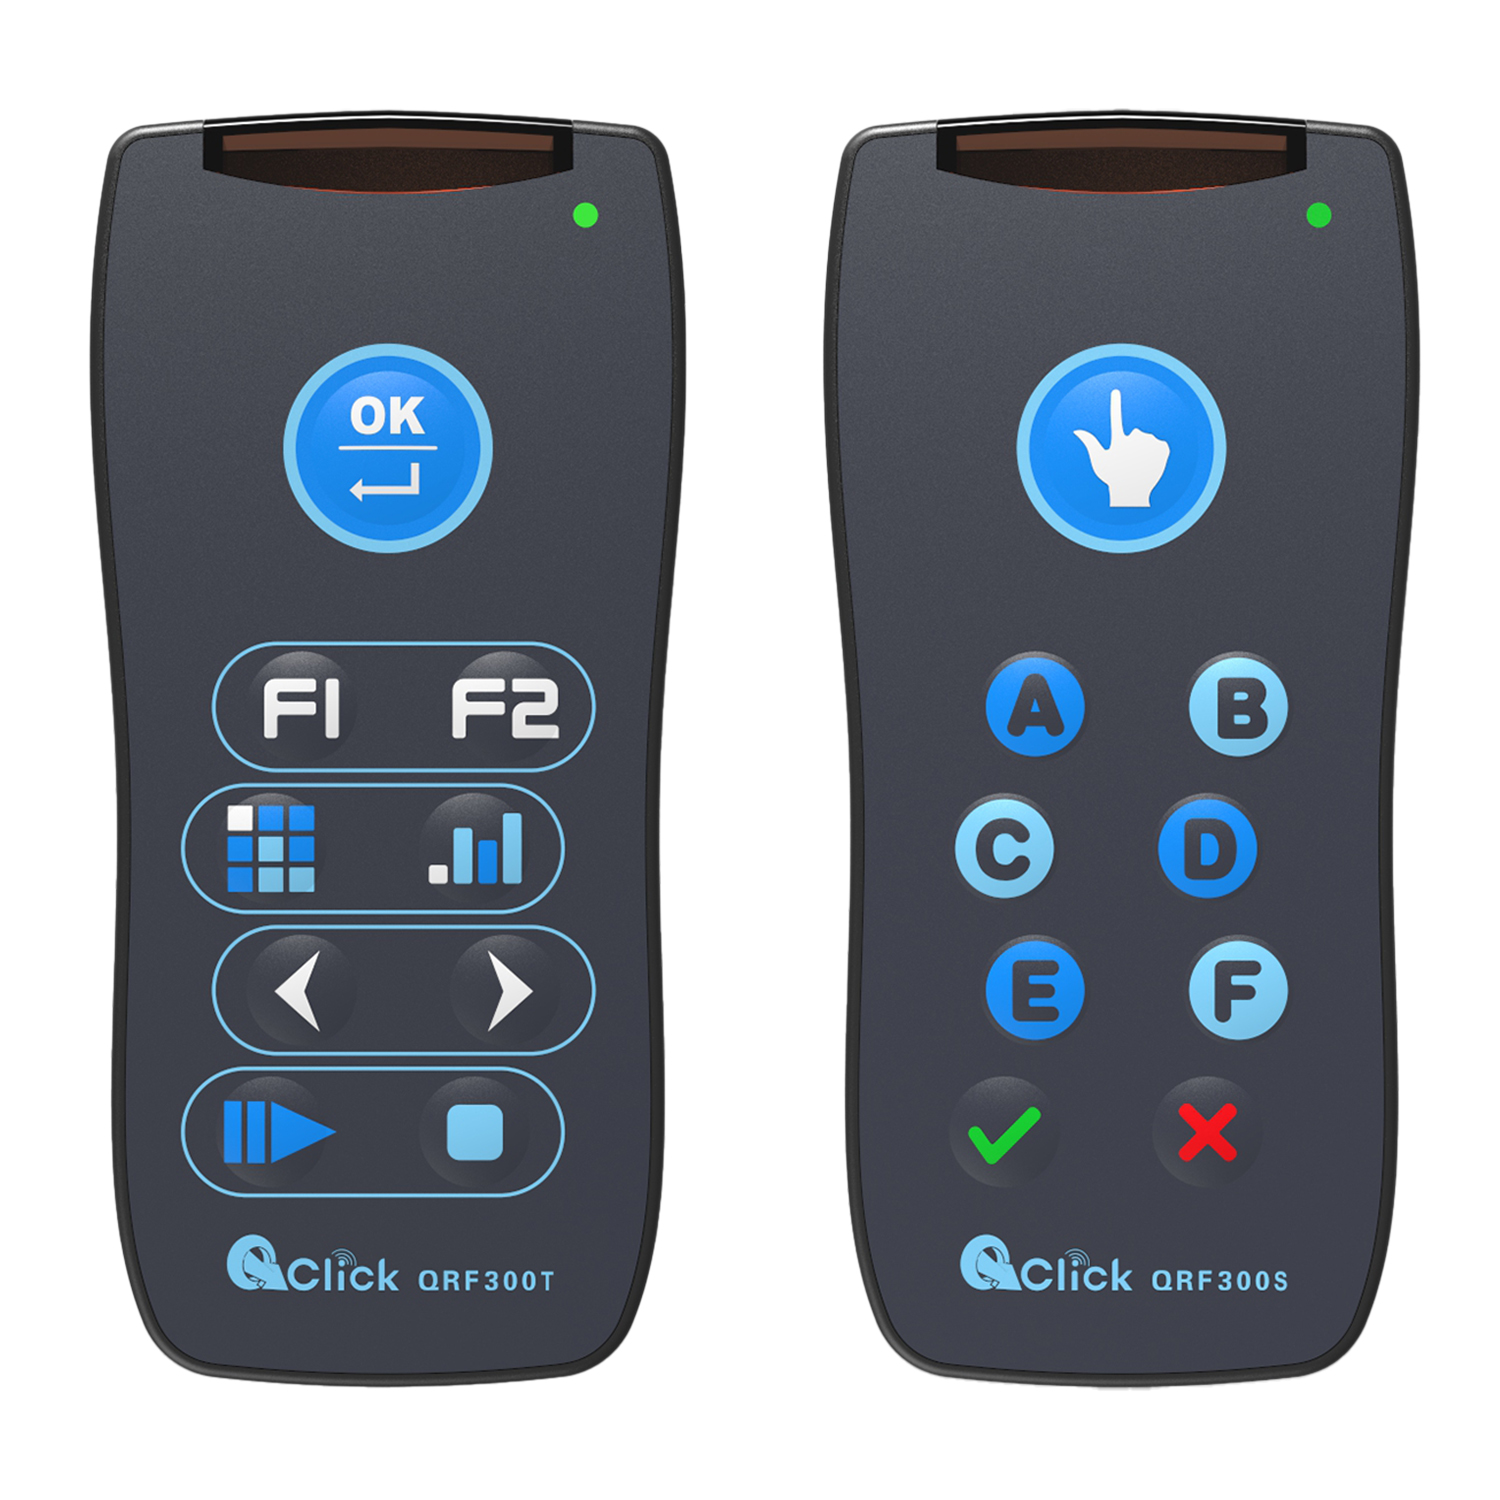 QRF 300C
 QIT 600F3
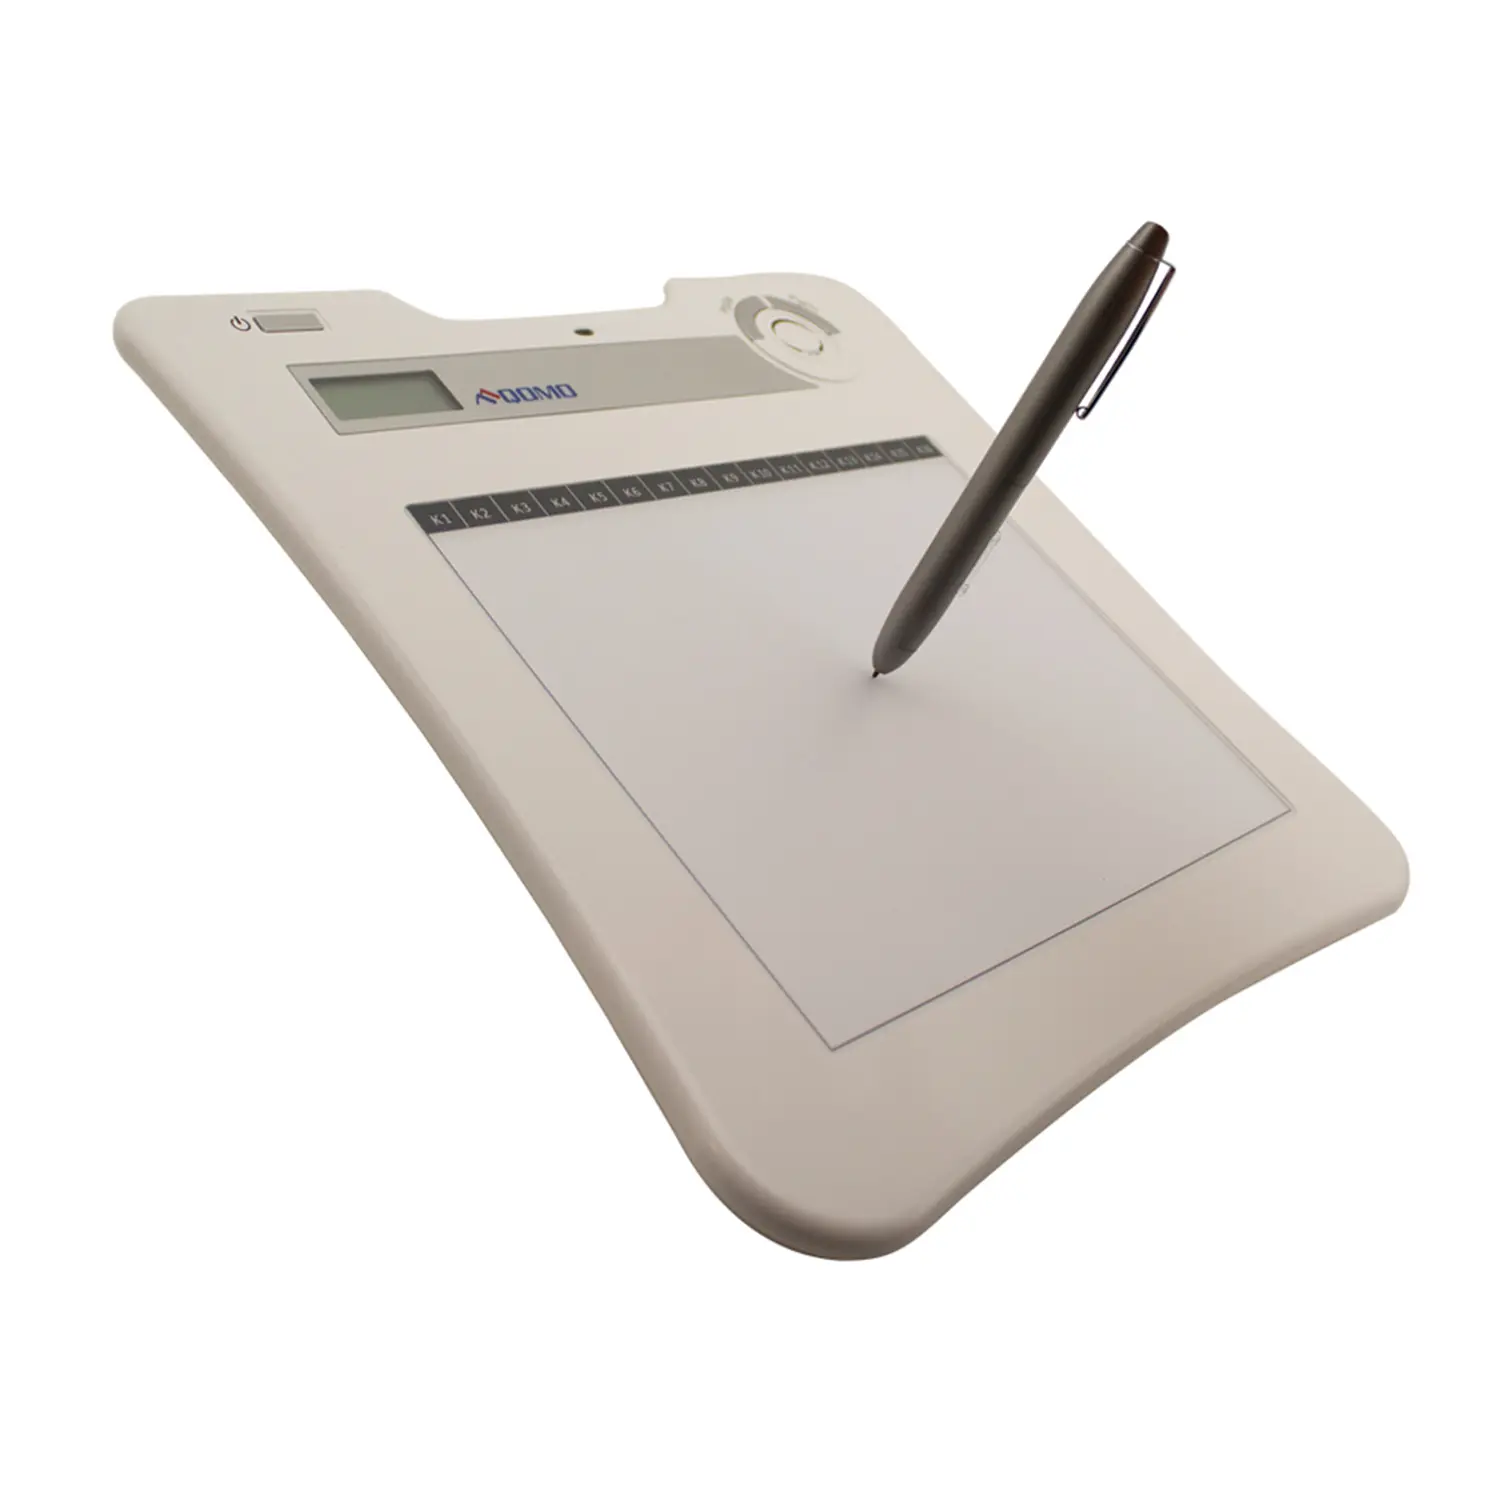 QIT 30 Prodigy
 QVote
QVote QClick
 QCamera
 Flow!Works Pro
 QShare20
 QWC-T1
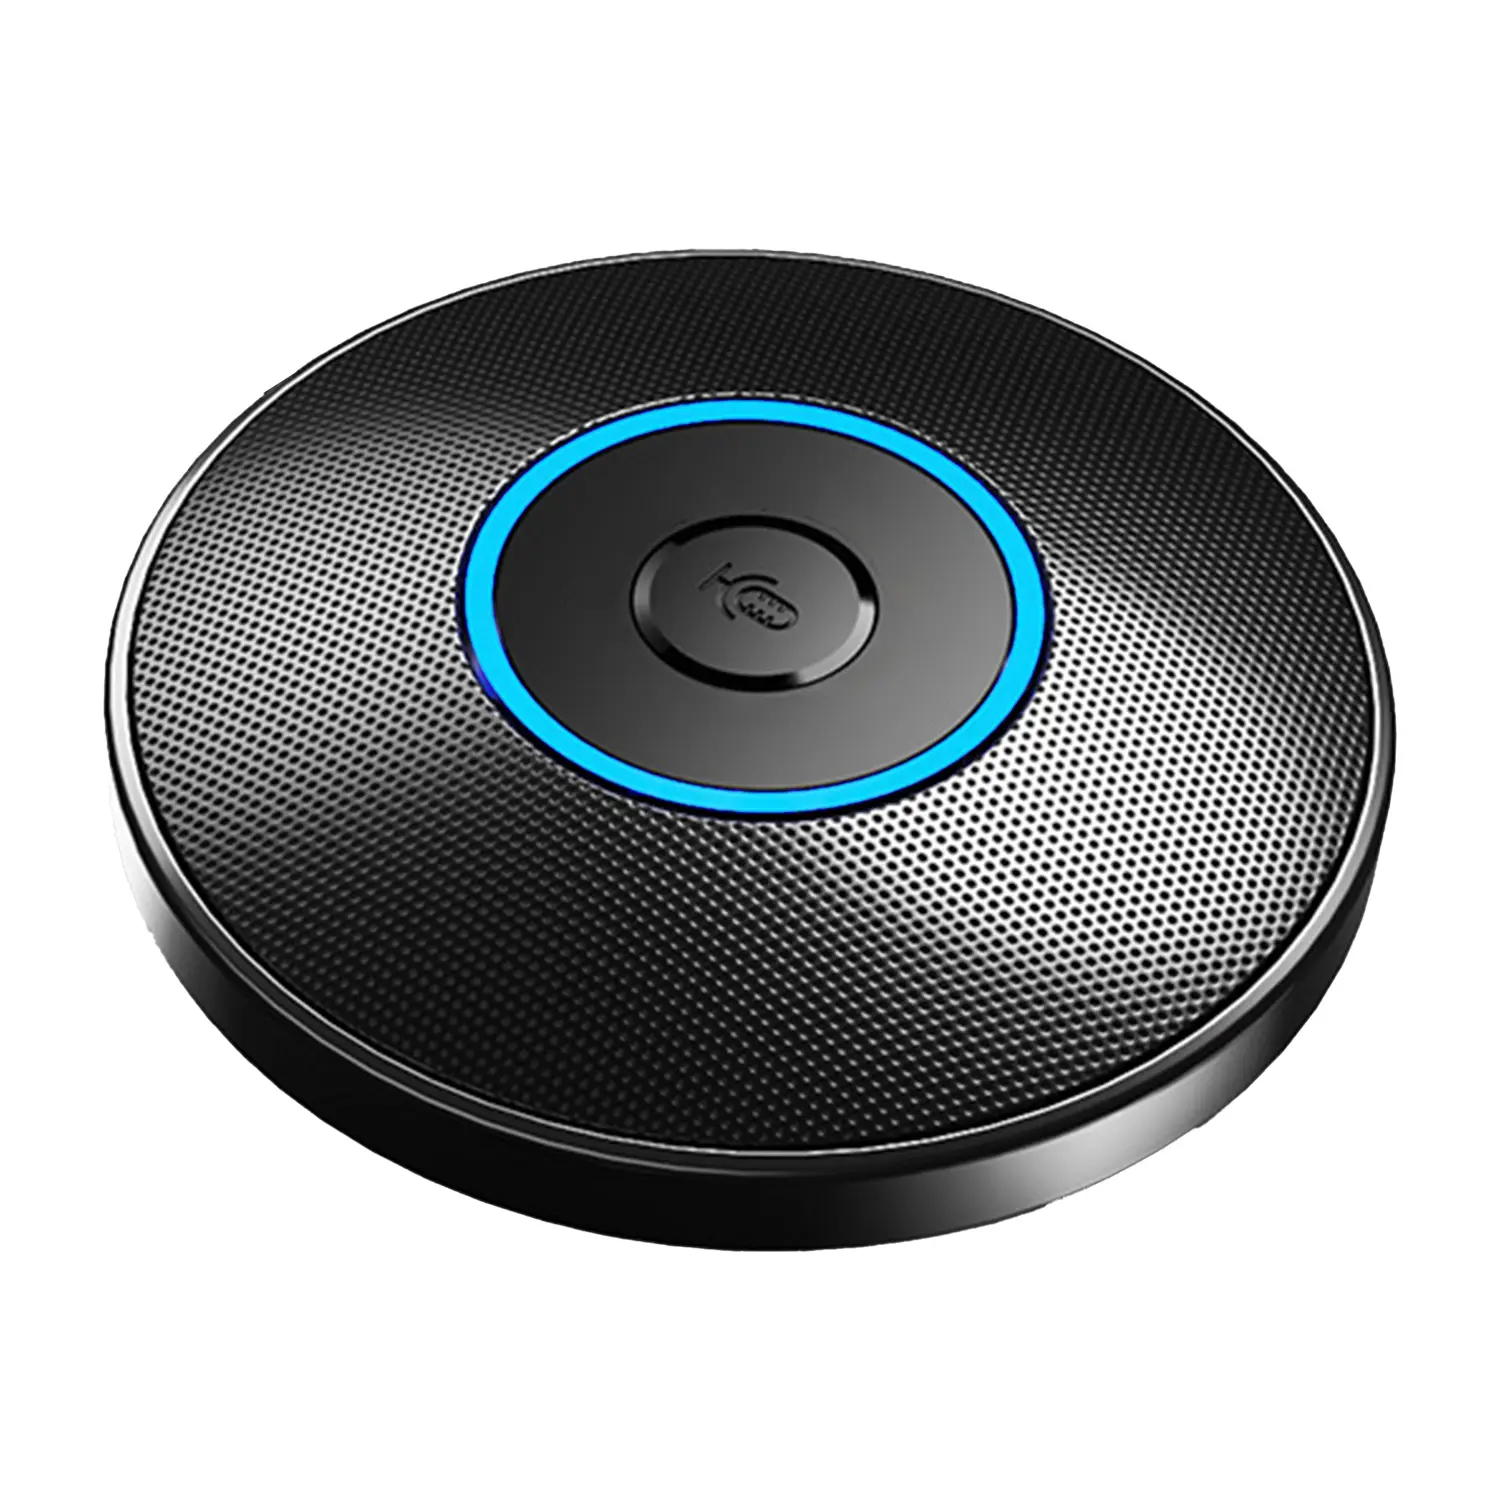 Conference Microphone
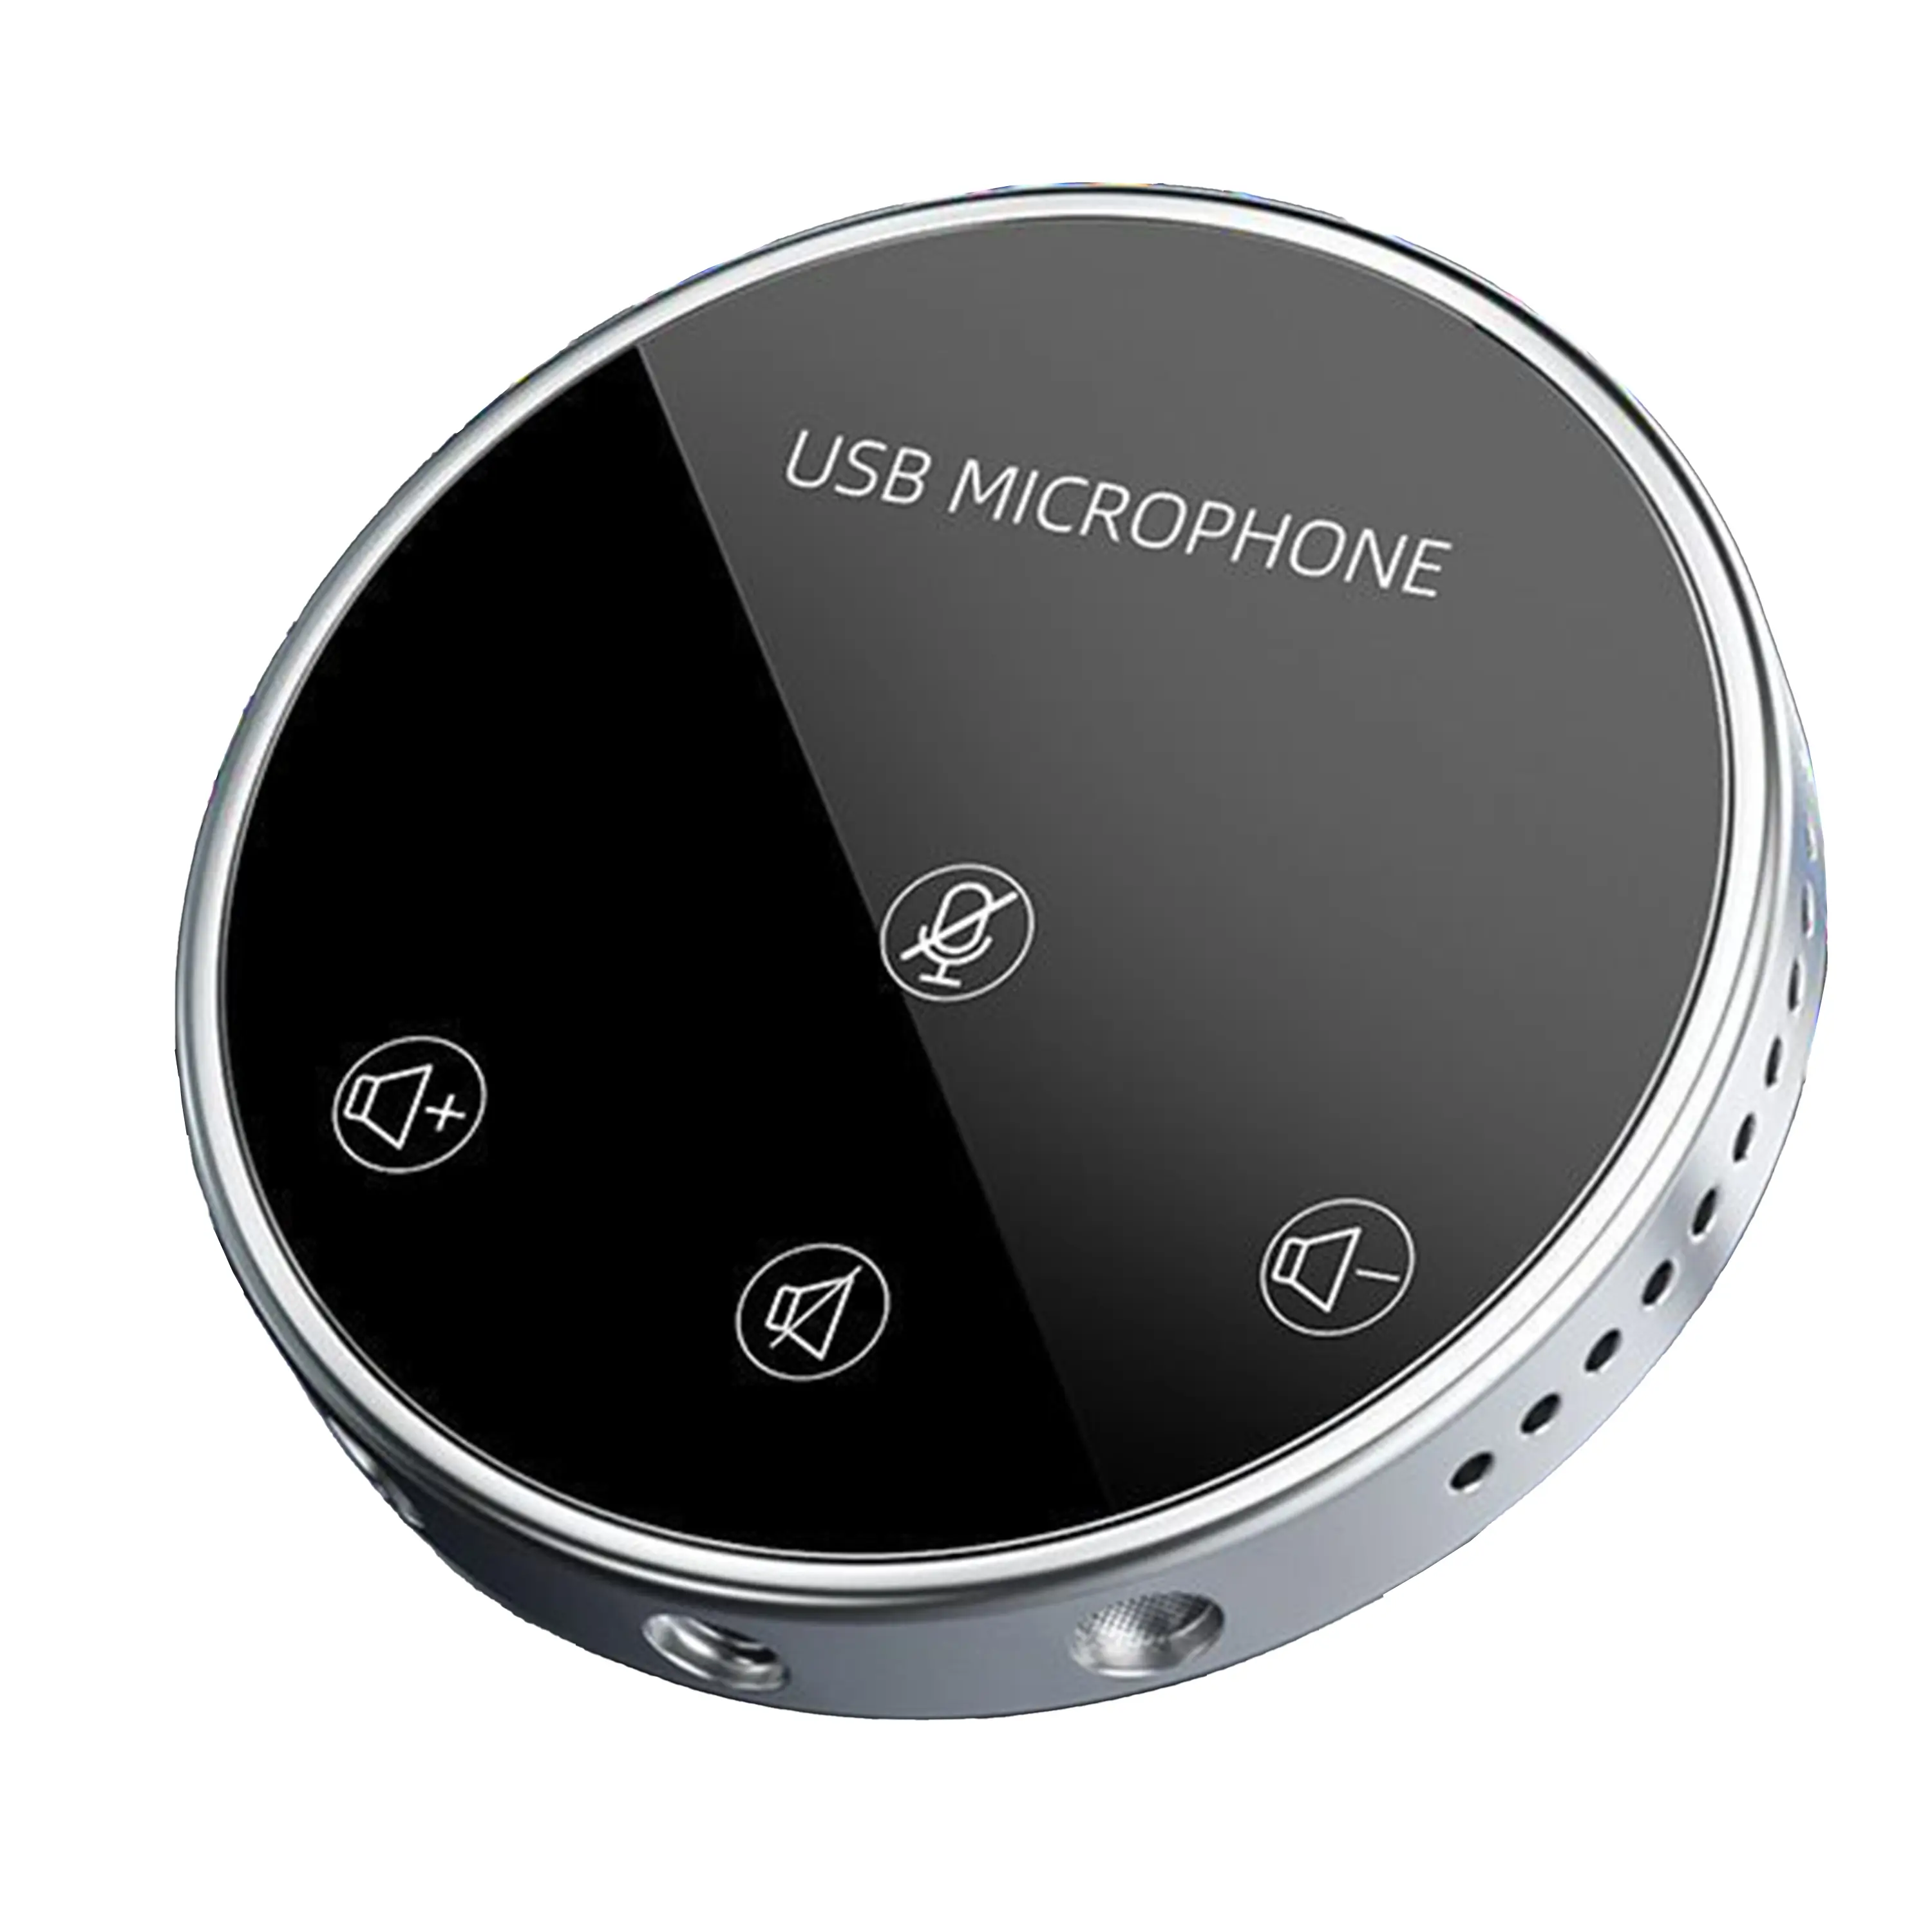 Conference Speakerphone
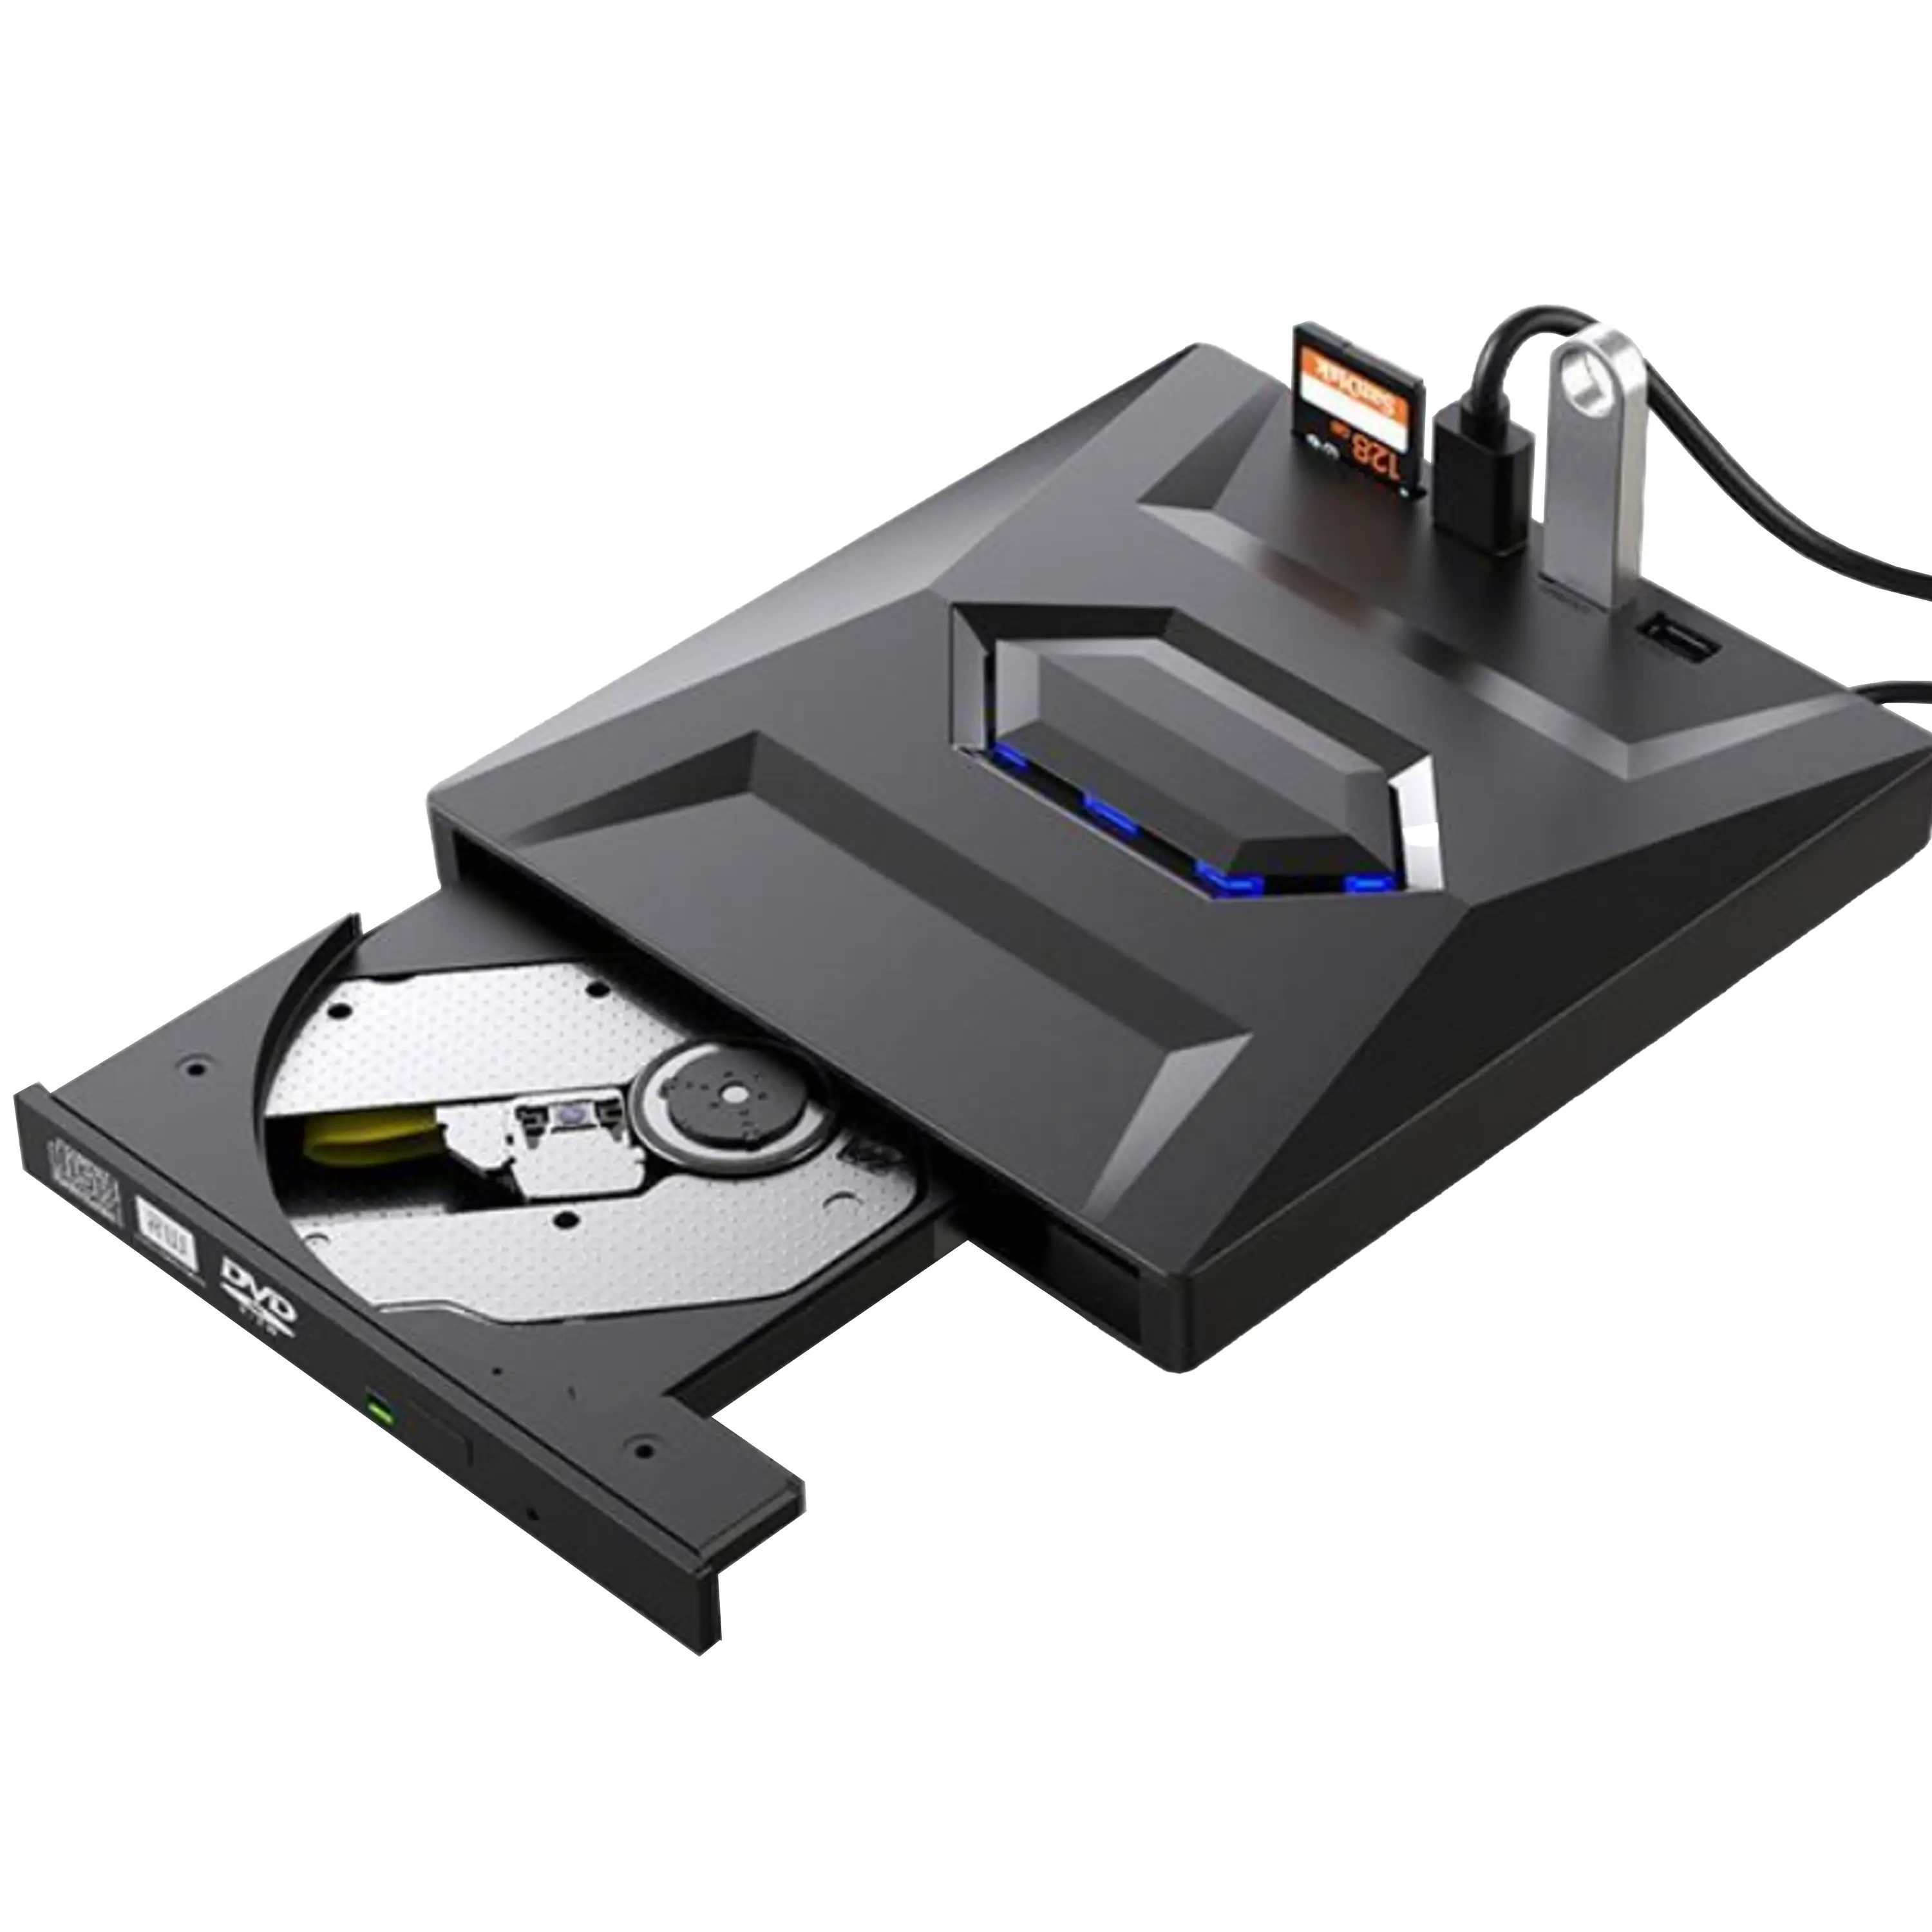 USB External CD/DVD Drive
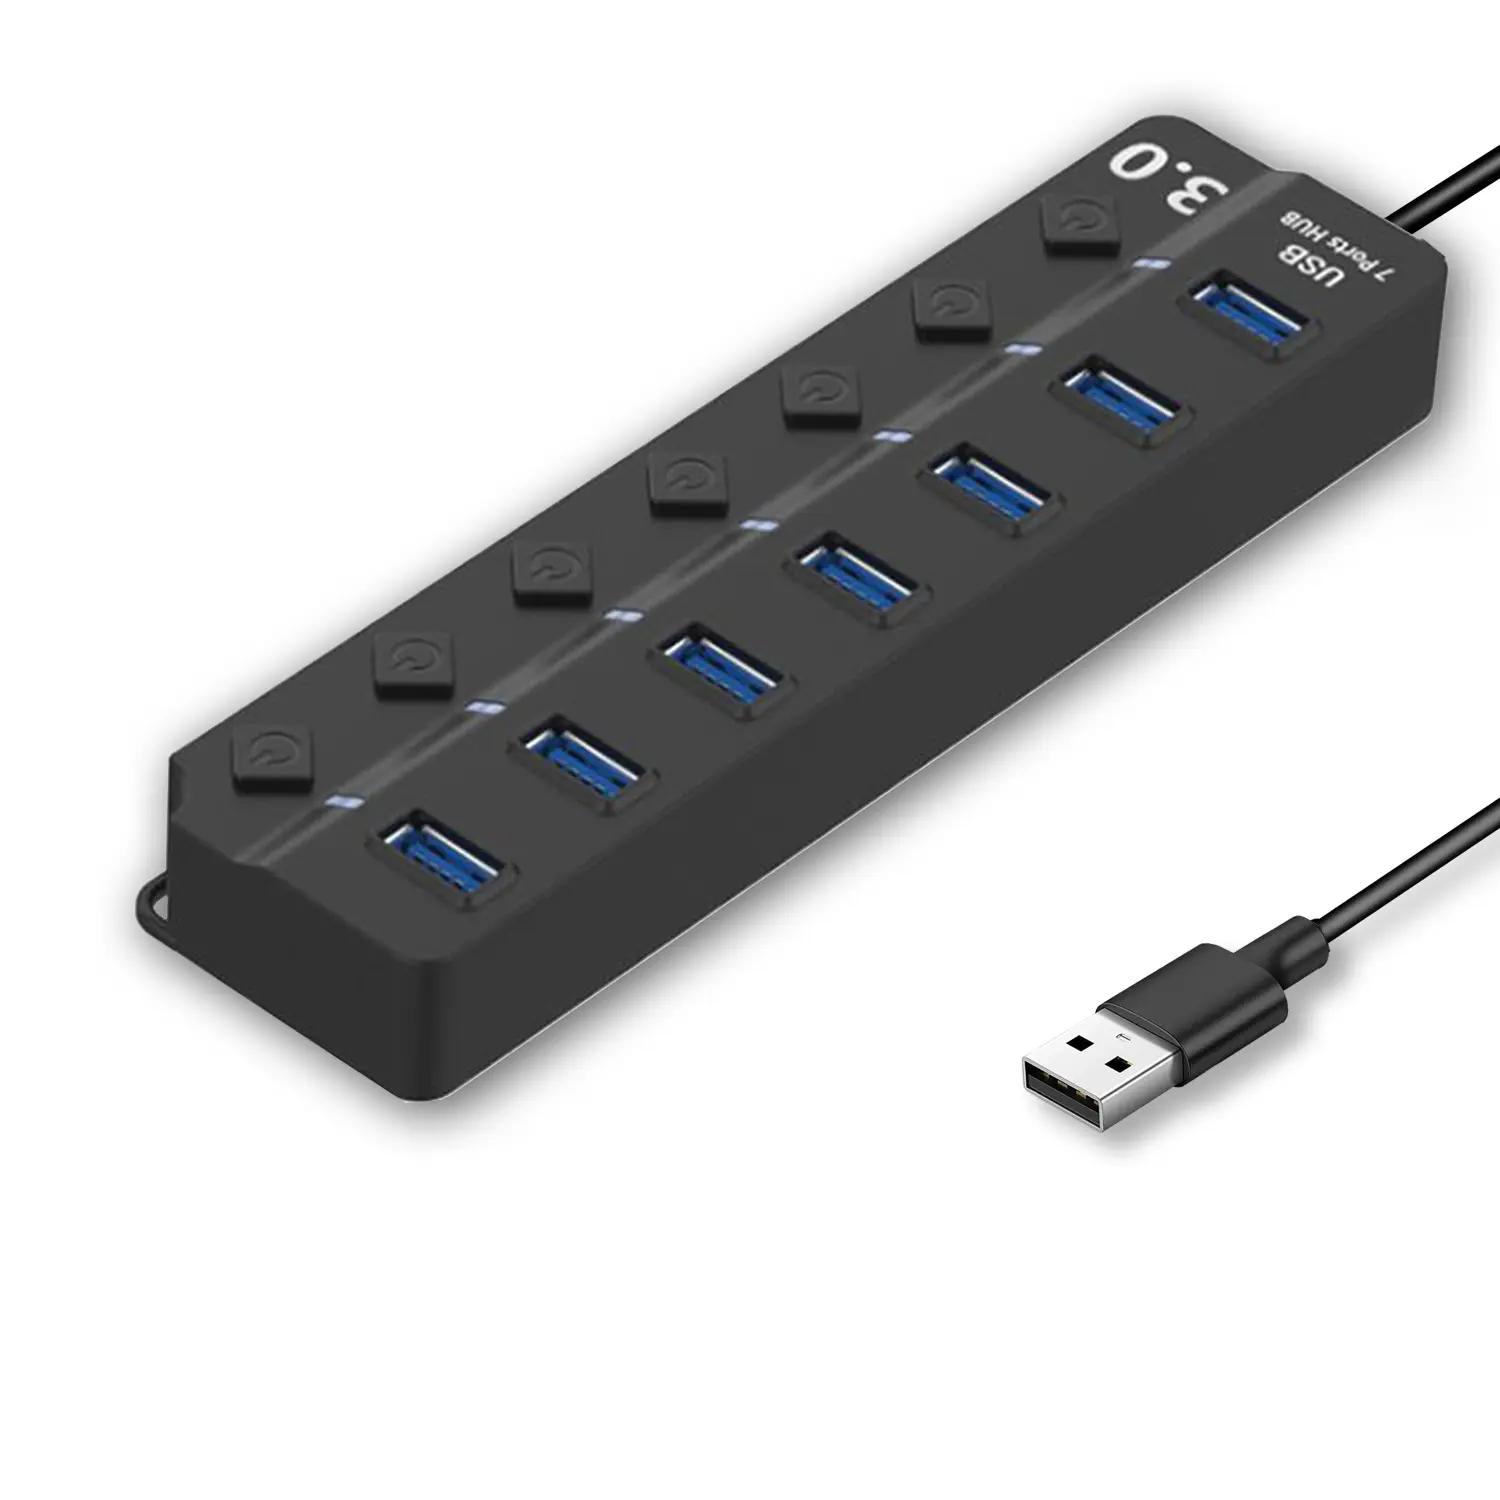 7-Port USB 3.0 Hub
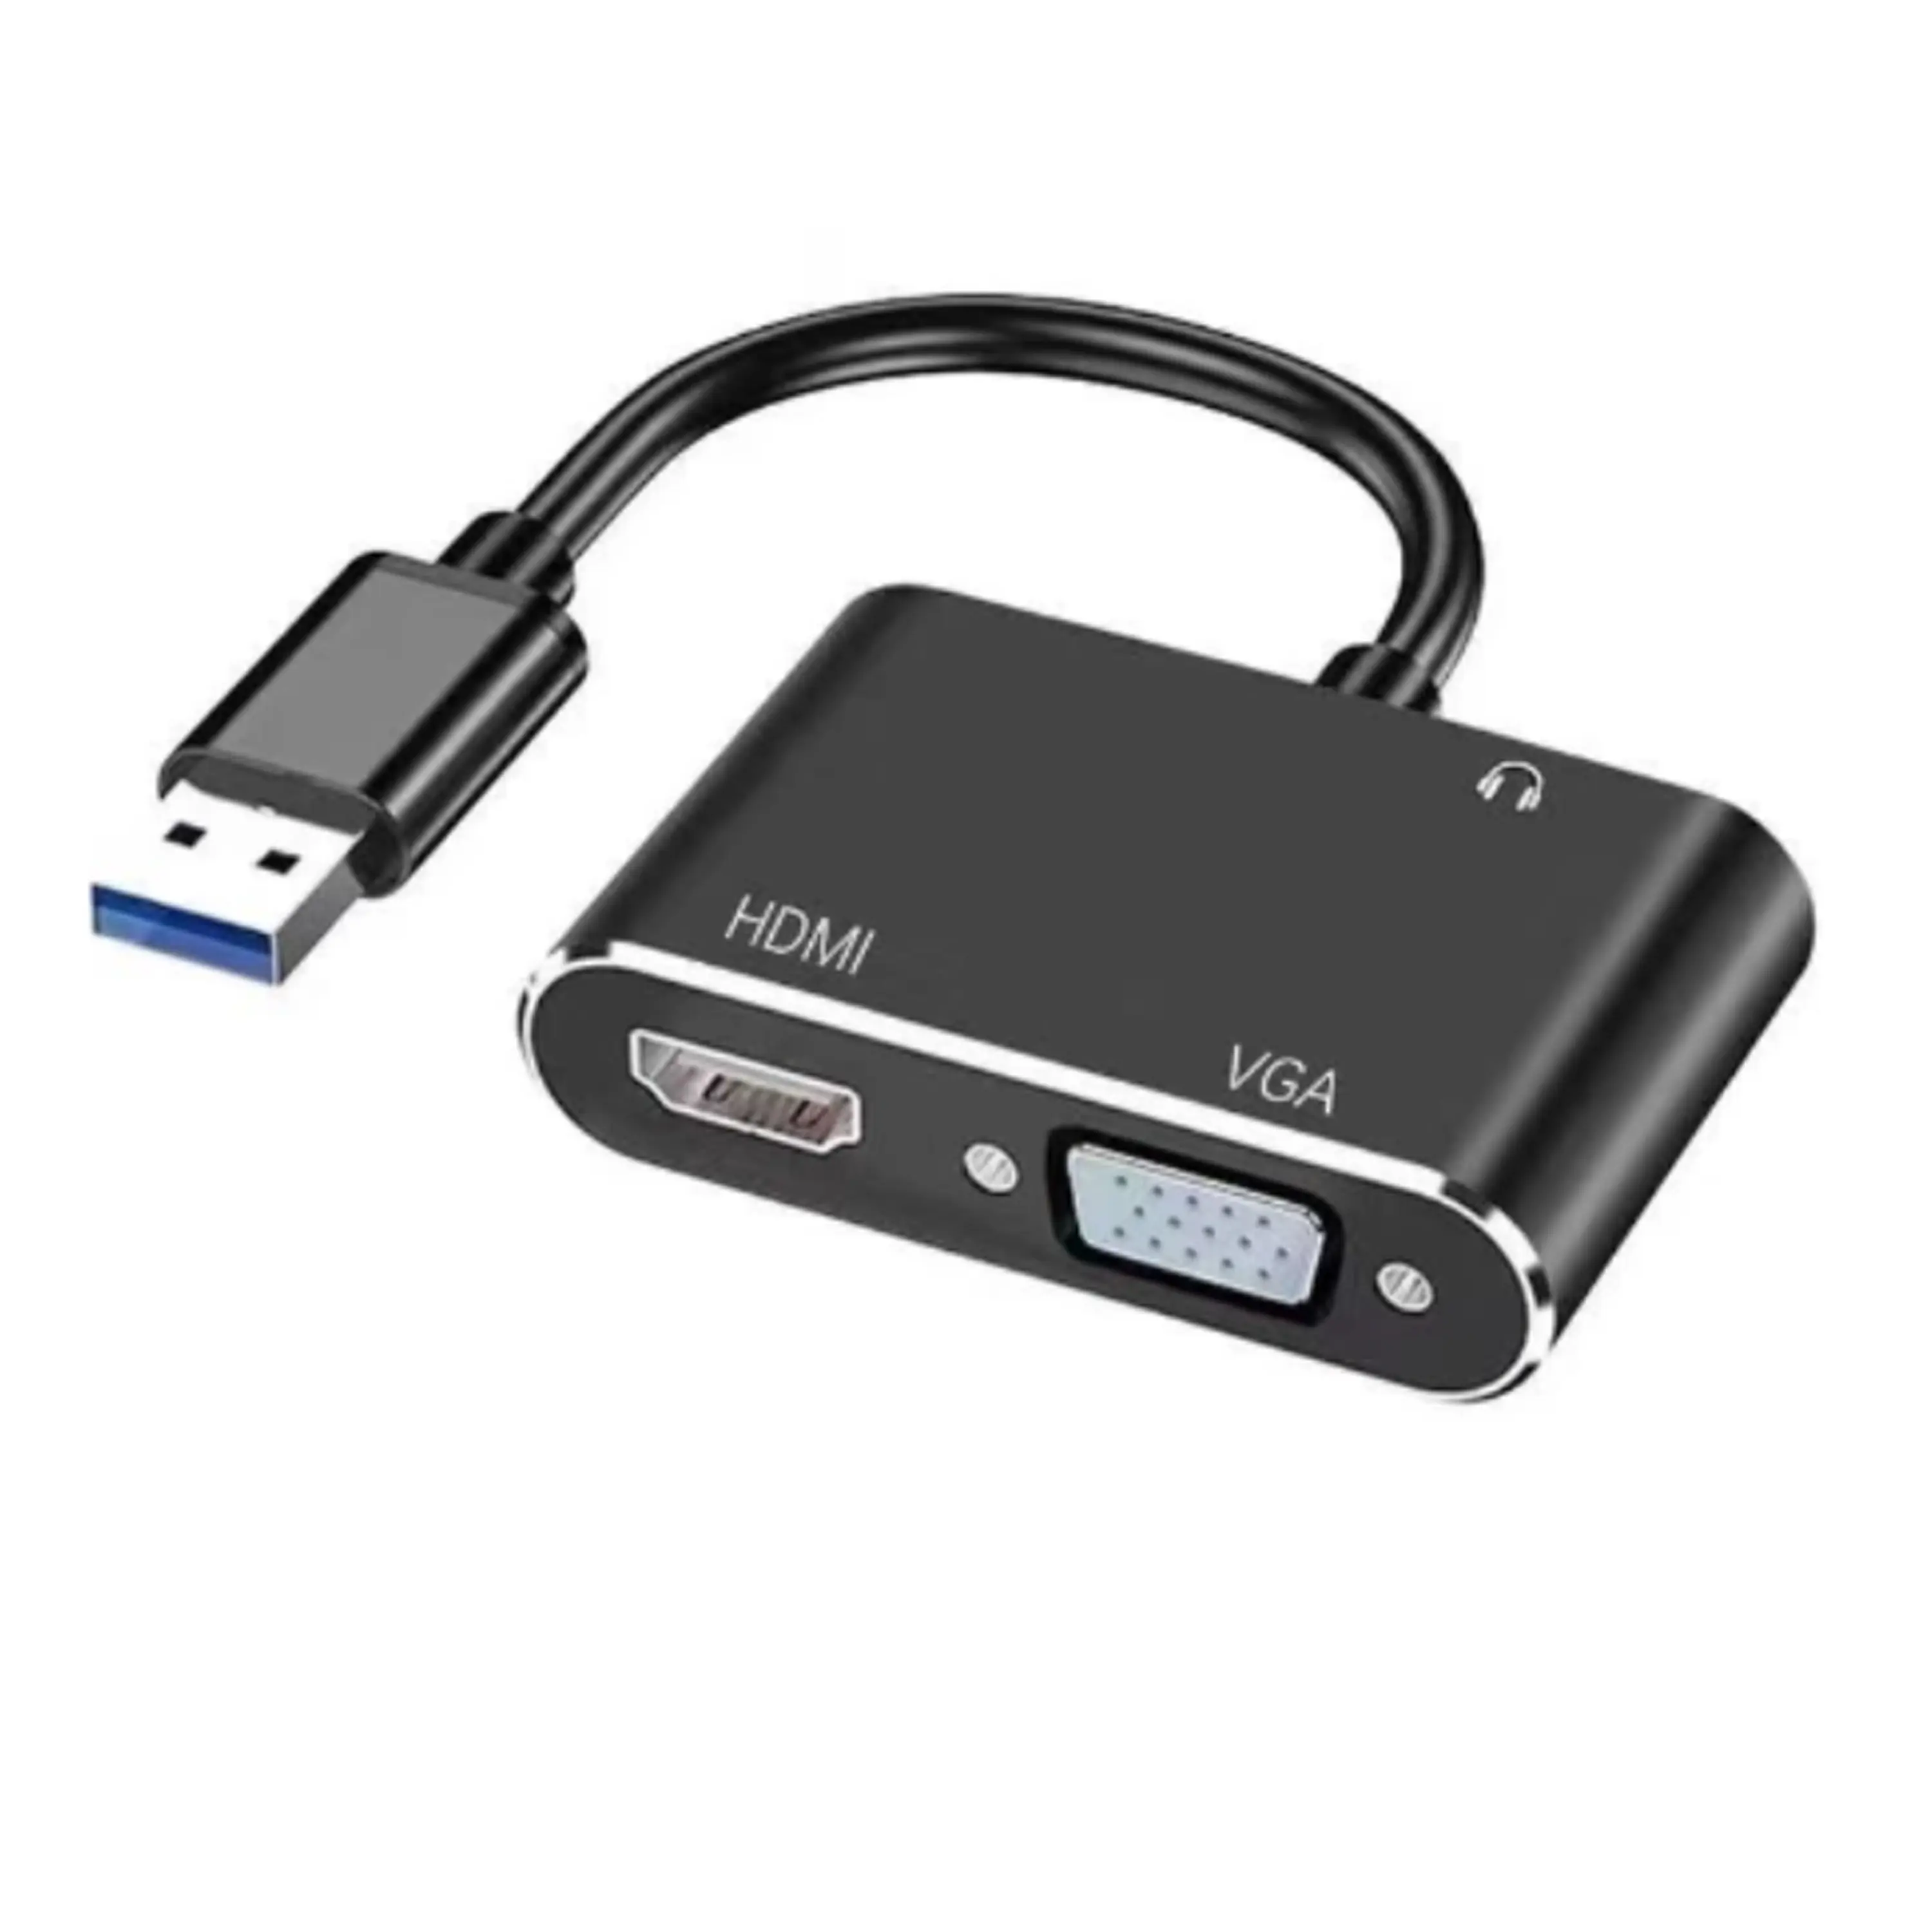 USB to HDMI and VGA Adapter
 +86 152 8002 3723

- Solution
- About Us
- Products
-
News
-
Company News
-
 Revolutionize Your Presentations and Document Display with QWC 100S Document Camera
- Simplify Your Setup with the All-in-One USB 3.0 External CD/DVD Drive & Hub
-
 Enhance Call Experience: New Conference Microphone Now Available
-
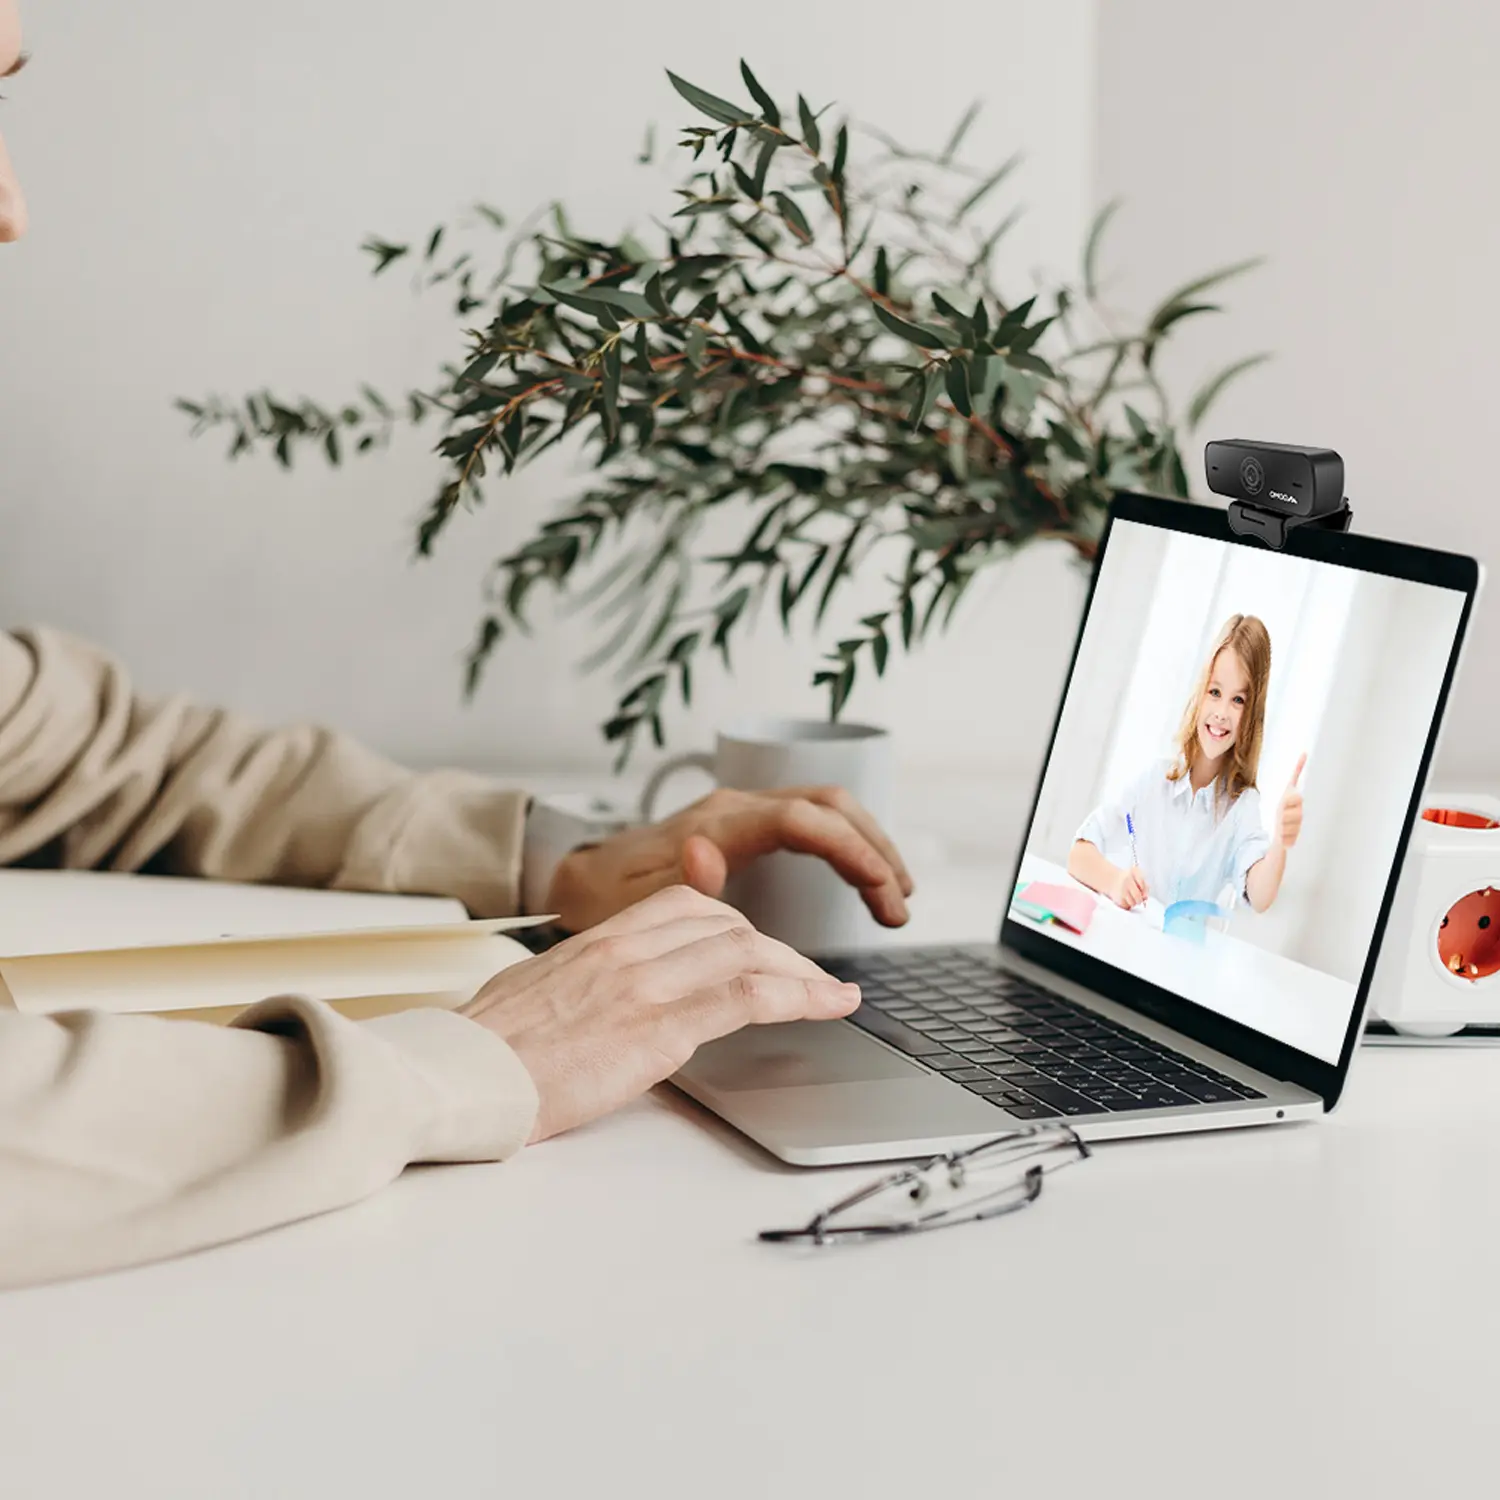
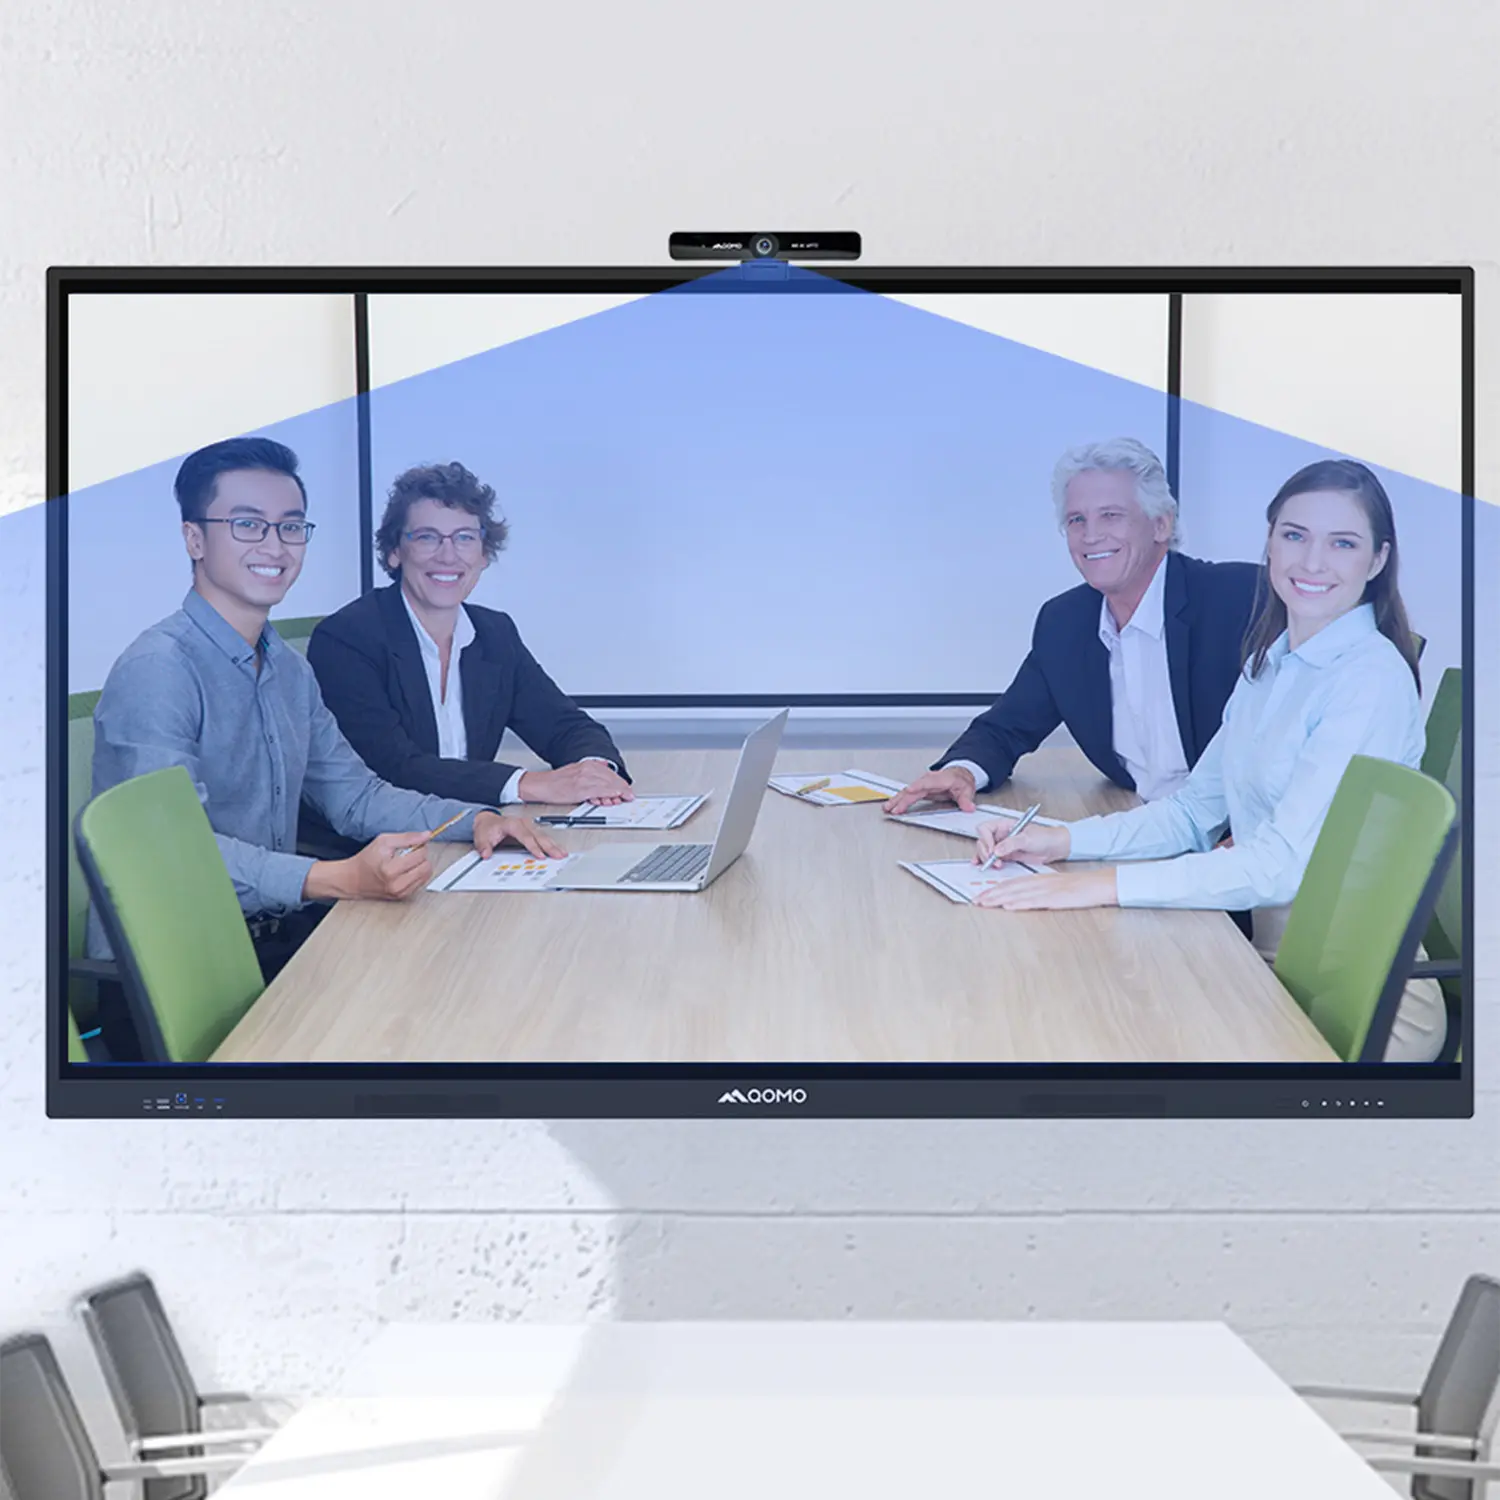
 AI-Powered Face-Tracking Webcam
-
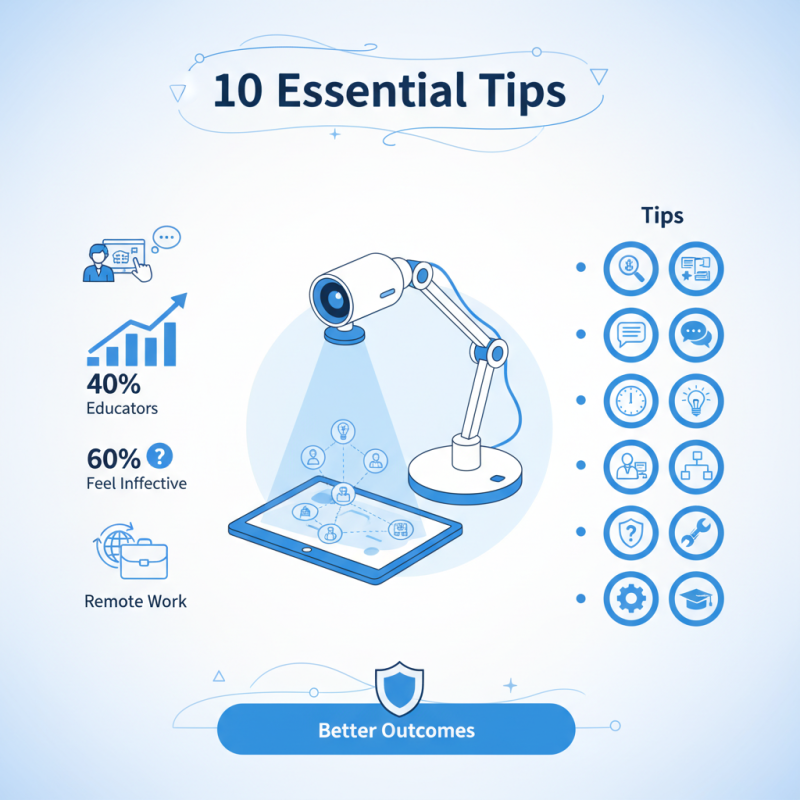
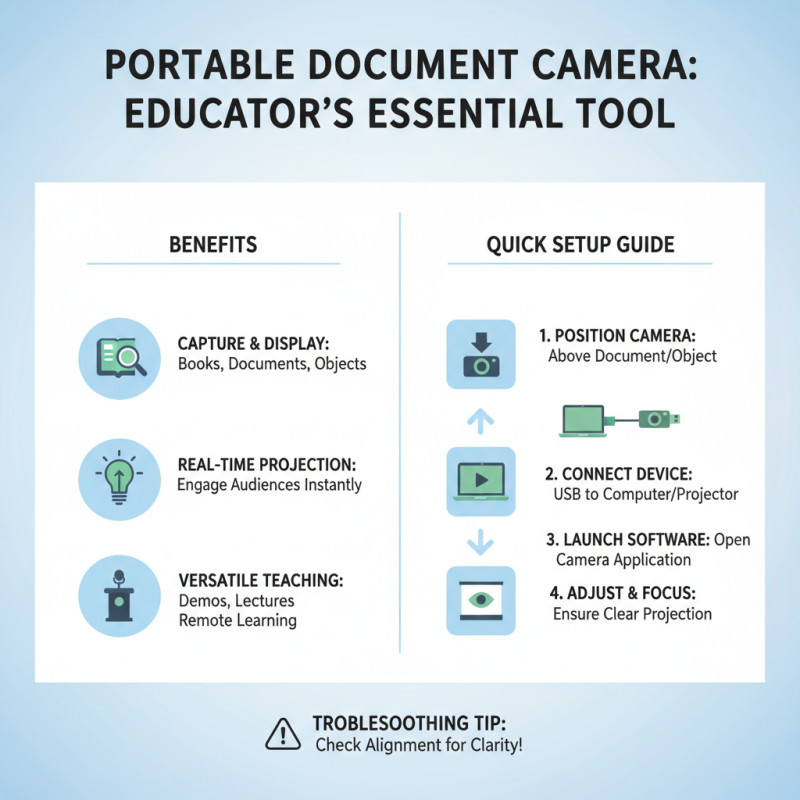
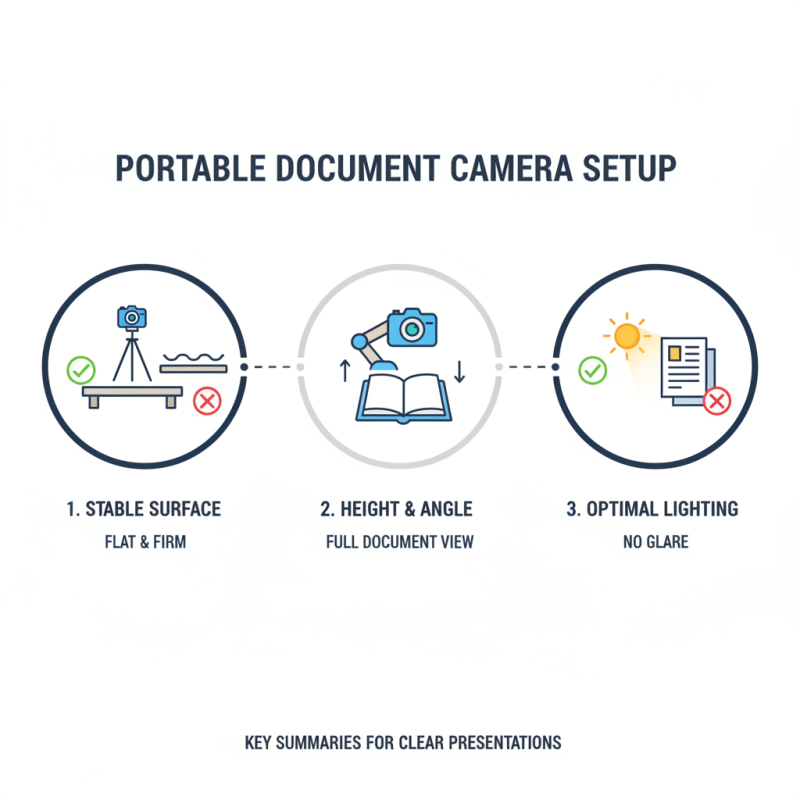
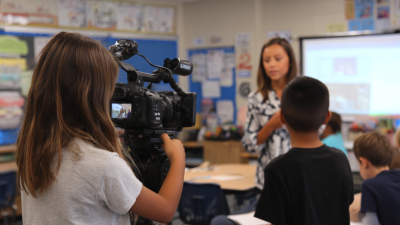
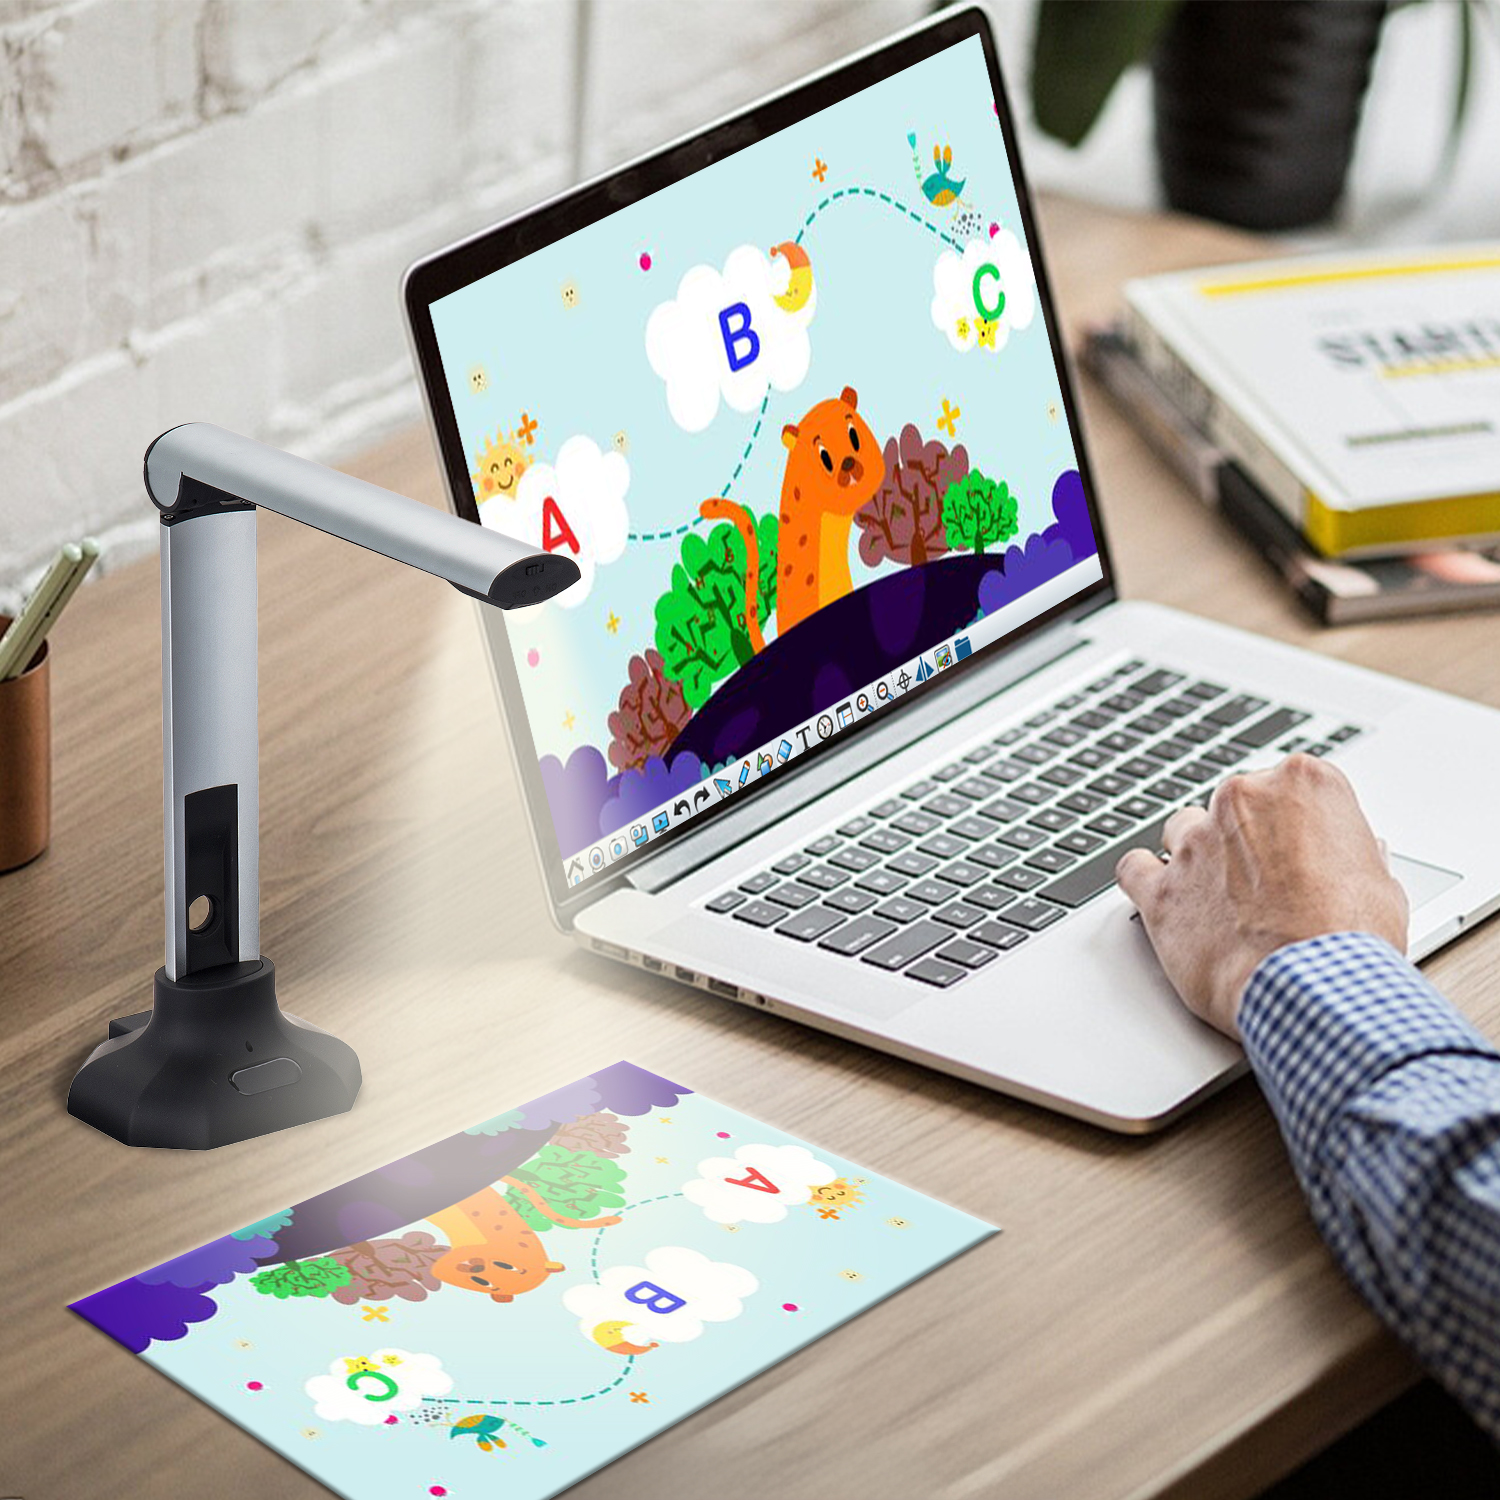
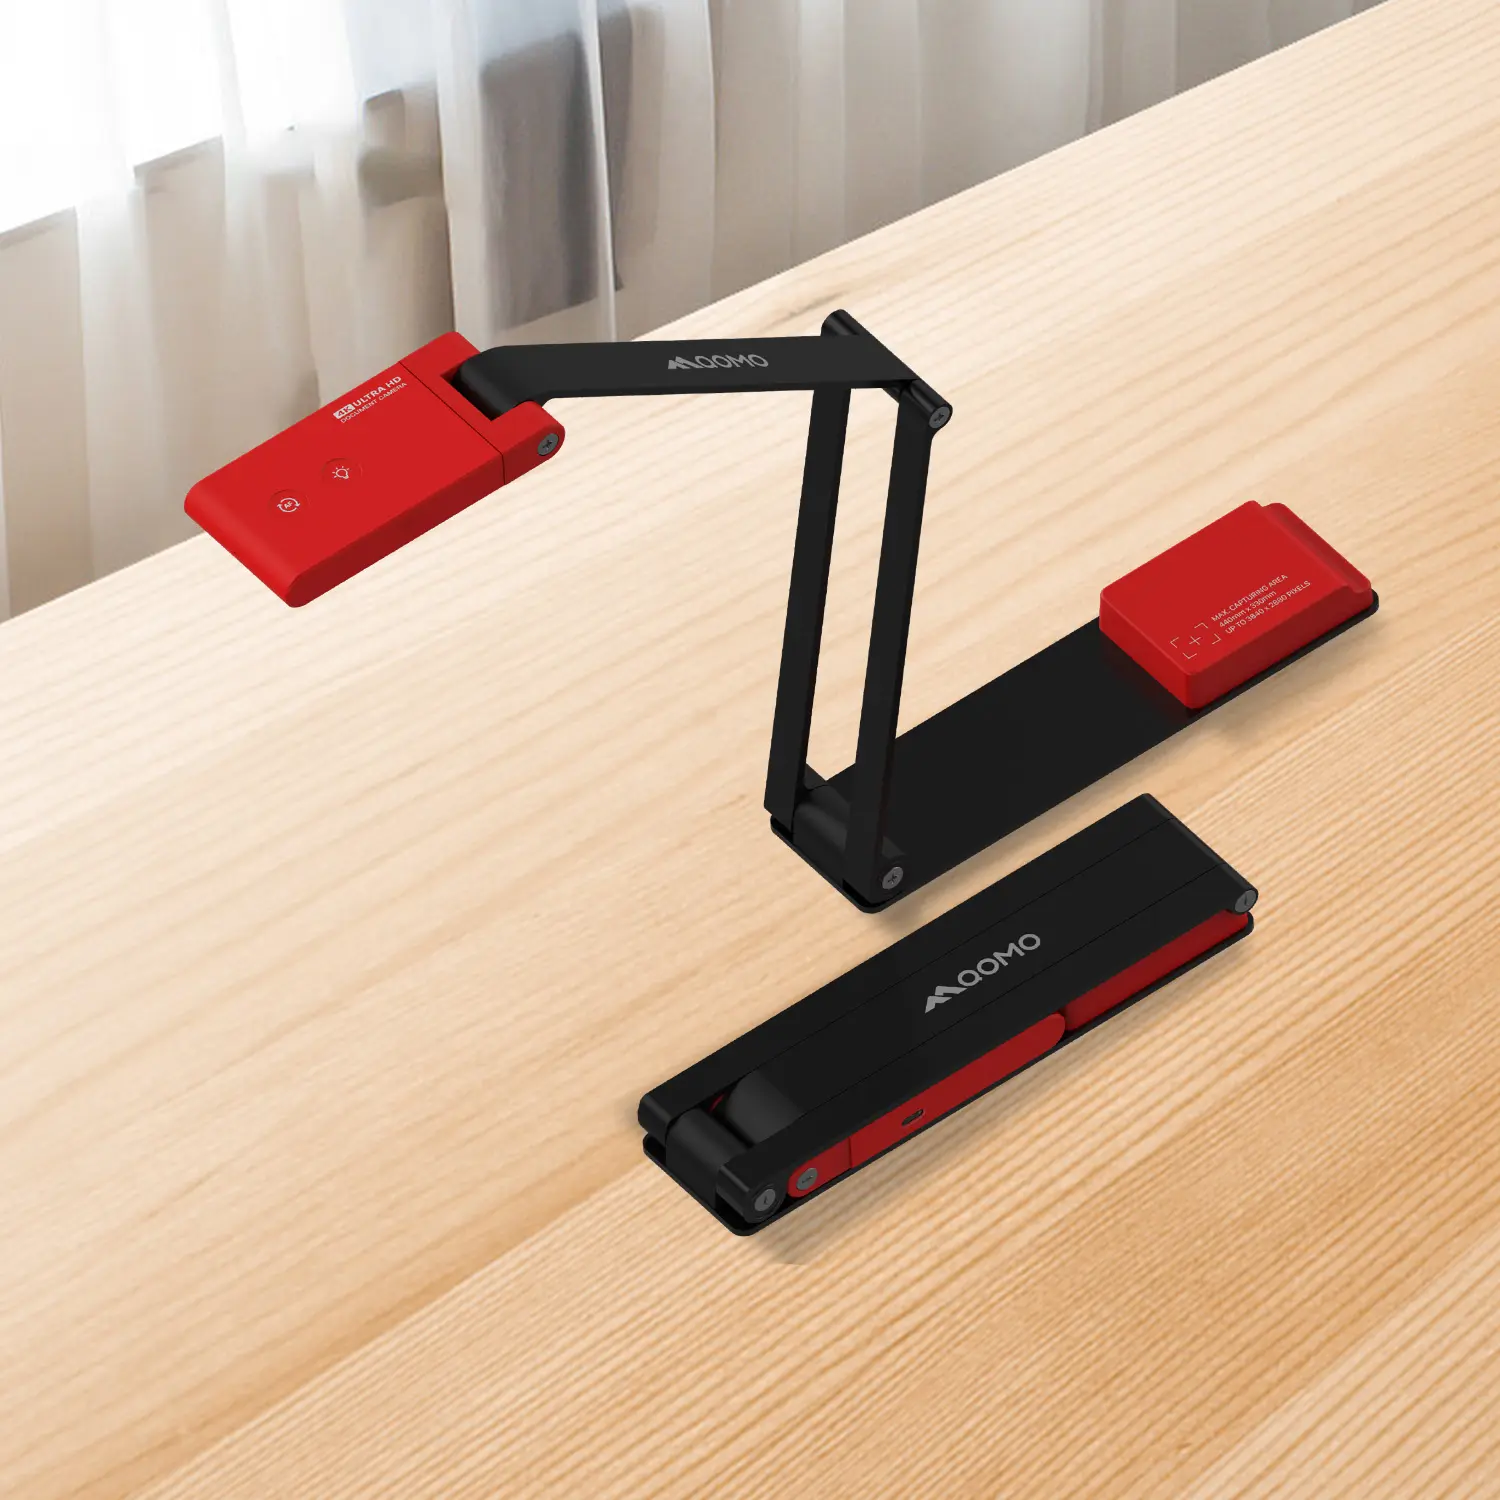
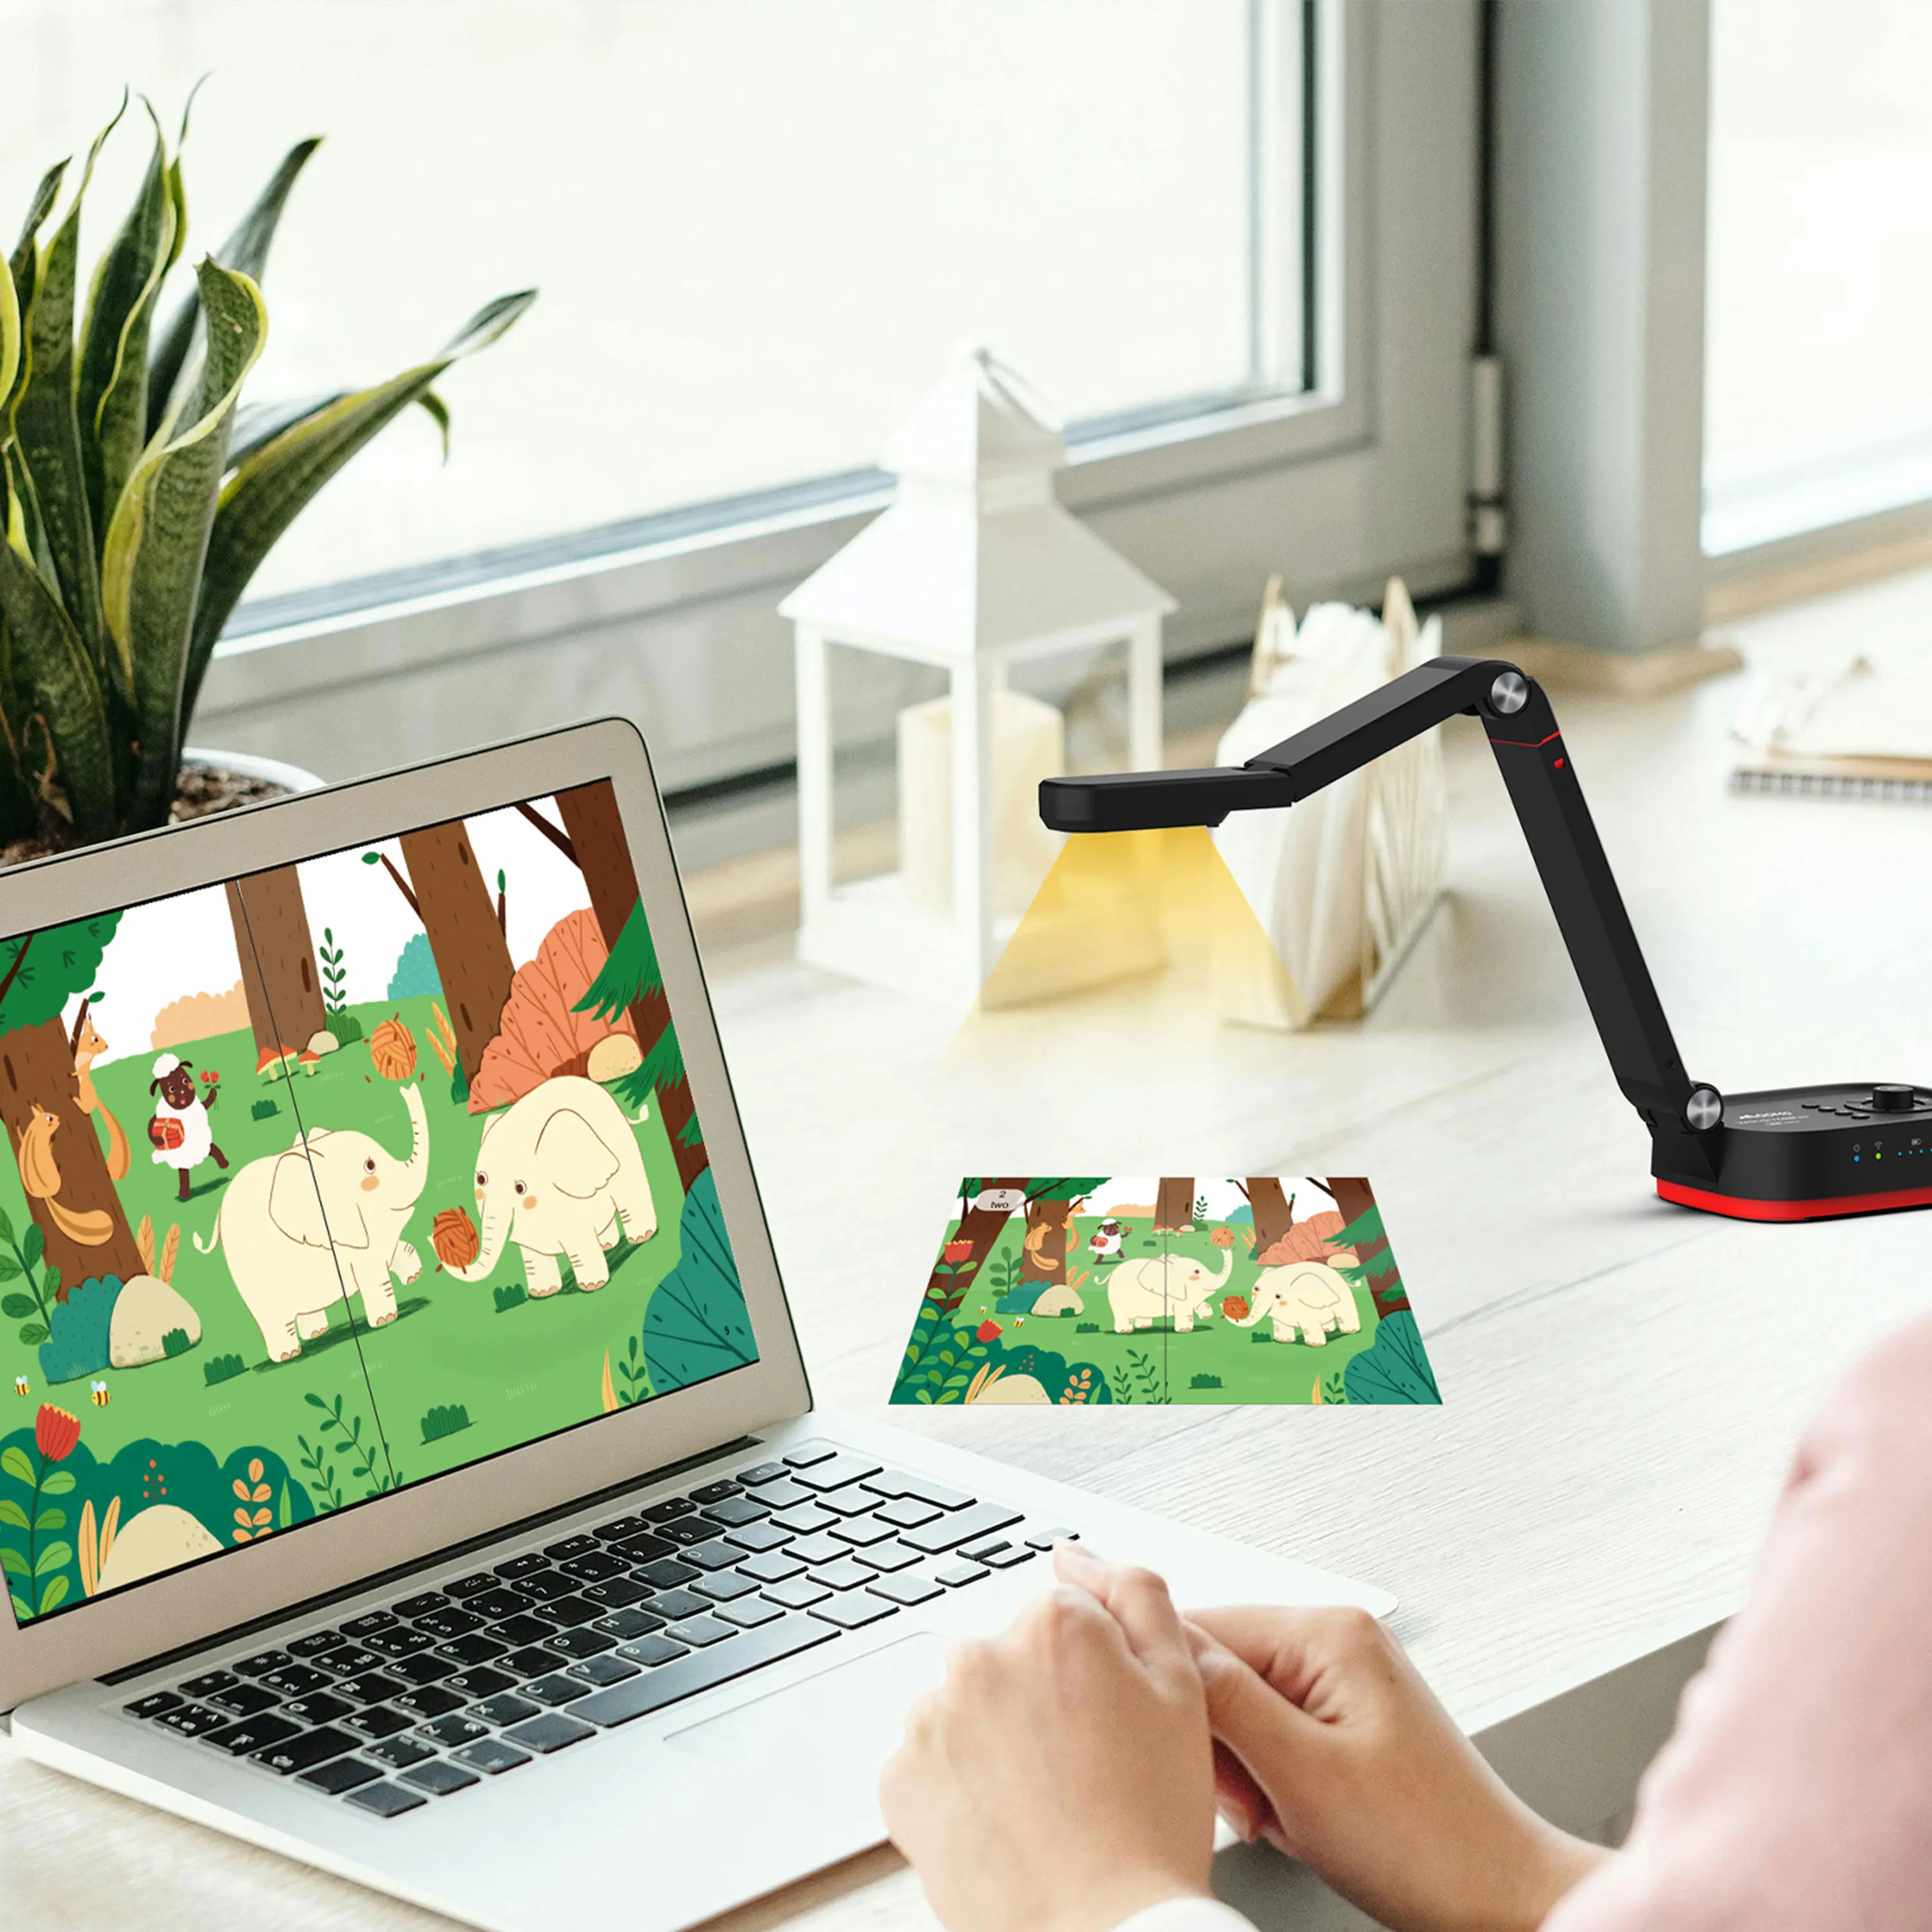 Portable Document Camera Recommendations
-
 Classic Design, Exceptional Functionality: QPC 22 Document Camera
-
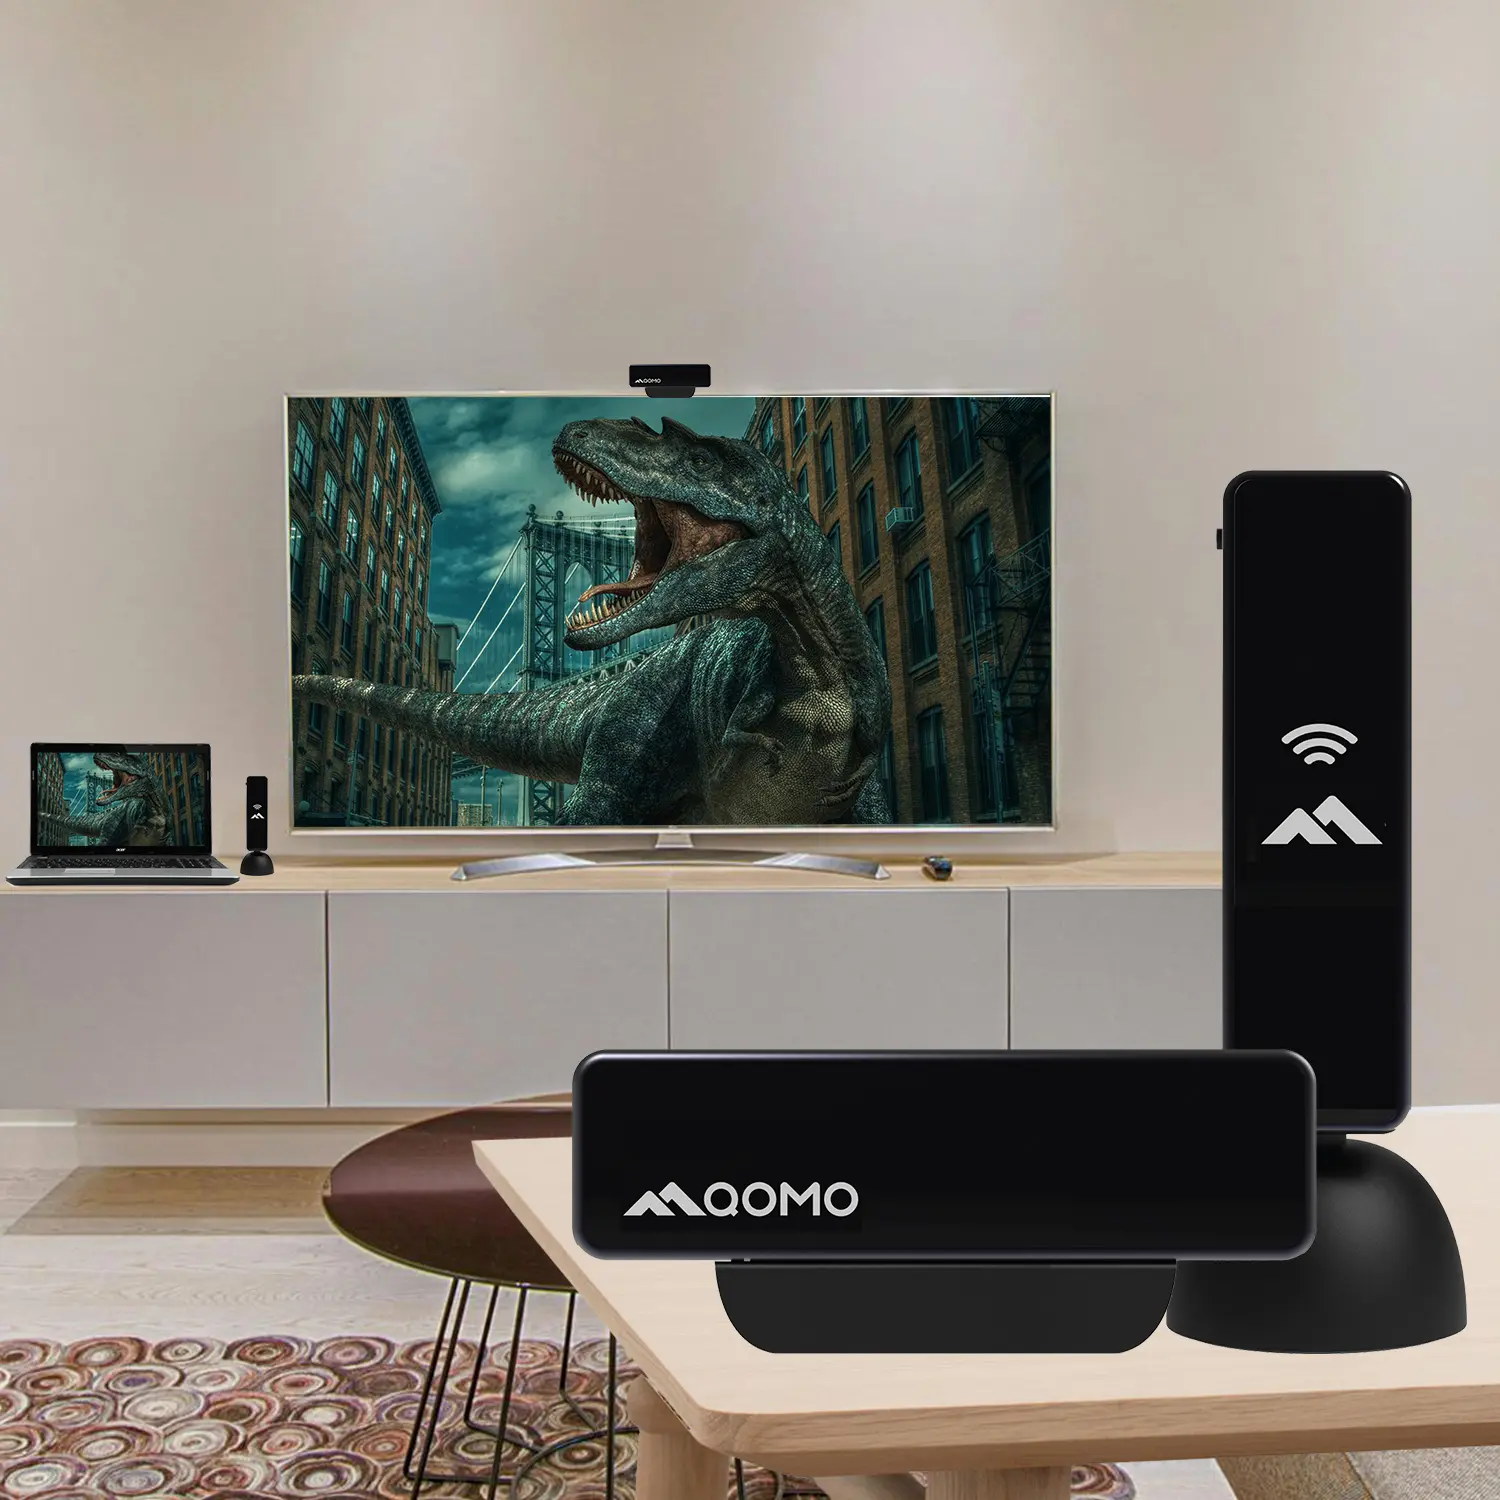
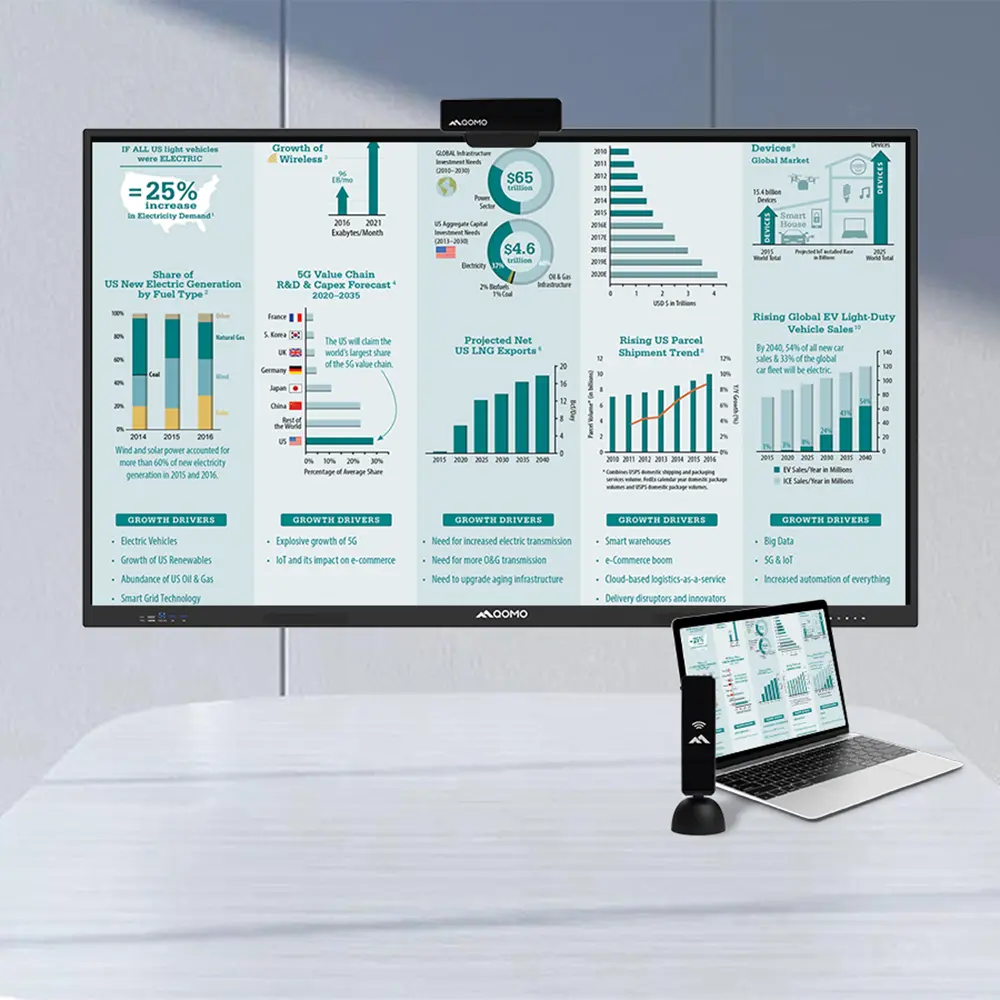 Wireless Screen Mirroring Solution for All Devices
-
 Latest Audience Response System: QRF 999
-
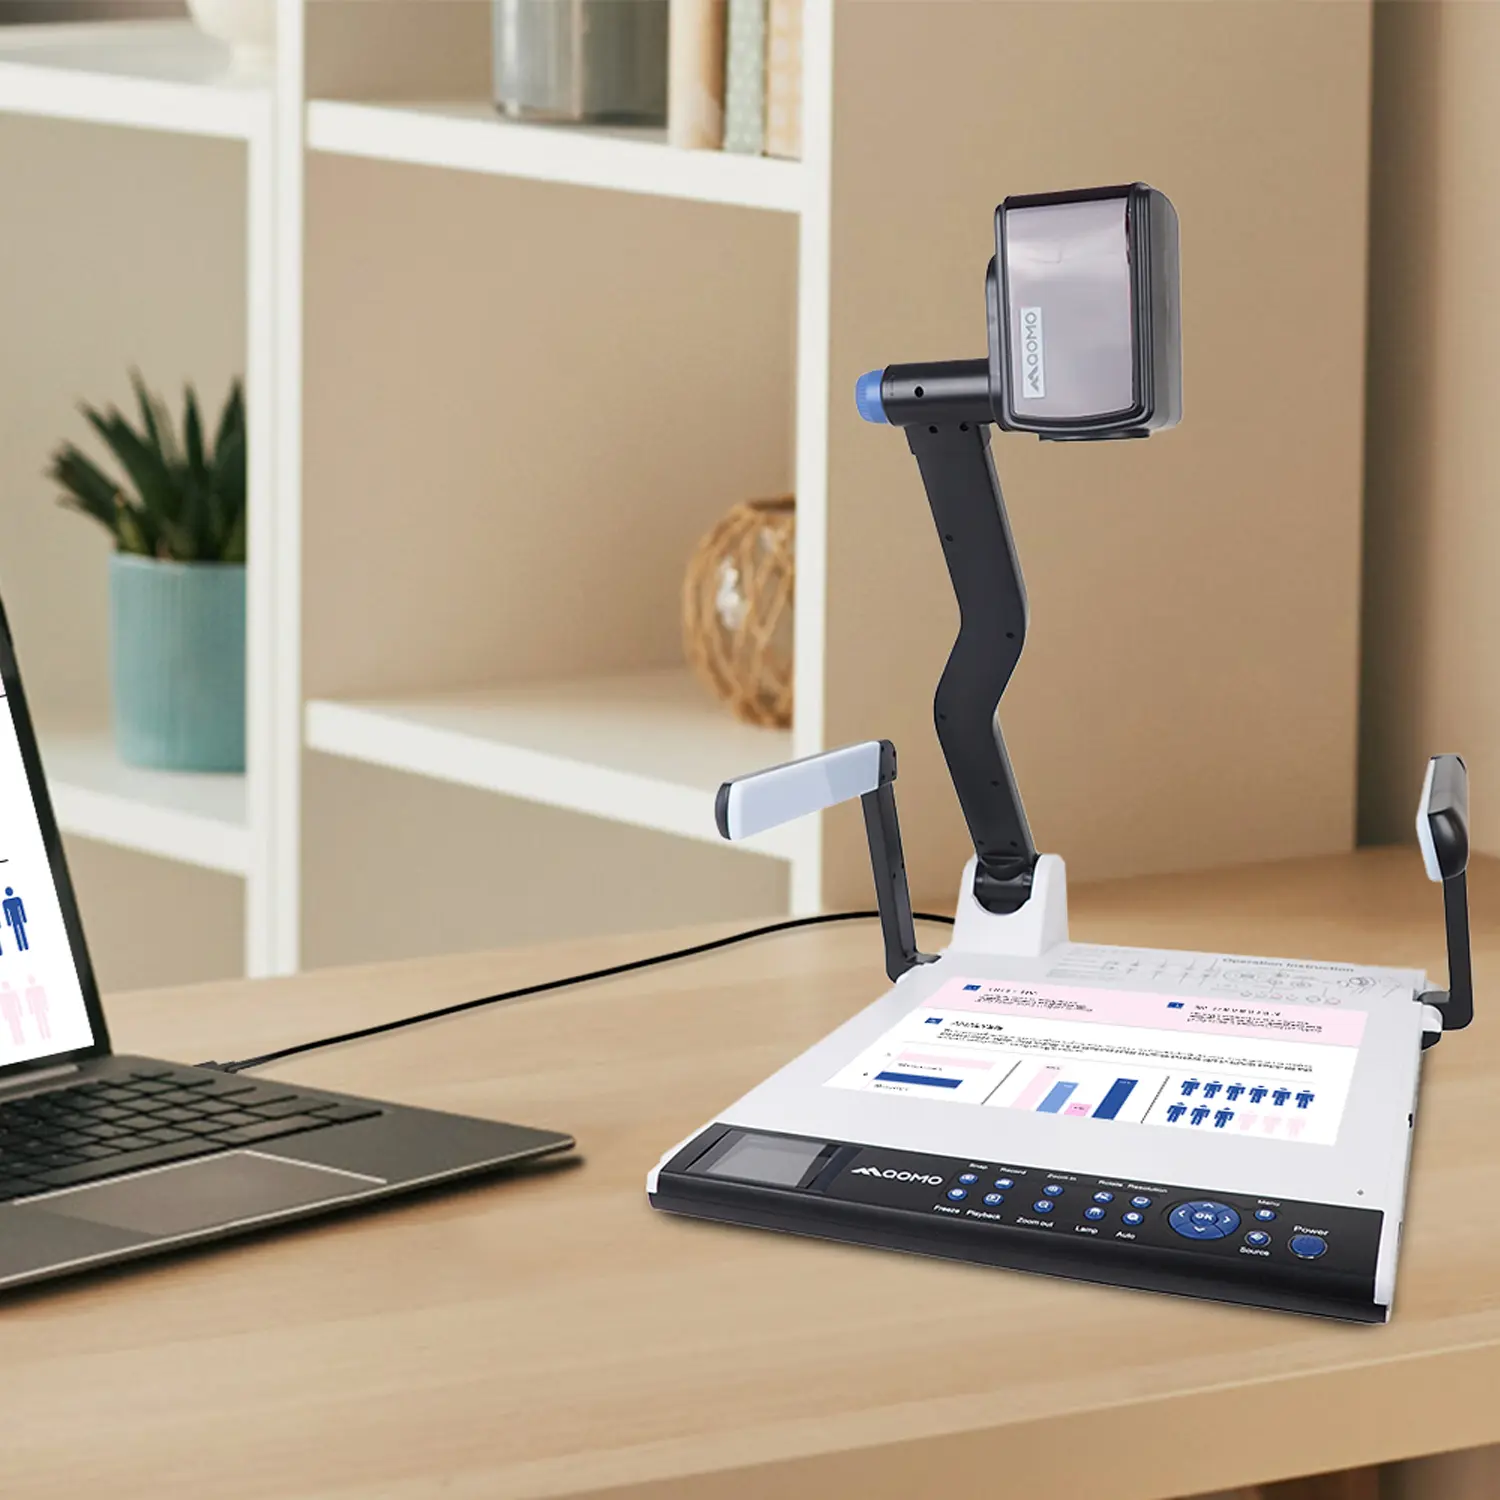
 Introducing the QPC 80H3 Gooseneck Document Camera
-
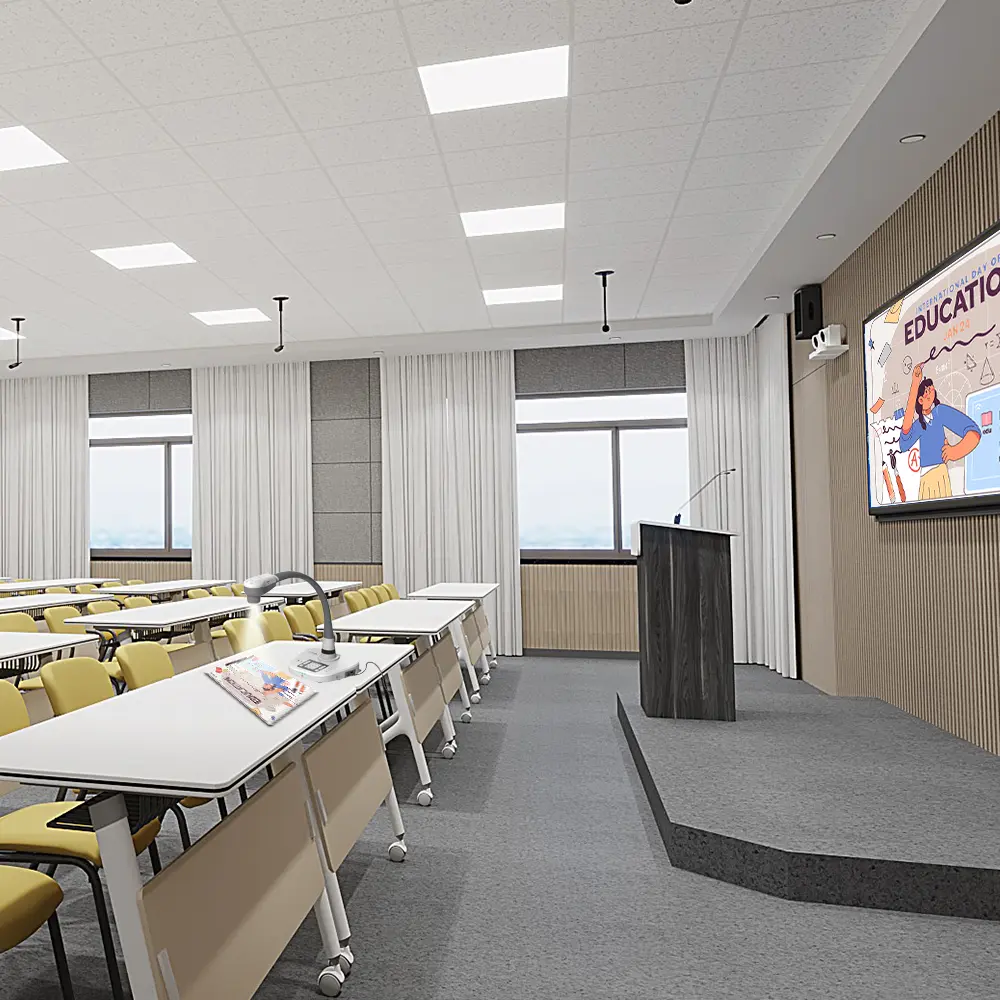
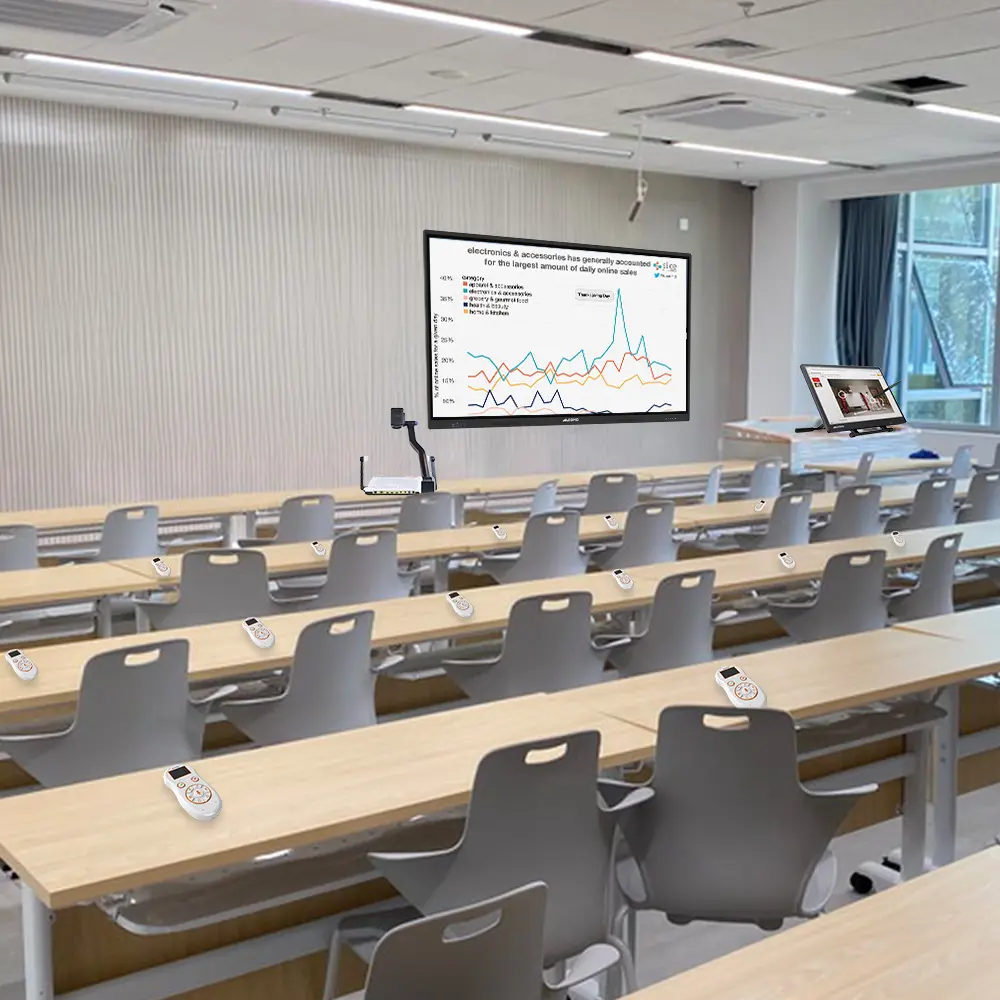 Creating a Smart Integrated Classroom: What Do You Need?
-
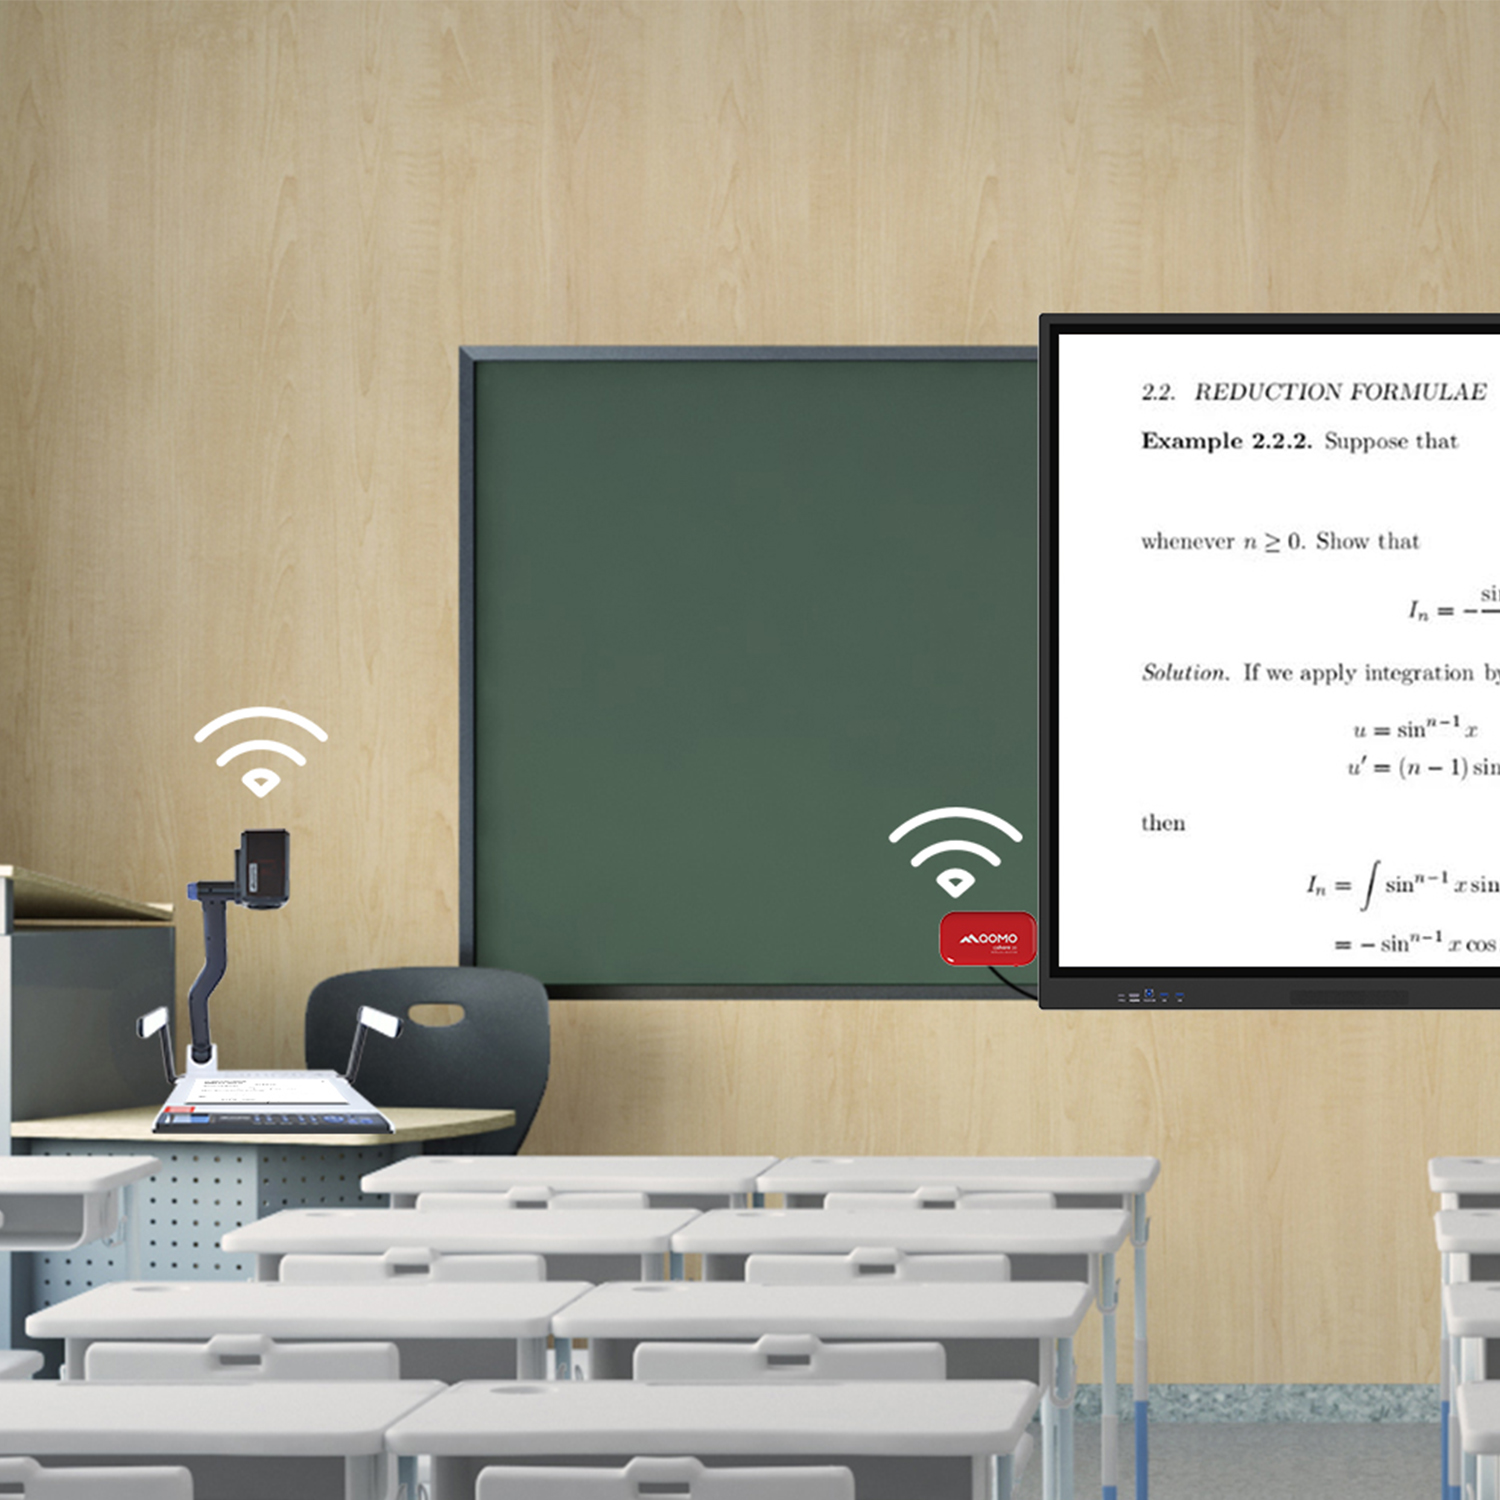
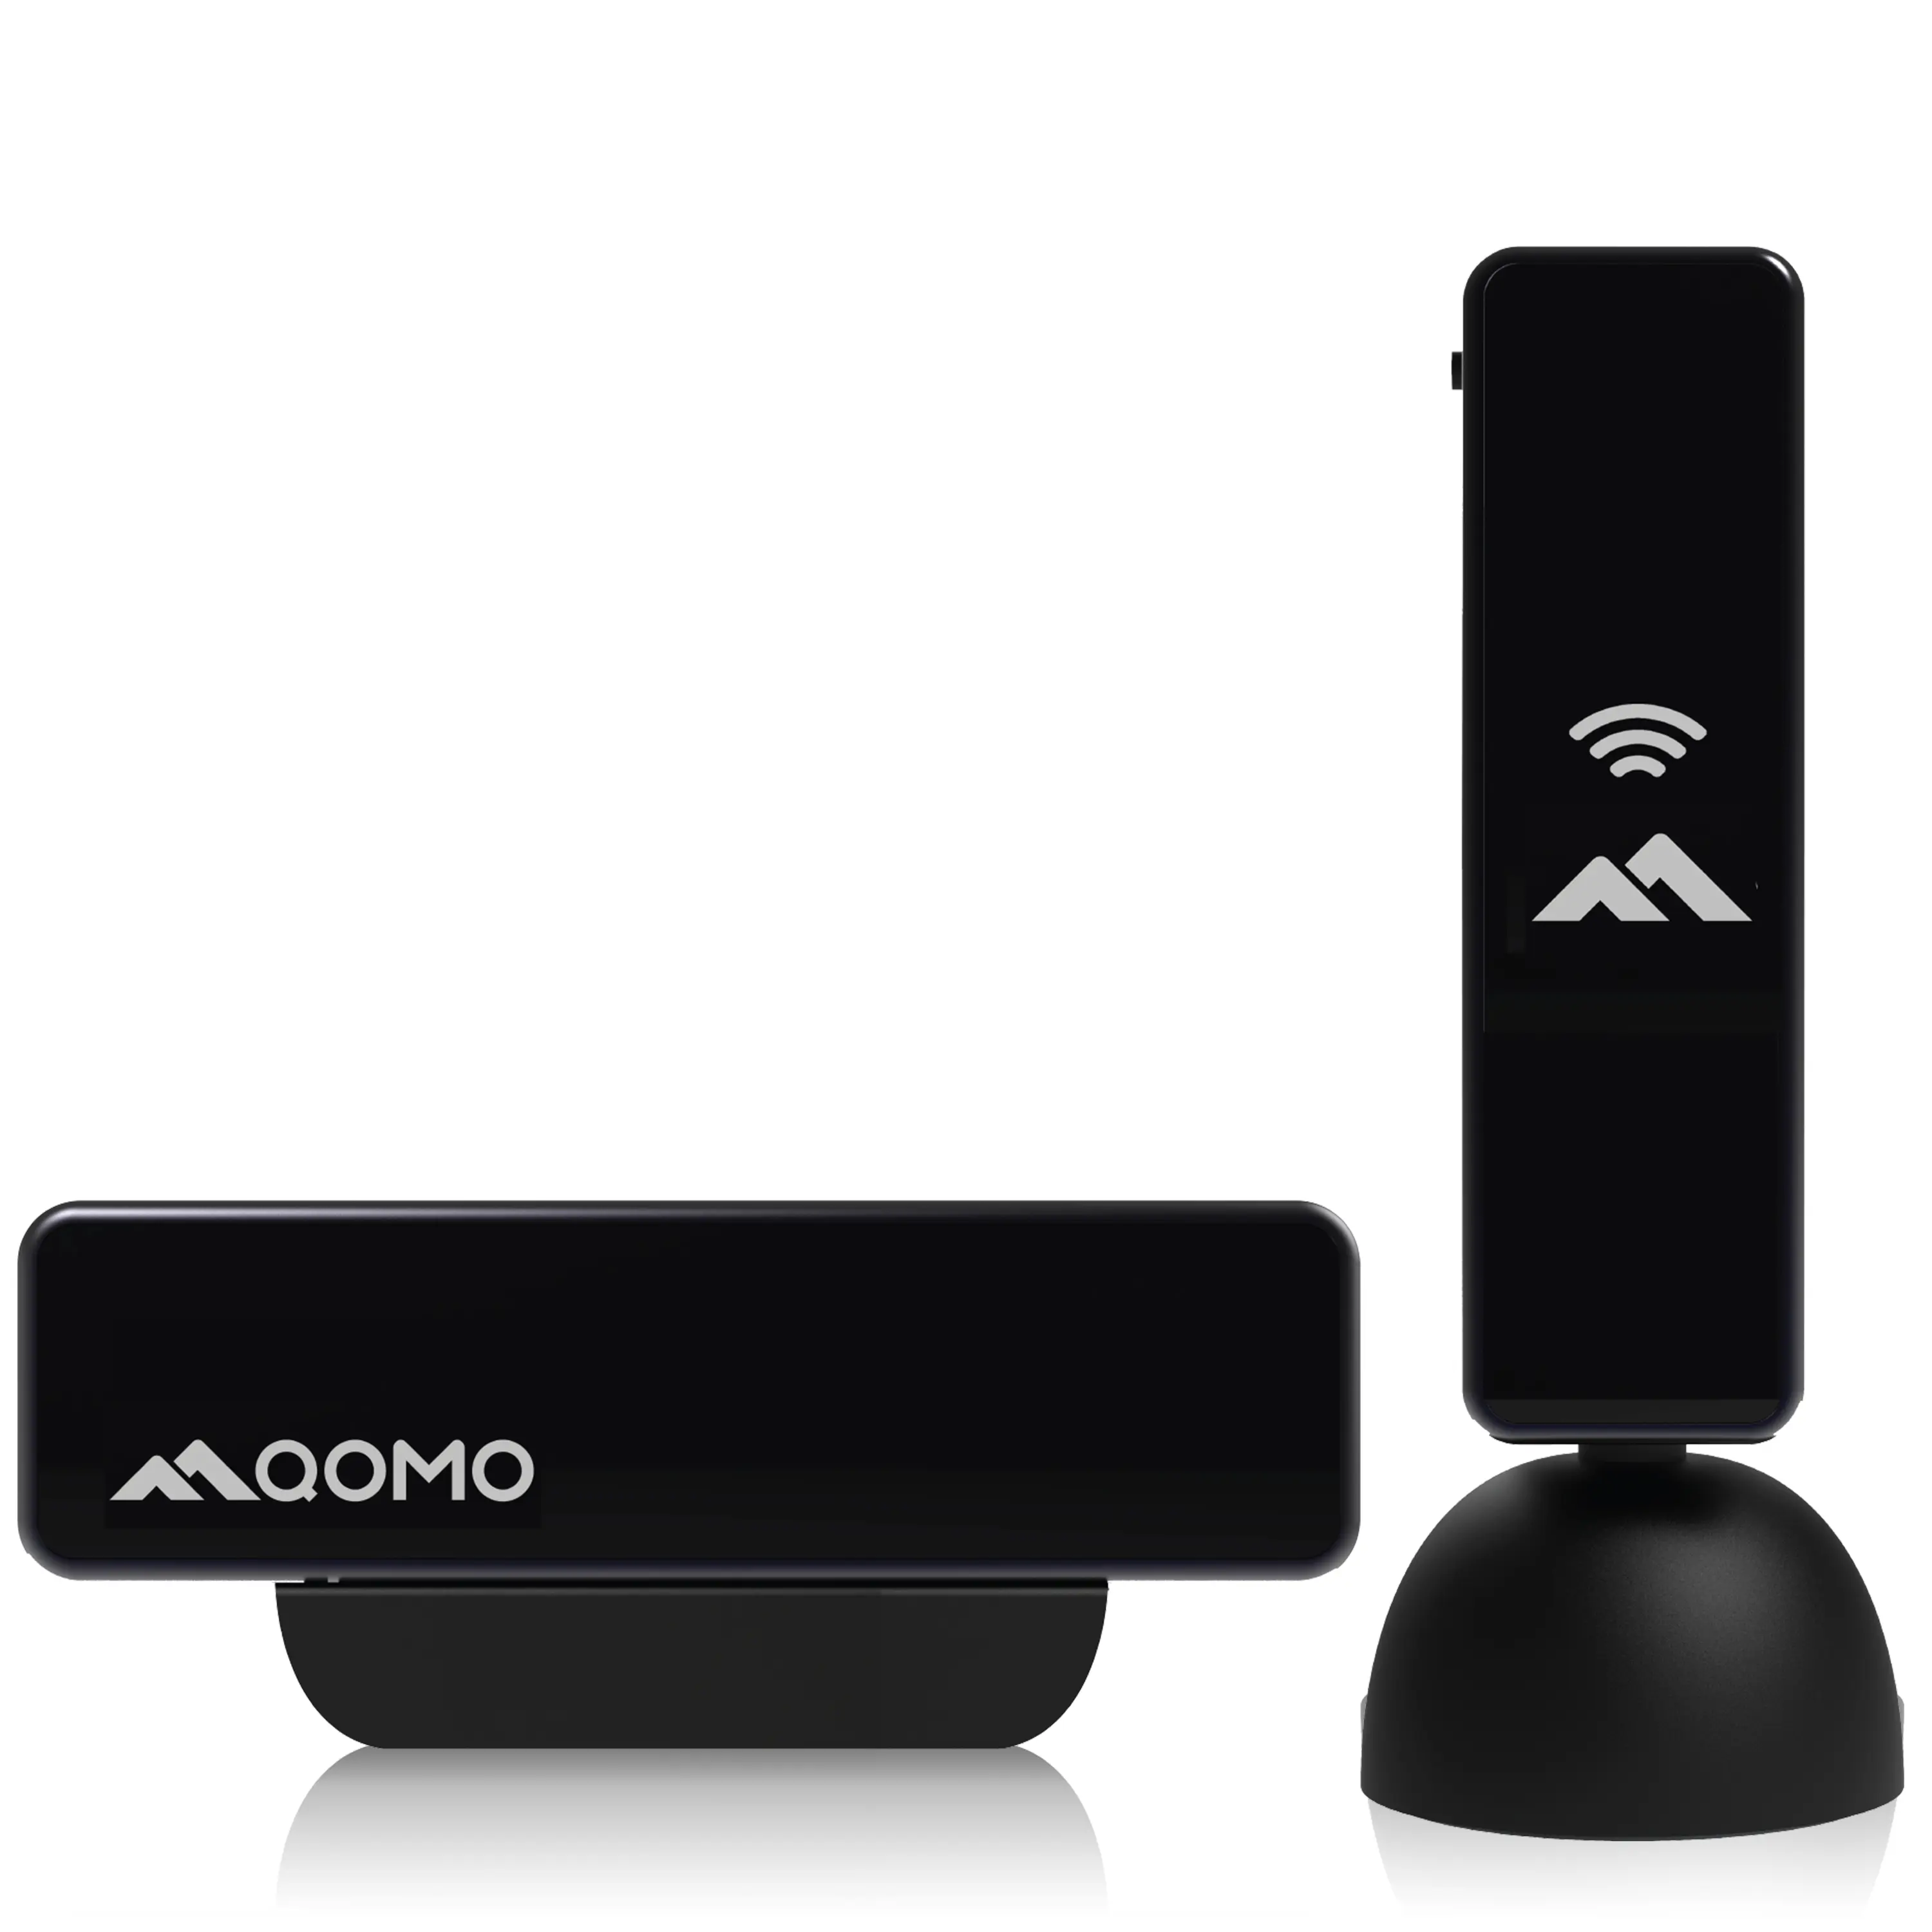
 Wireless Connectivity Upgraded: WiFi-Free Wireless Document Receiver
-
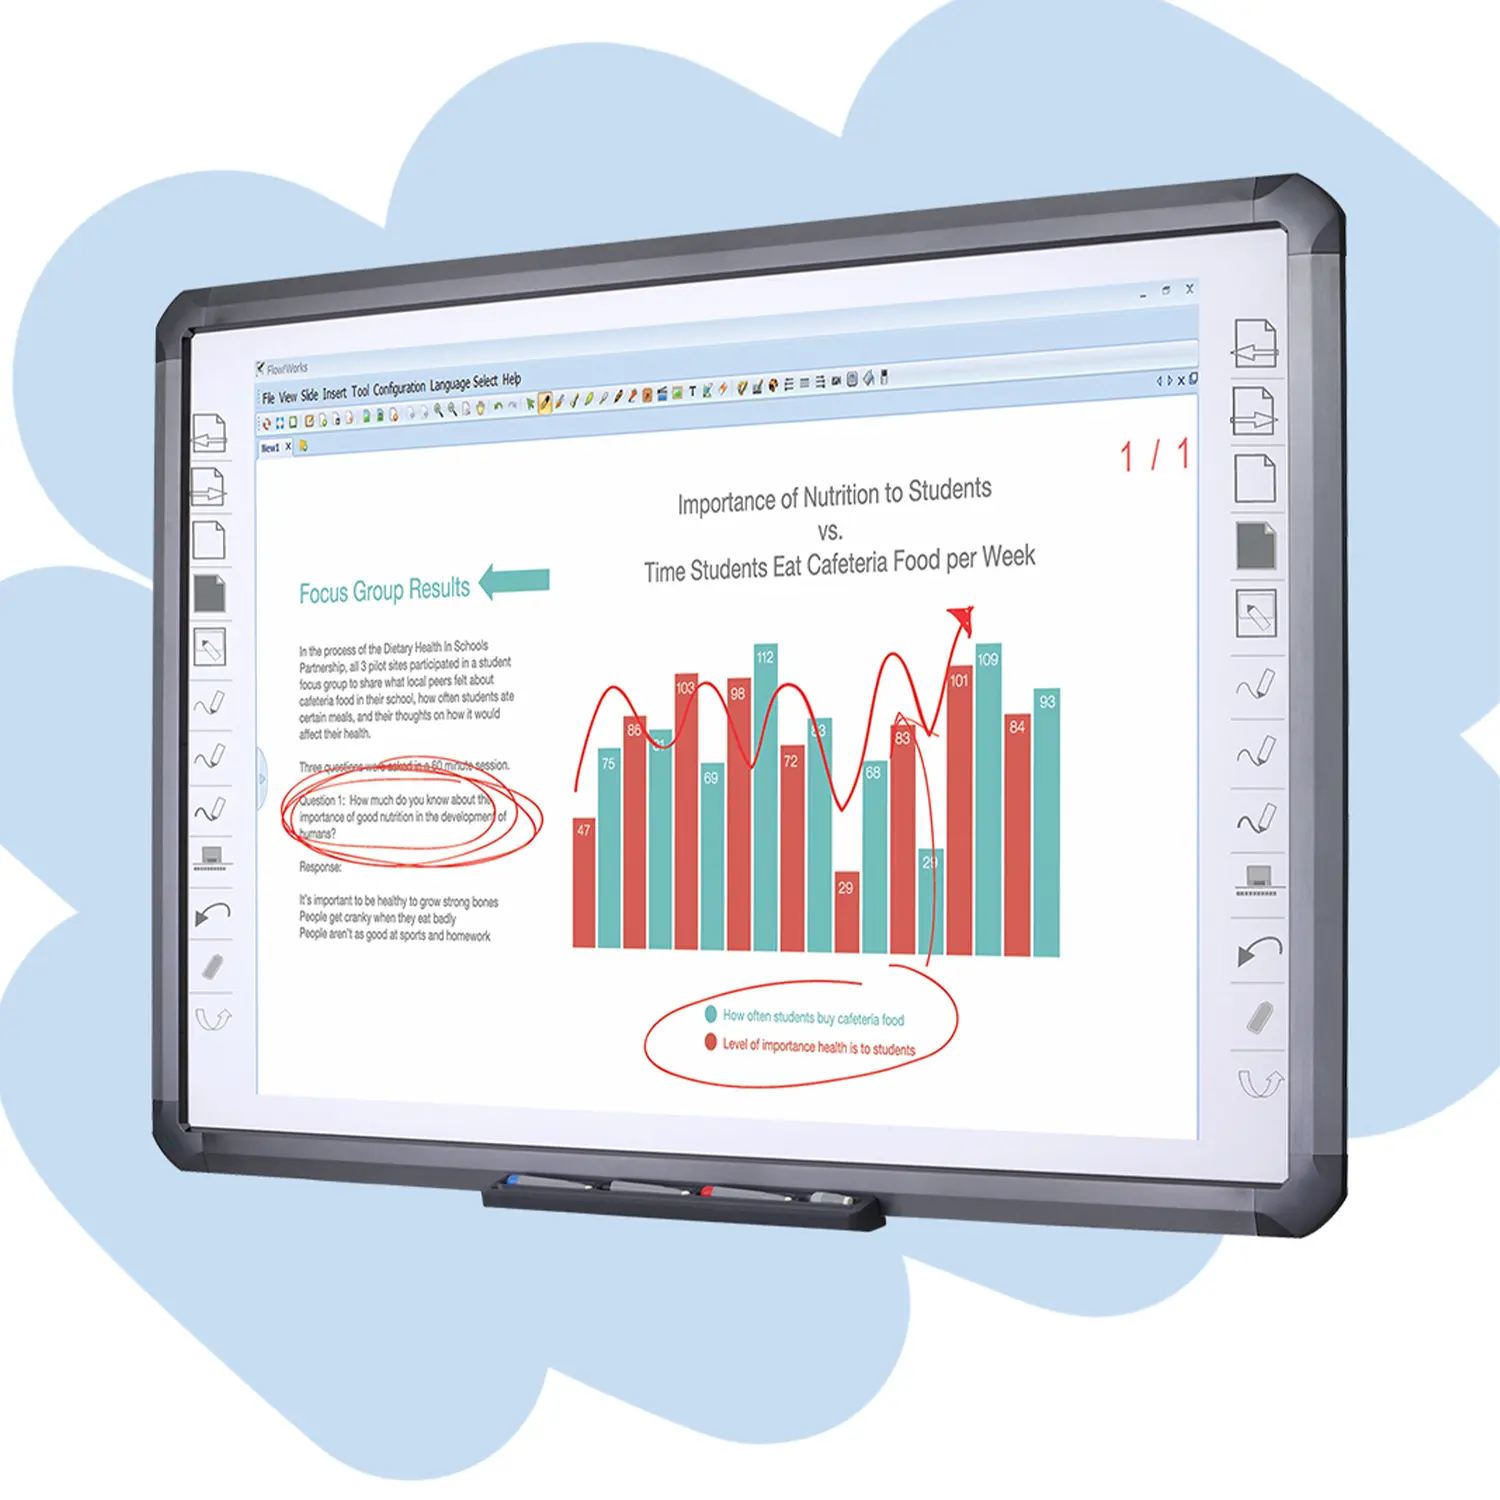 Flow!Works Pro: Interactive Whiteboard Software for Engaging Classrooms
-
 How to Choose the Perfect Document Camera and Elevate Productivity
-
 QWC 004 Conference Webcam: The Top Choice for Remote Education
-
 QCamera: Dedicated Software for Document Cameras to Elevate Your Presentations
-
 QRF999 Voice Response System: Enhancing Teacher-Student Interaction
-
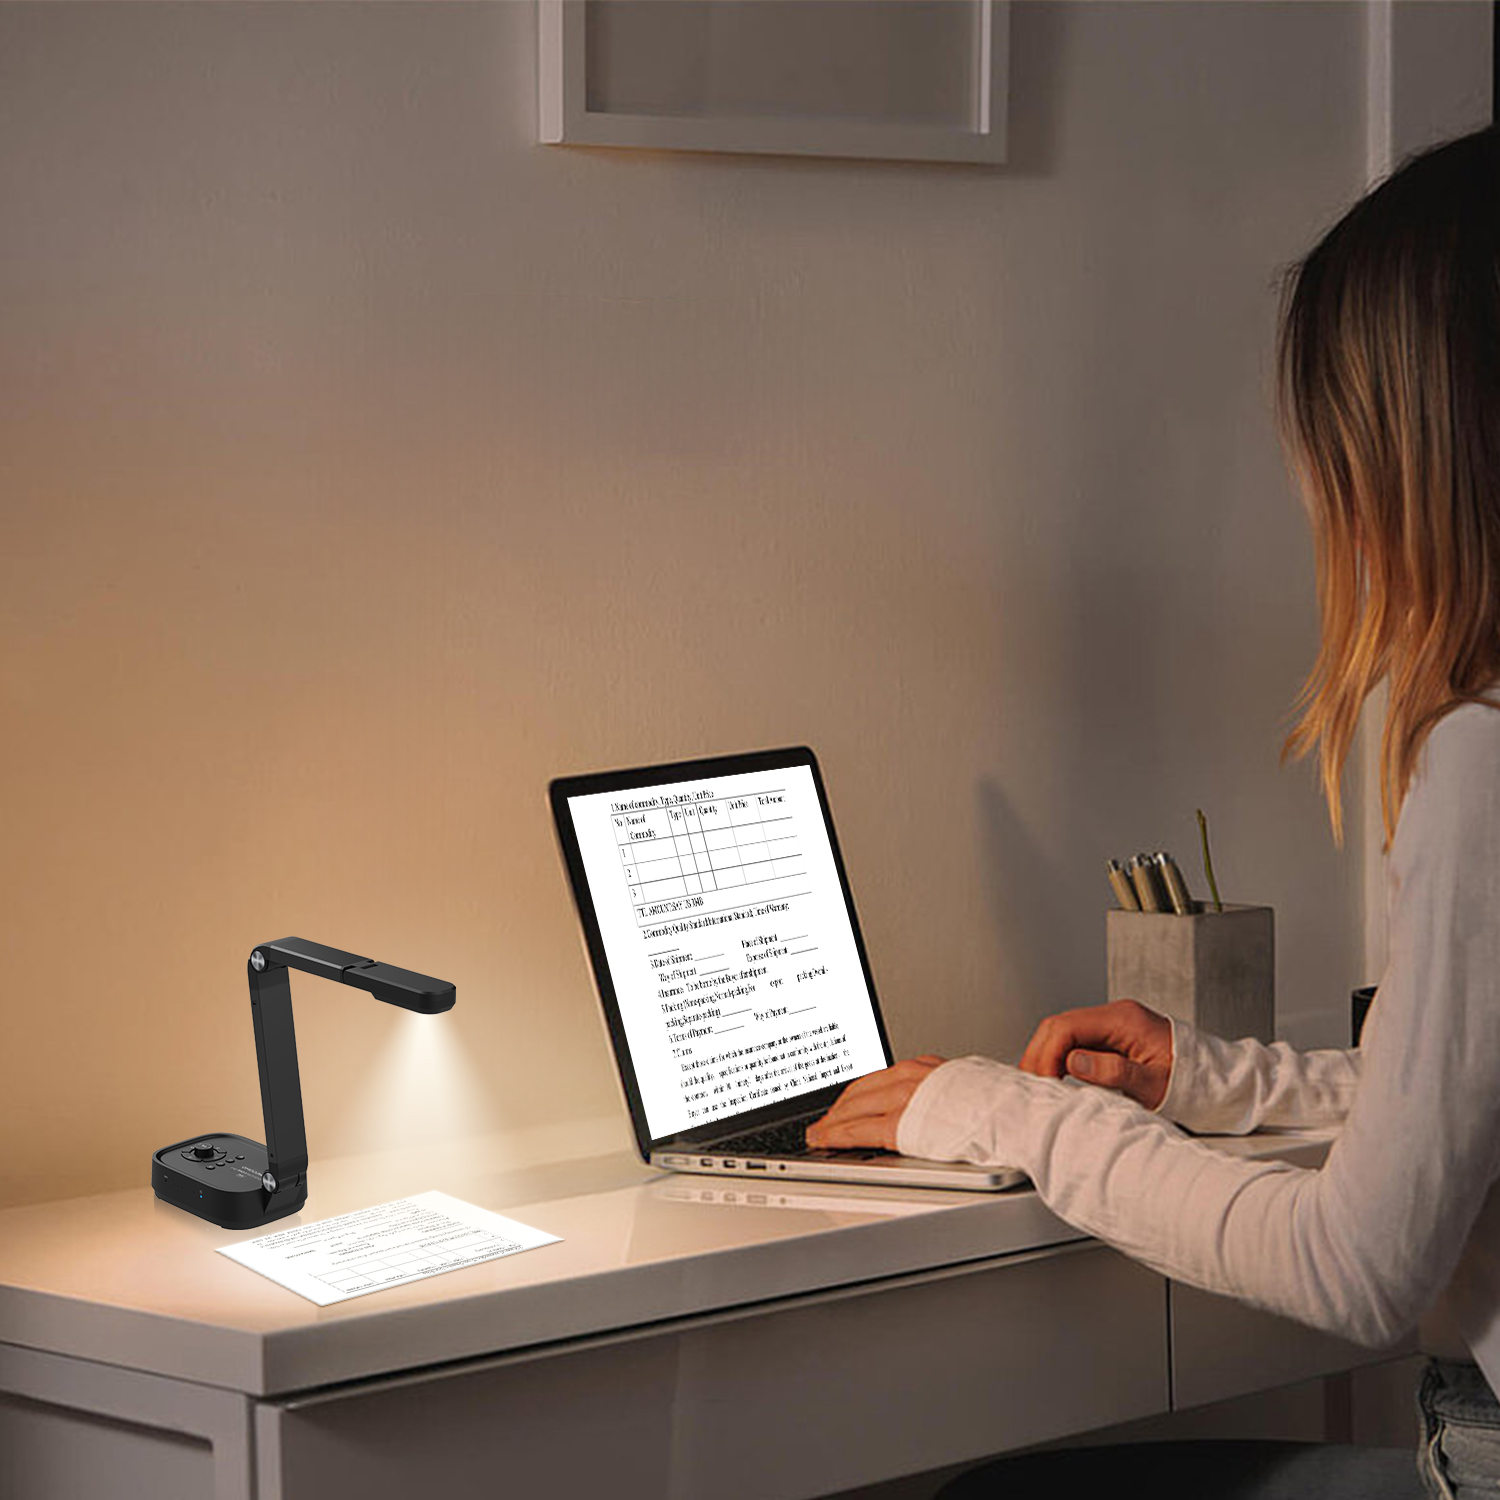
 Work From Home? Maybe You Should Try This Document Camera
-
 The Ultimate Educational Tool: Gooseneck Document Camera
-
 60GHz Millimeter-Wave Wireless Screen Sharing: QShare 100
-
 What Does a Modern Conference Room Need?
-
 QD5000 Document Camera: Unimaginable Versatility!
-
 QWC 004: The Most Cost-Effective Webcam
-
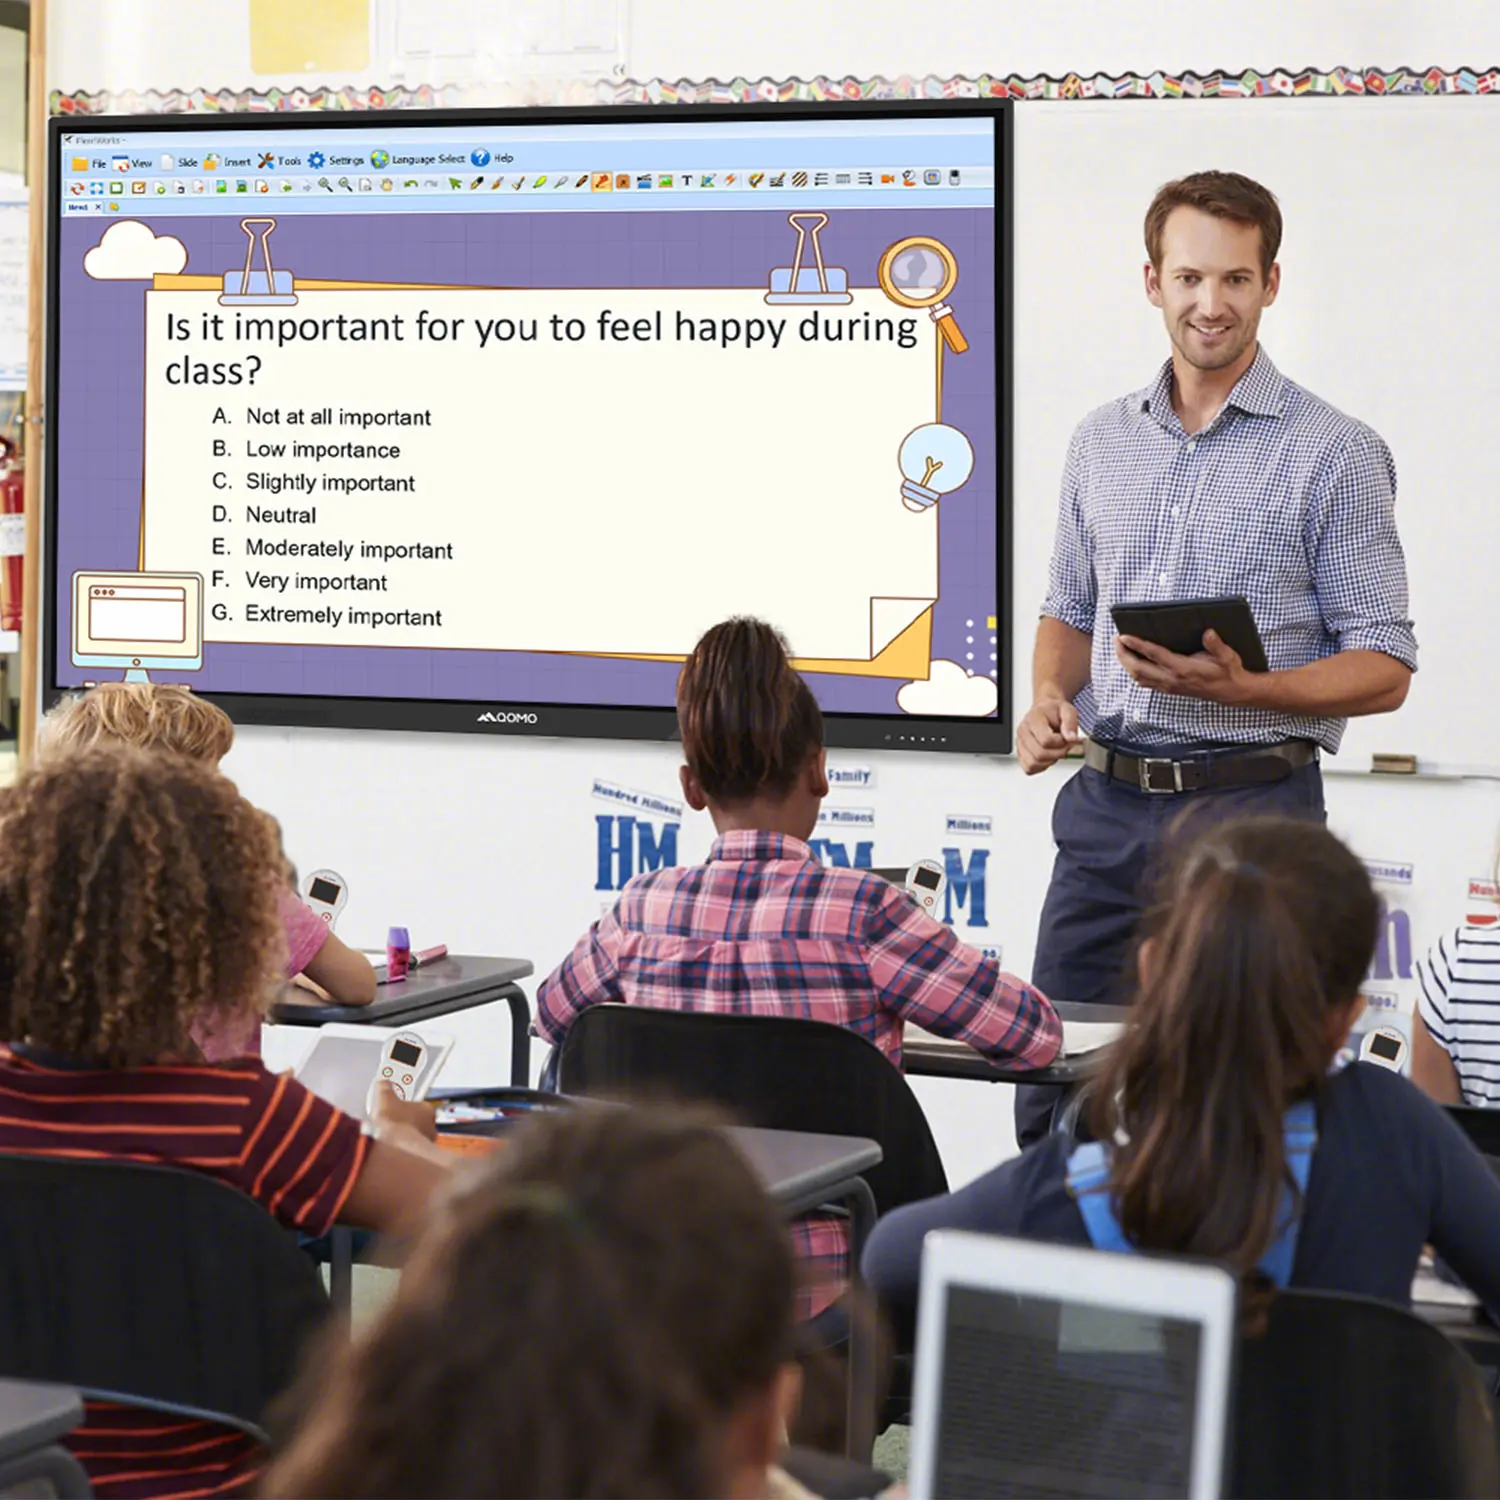
 QVote Interactive Classroom Response System Software
-
 Functionality, Aesthetics, Portability! Meet the QWC 100S Document Camera!
-
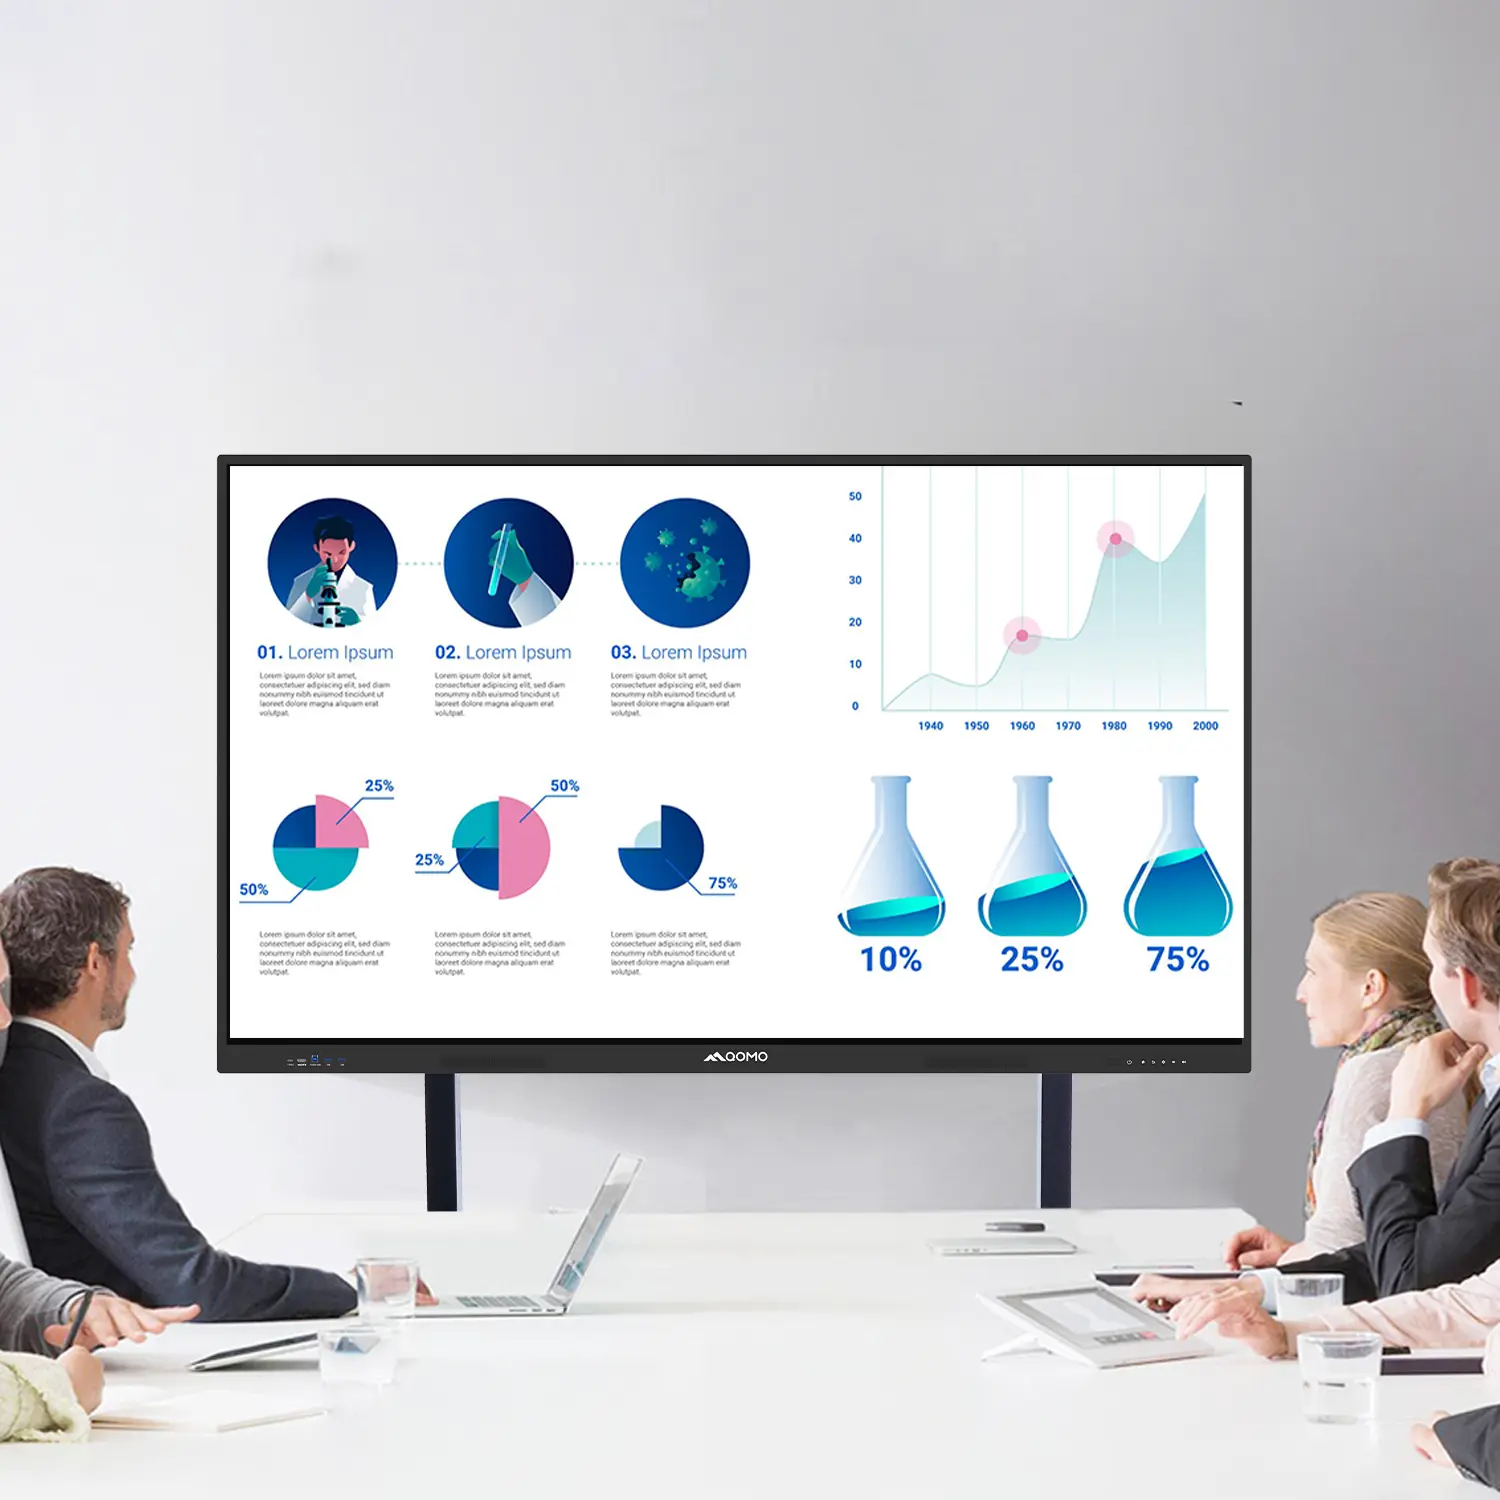
 Why Choose the BundleBoard H/H2 Interactive Flat Panel?
-
 Save Your Budget—Introducing the All-New QPC 70 Document Camera!
-
 QIT 600F3: Revolutionize Your Presentations
-
 QCamera: Professional Document Camera Software
-
 QPC 5: The Ultimate 4K Portable Document Camera
-
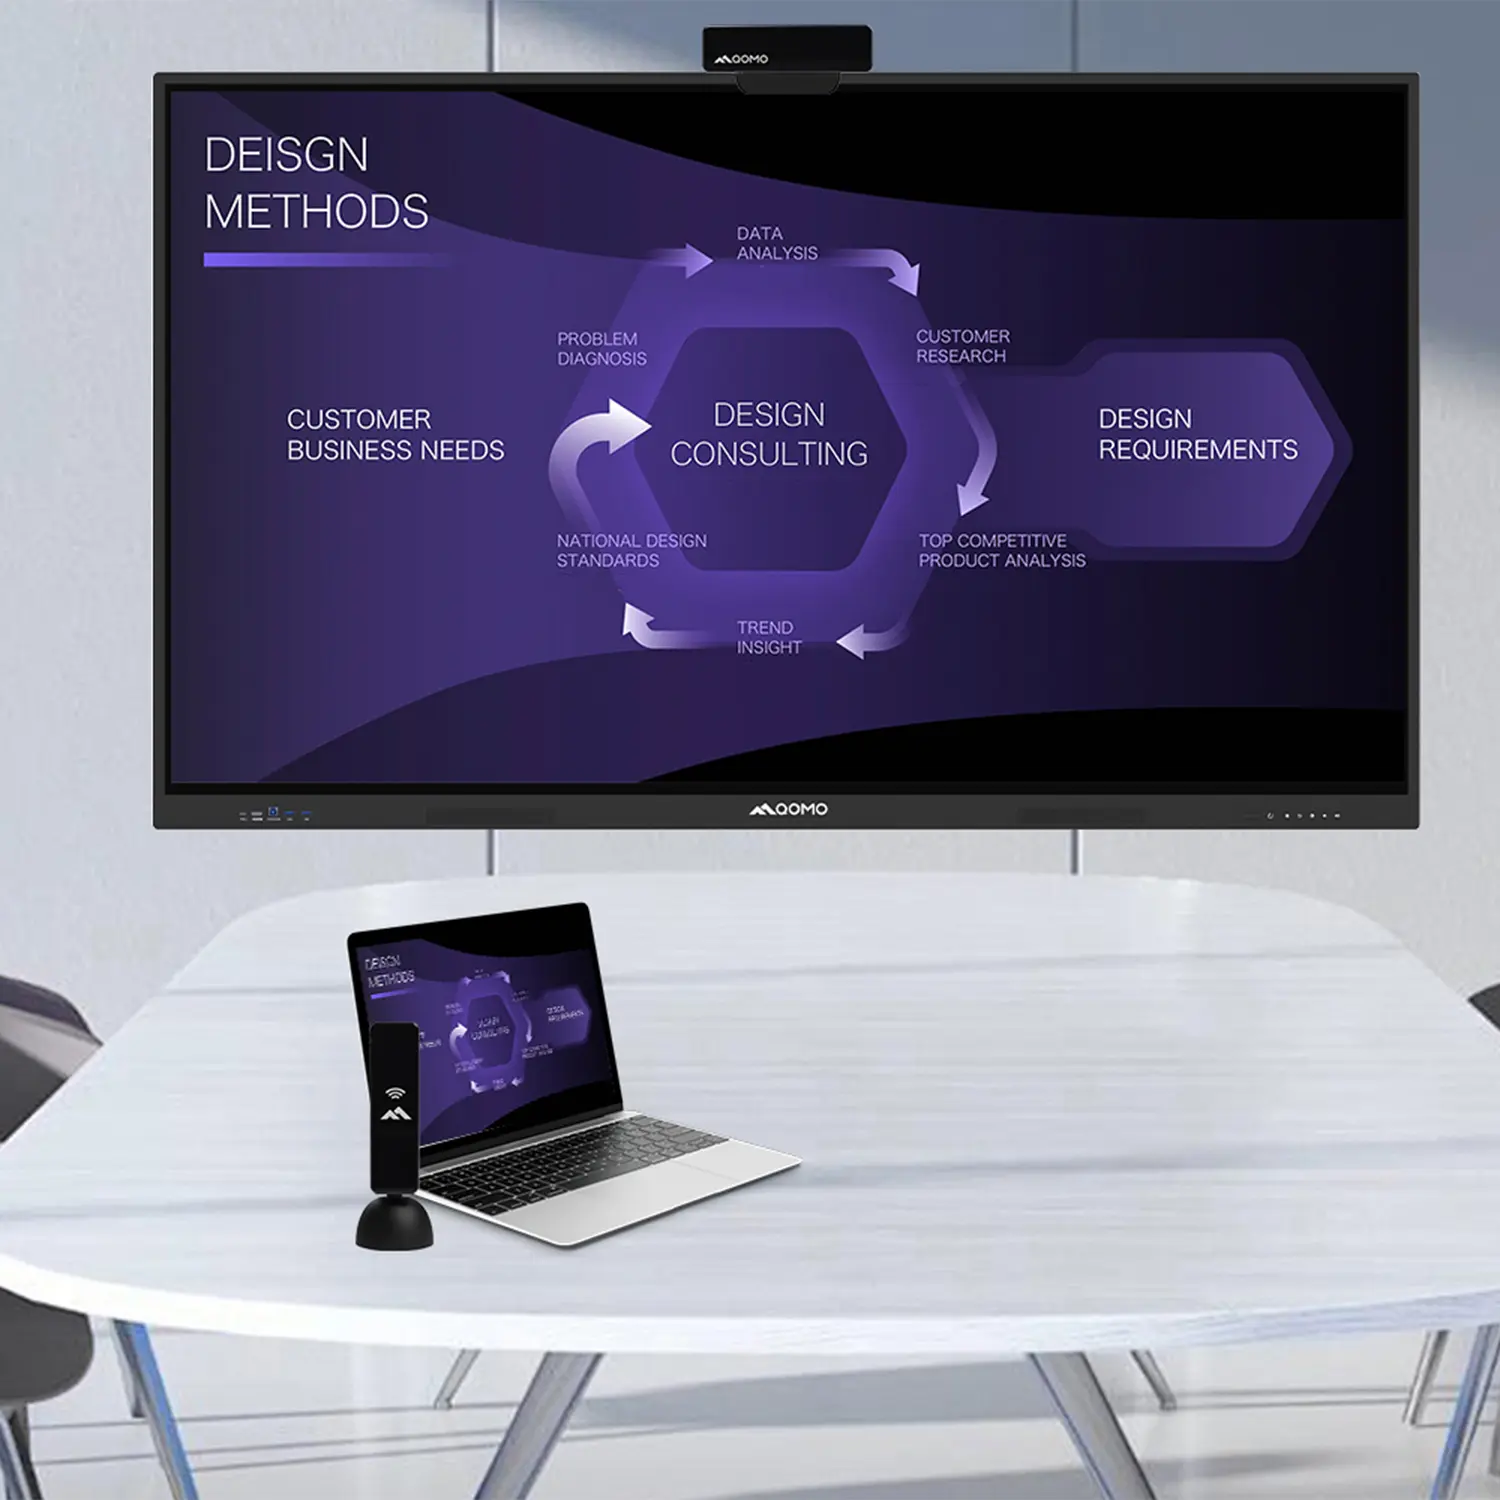
 Elevate Your Meetings in Seconds: QWC 006 Webcam
-
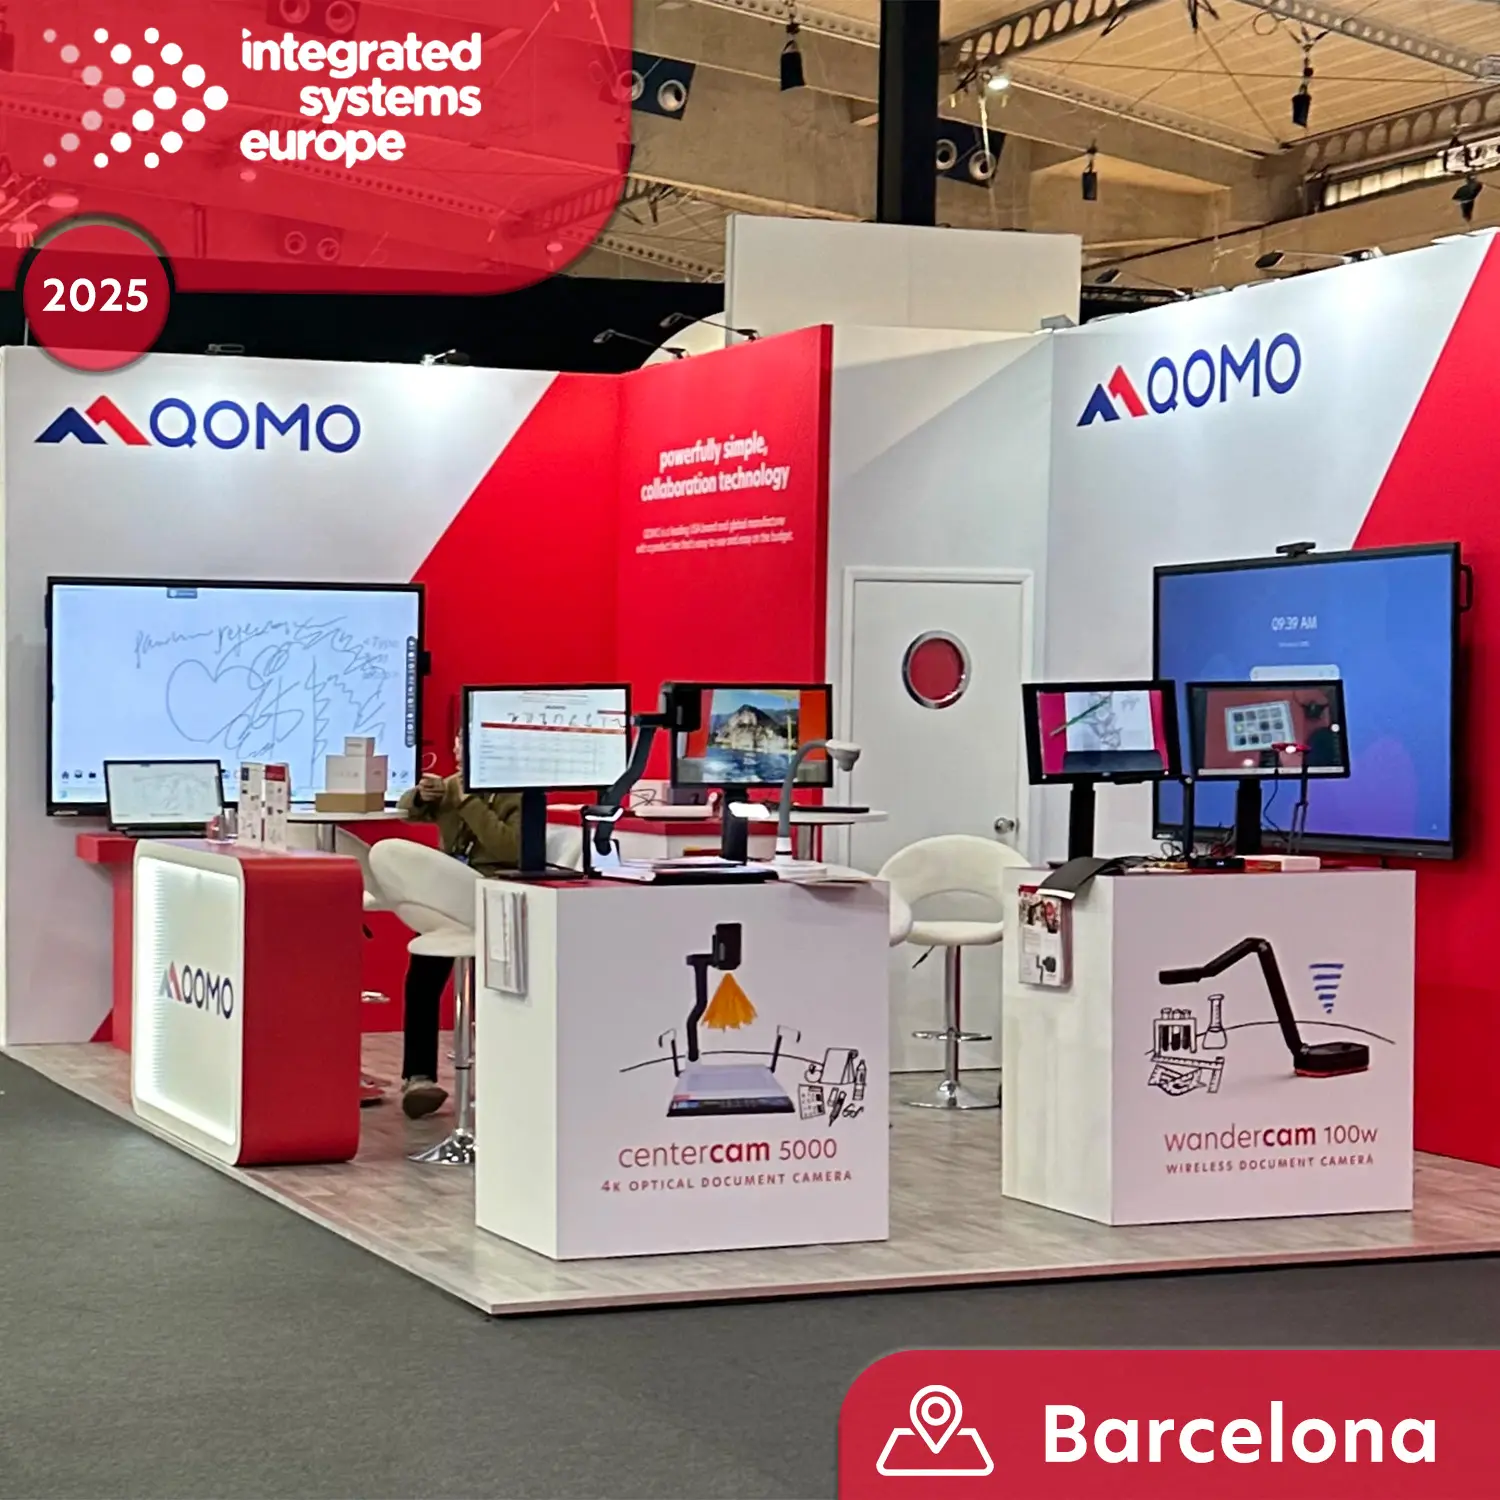 Meet QOMO at ISE 2025
-
 Wireless Document Camera Solution, Revolutionizing Wireless Technology
-
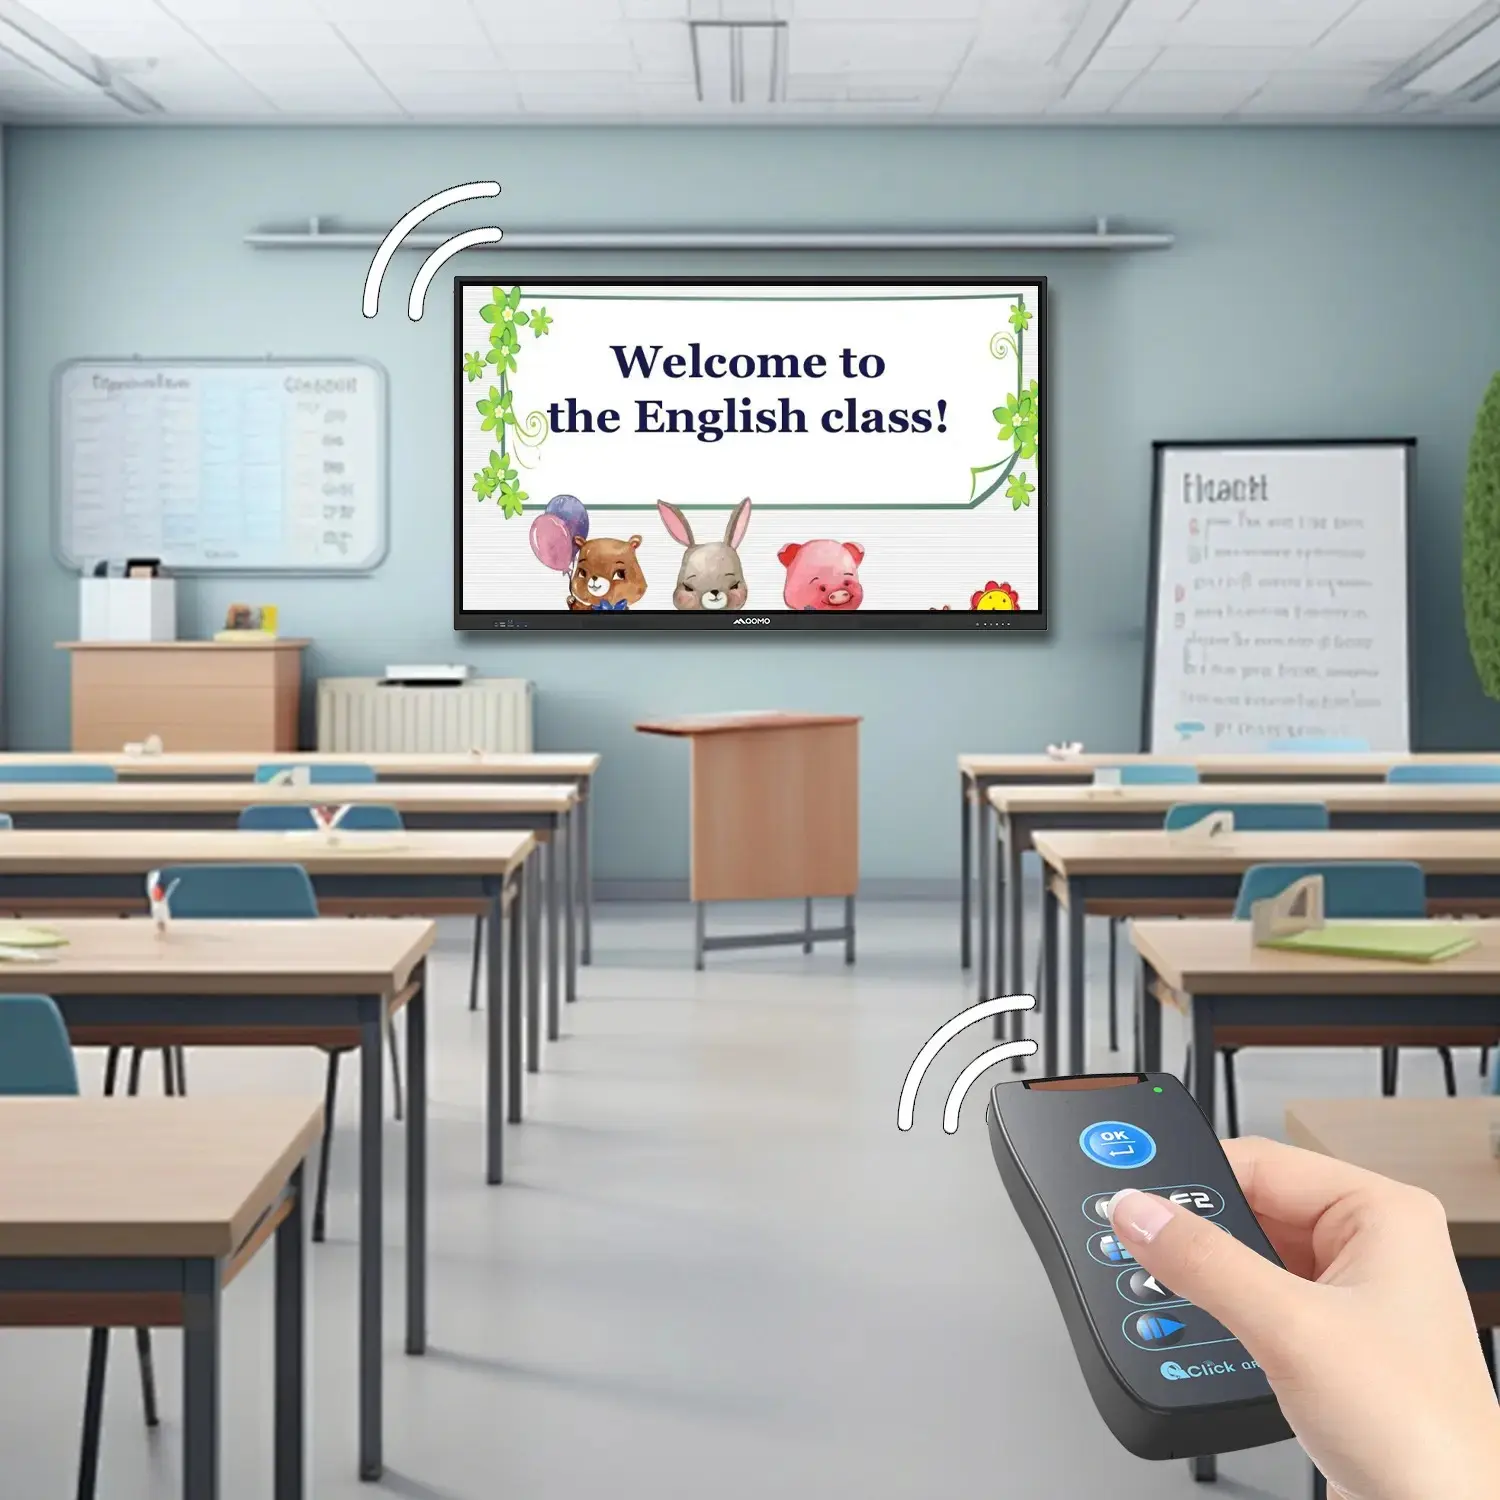 QRF Series, Transform Your Classroom!
-
 QOMO, Building Intelligent Classrooms
-
 QOMO QShare100 New Release
-
 Outstanding Office Equipment Recommendations
-
- Industry News
-
Company News
- Blog
- Contact Us
Leave Your Message
-
CONTACT NUMBER
-
 CONTACT NUMBER
 -
 CONTACT NUMBER
 -