+86 152 8002 3723
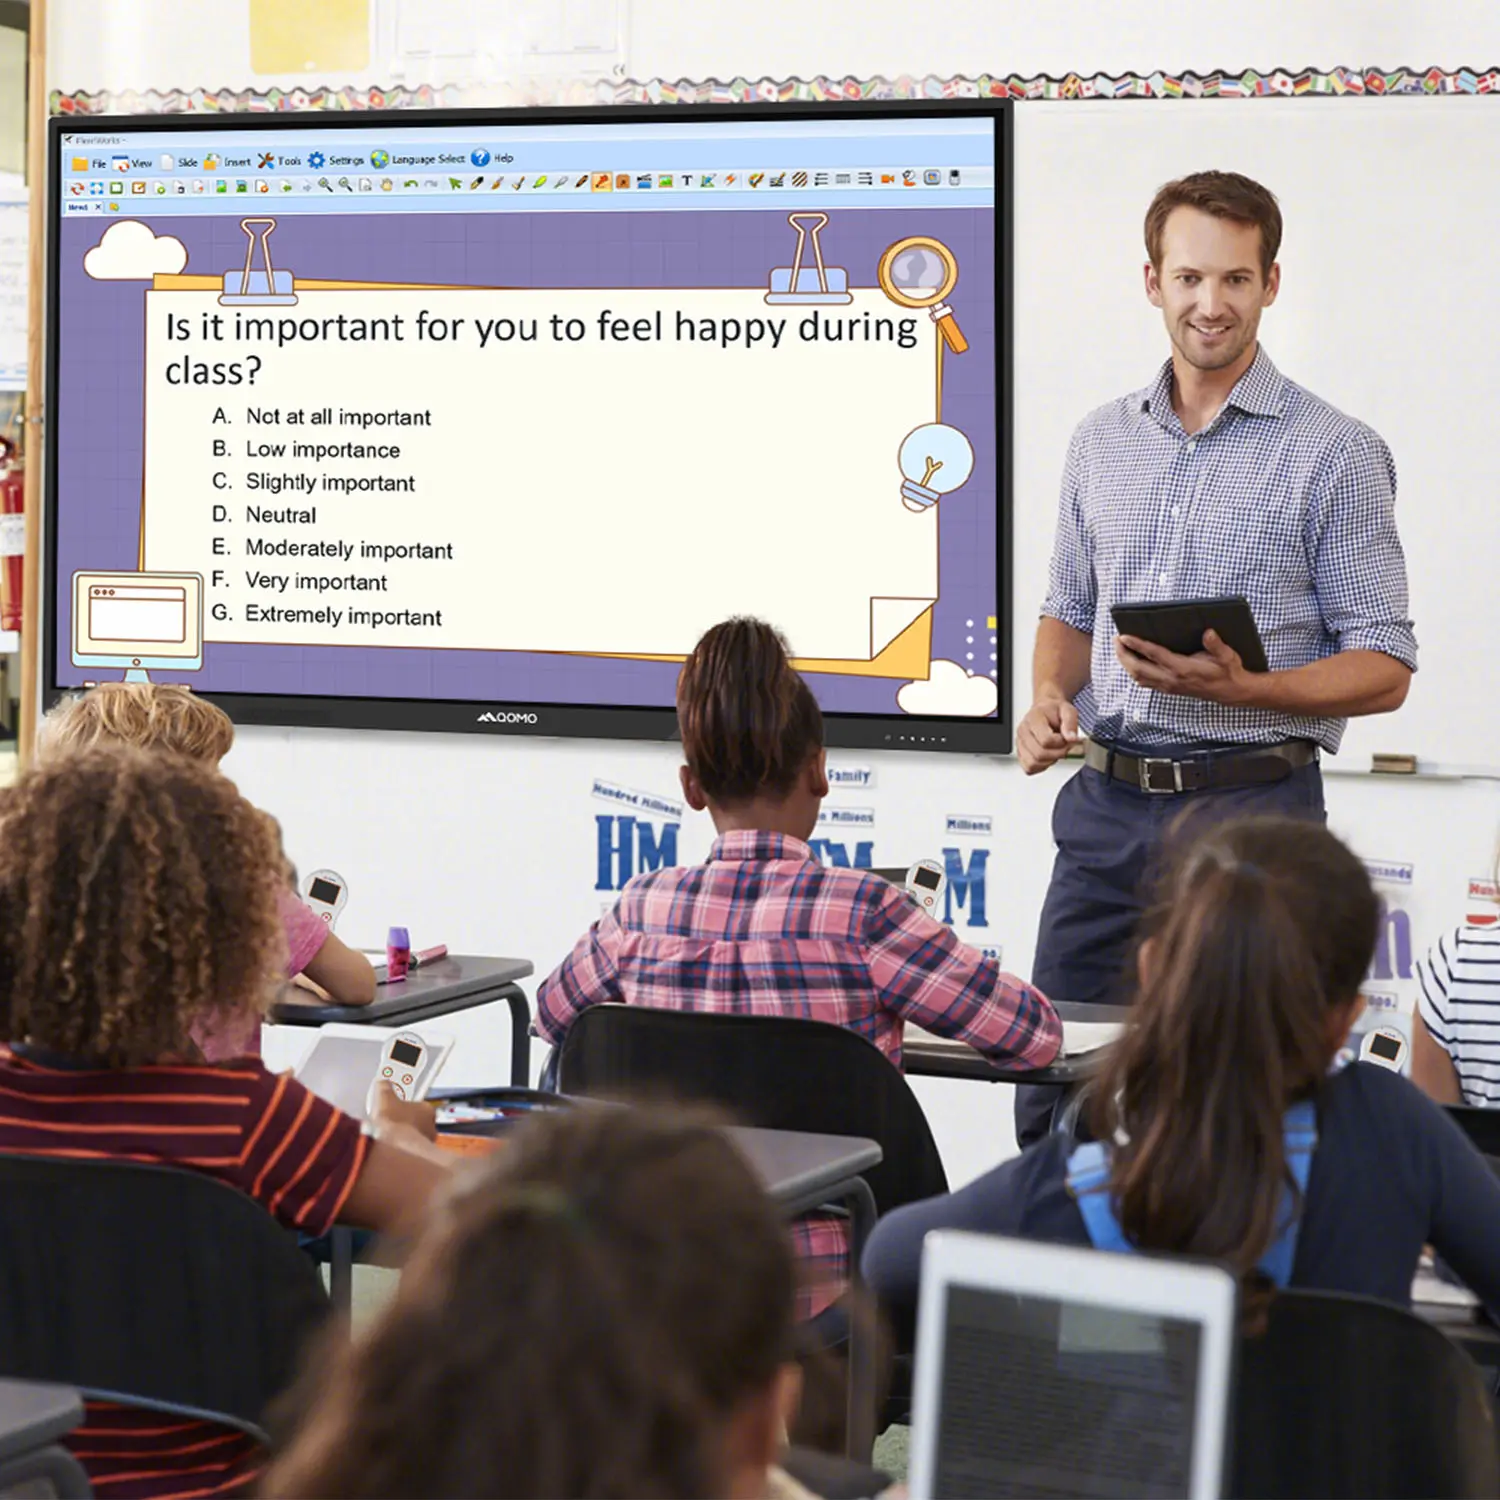
QVoteProfessional Audience Response System software offers the most convenient functions for your interactions.
QClickThe most convenient educational software for working with Microsoft PowerPoint to quickly set up various question types and generate intelligent feedback reports.
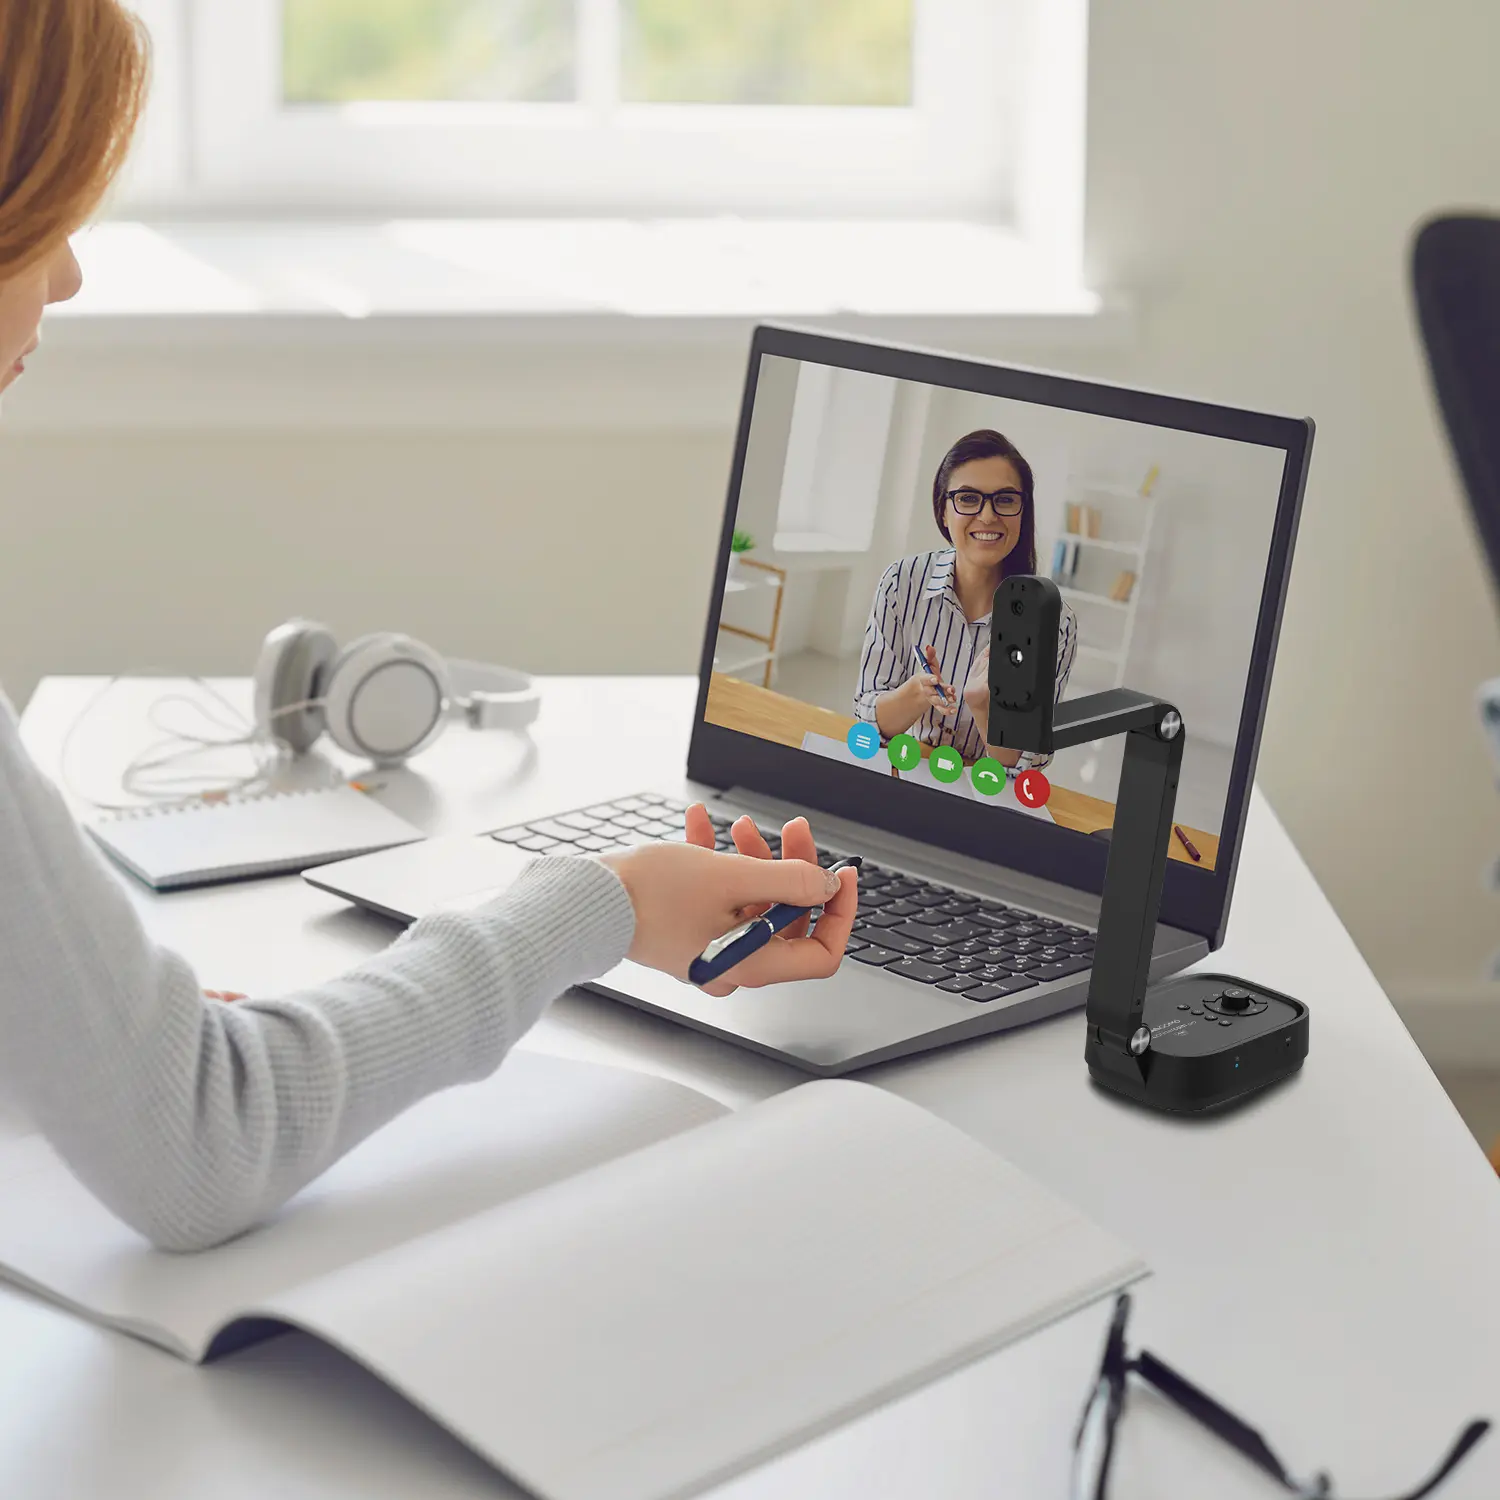
QCameraQCamera by QOMO allows for real-time streaming from cameras and document cameras. Annotate, save snapshots, record, and manipulate camera images instantly.
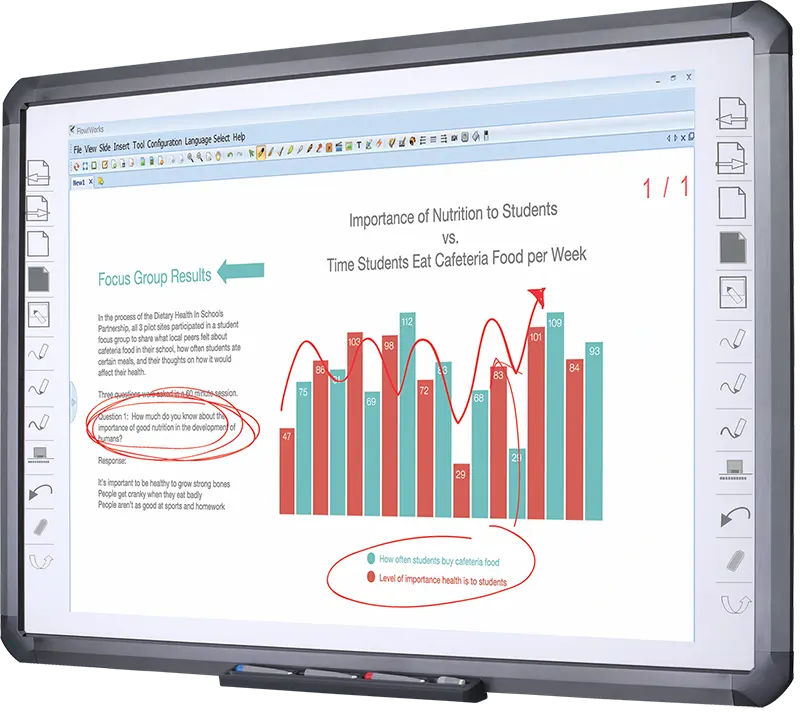
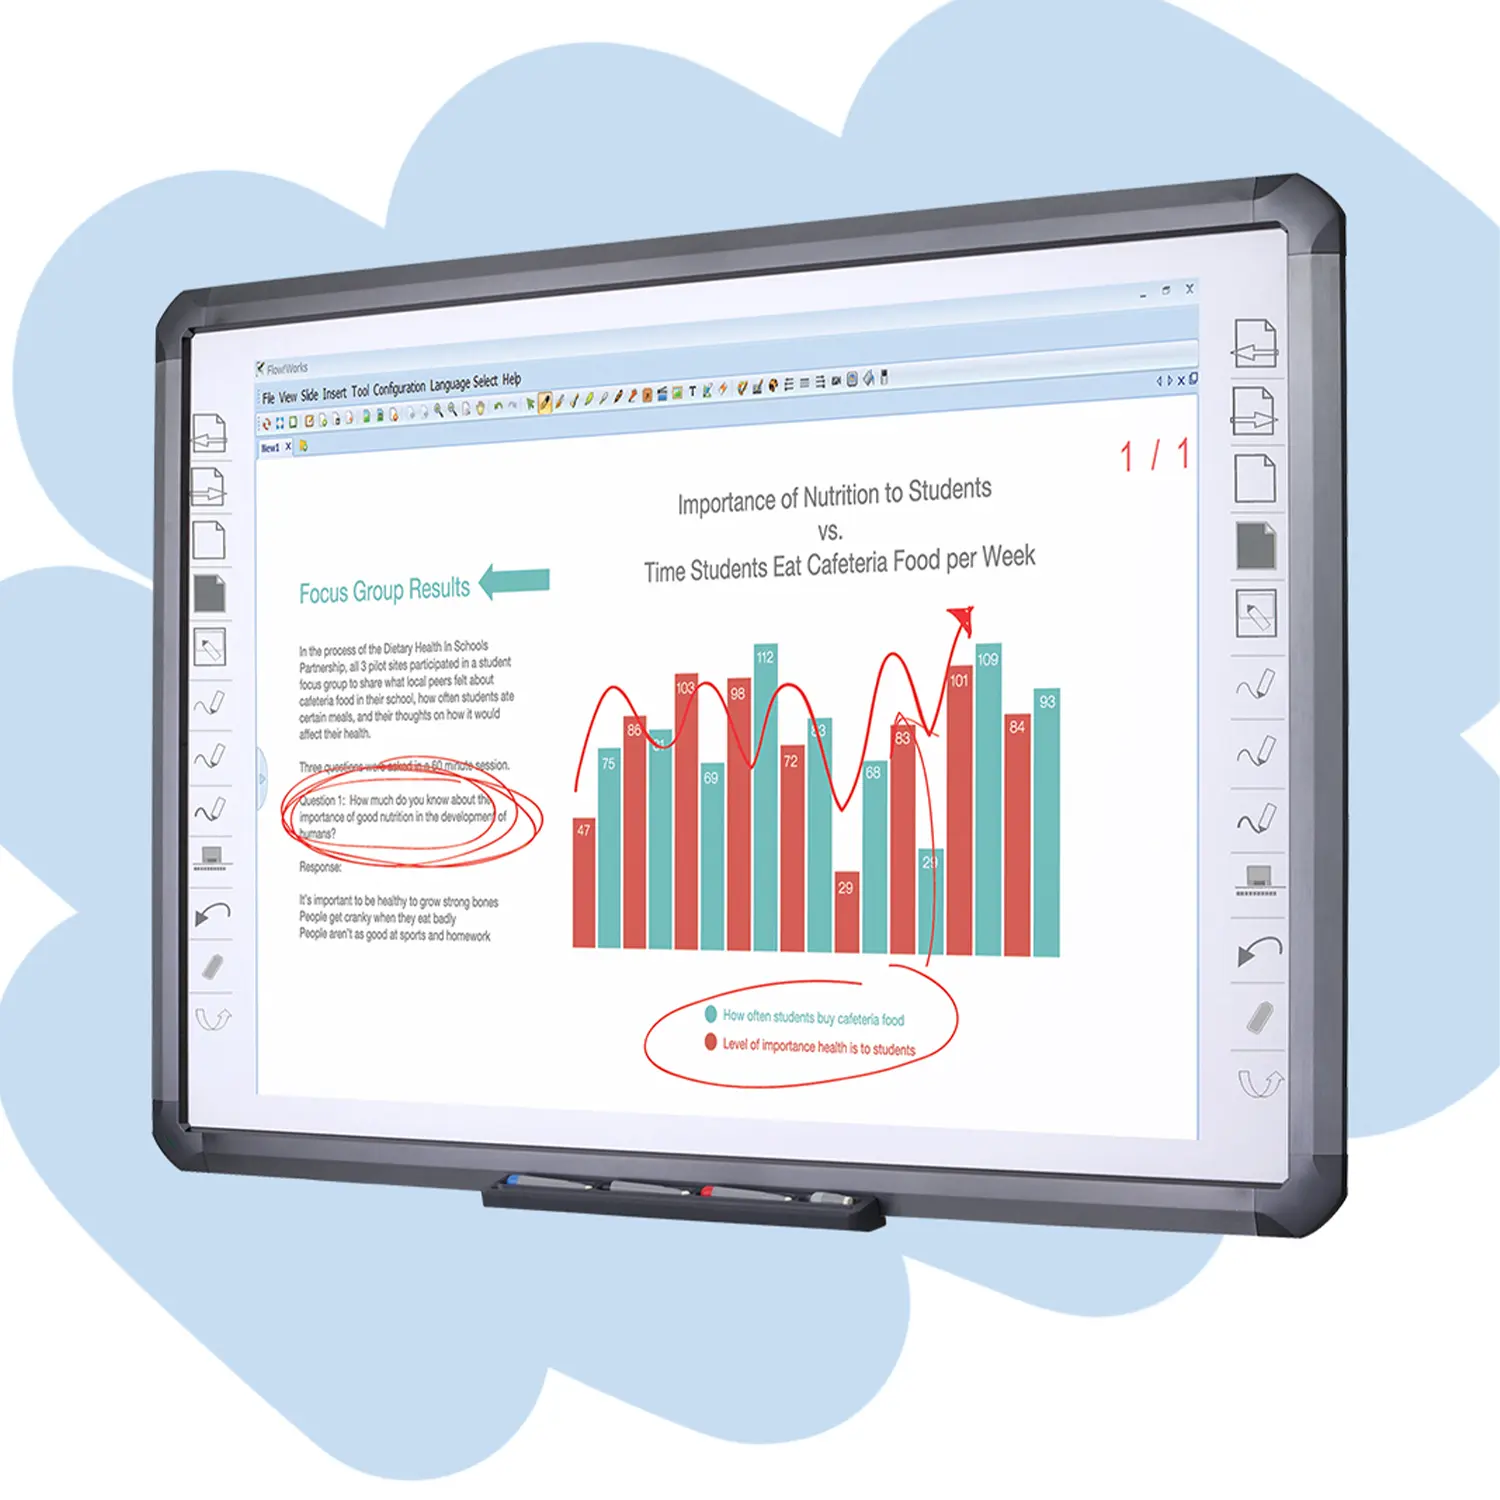
Flow!Works ProUser - friendly whiteboard software, it encompasses a wide range of presentation tools and powerful functions, delivering the most professional presentation experience to you.
Flow!WorksFlow!Works incorporates more educational tools, further enhancing the interactivity and fun - factor of your teaching.
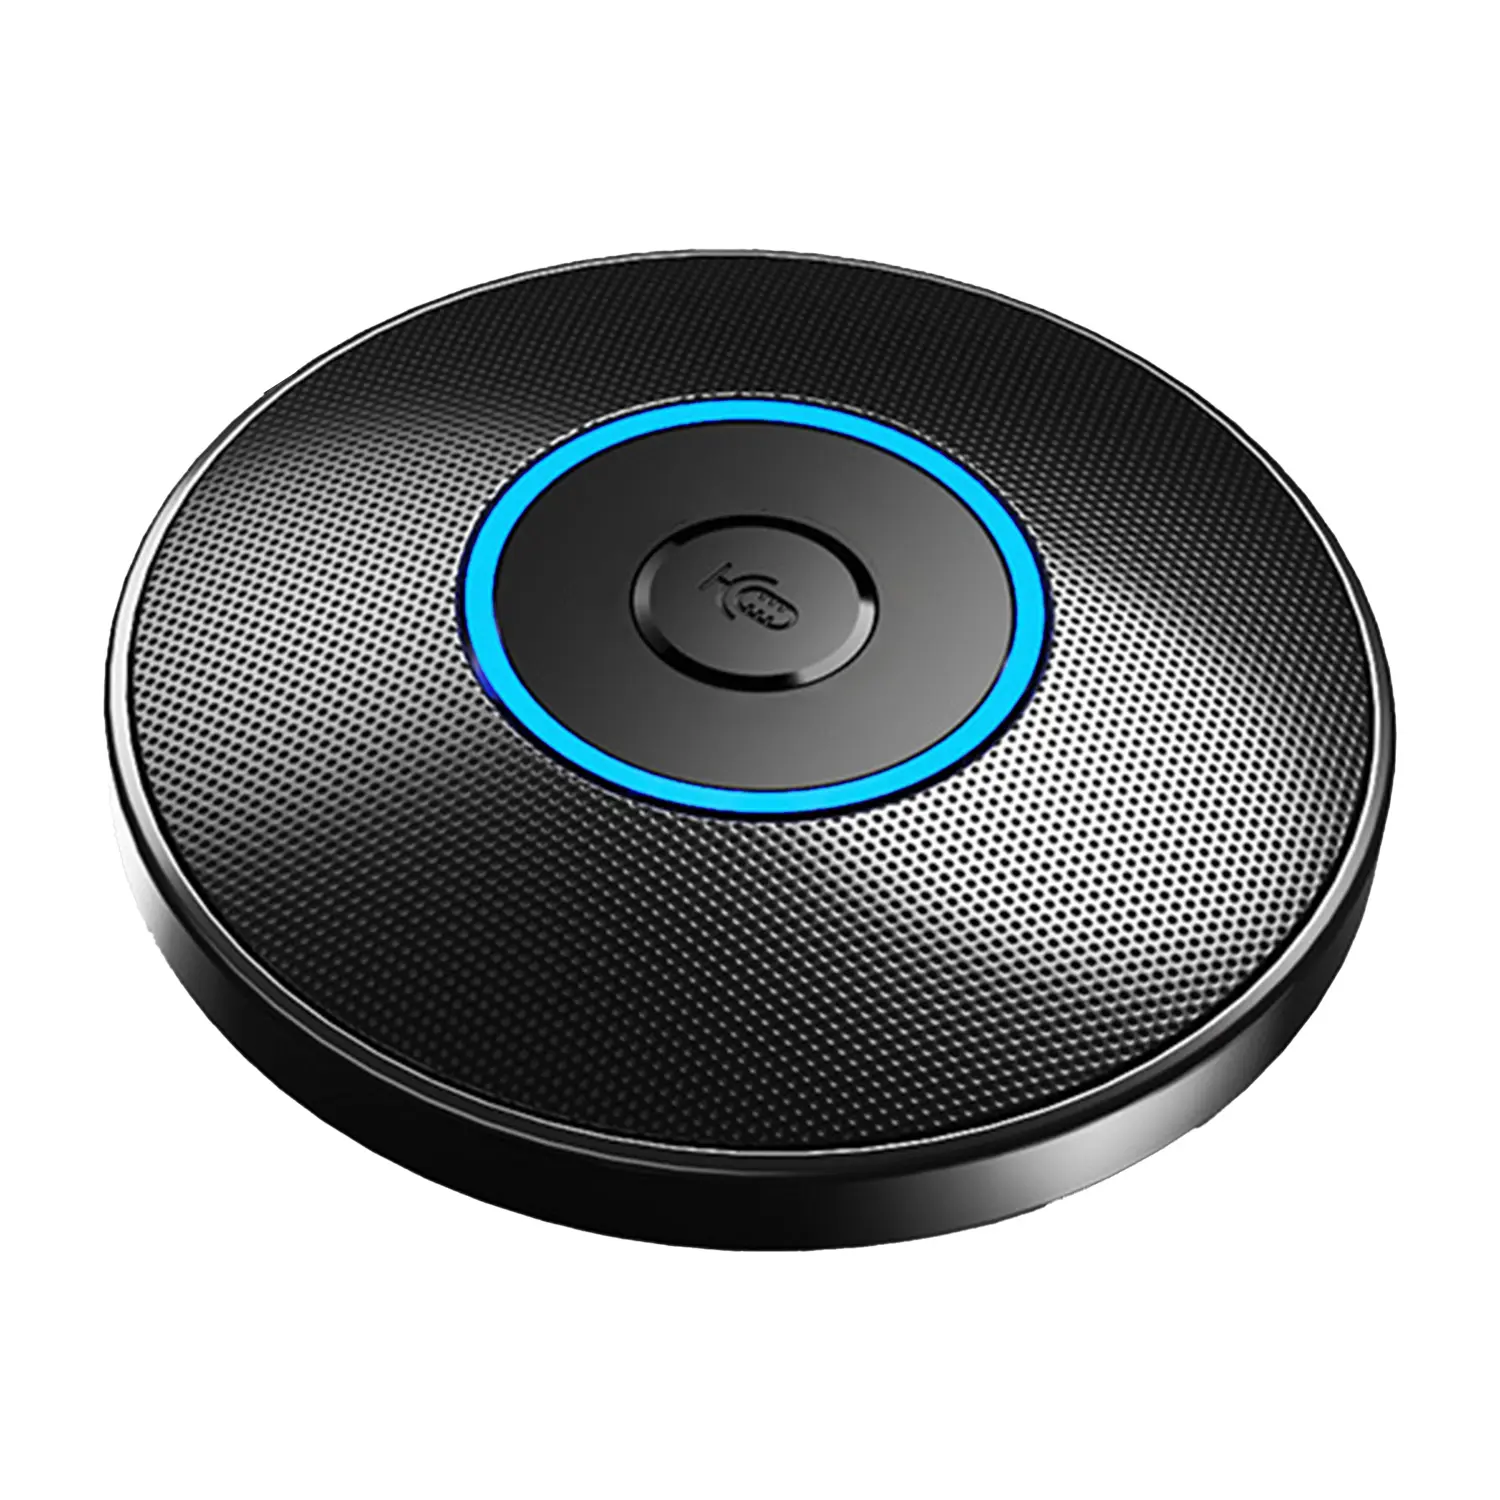
Conference Microphone● USB
● Plug and Play
● Intelligent Noise-Canceling
● 10ft/3m Extended Pickup Range
● 360° Omnidirectional Pickup
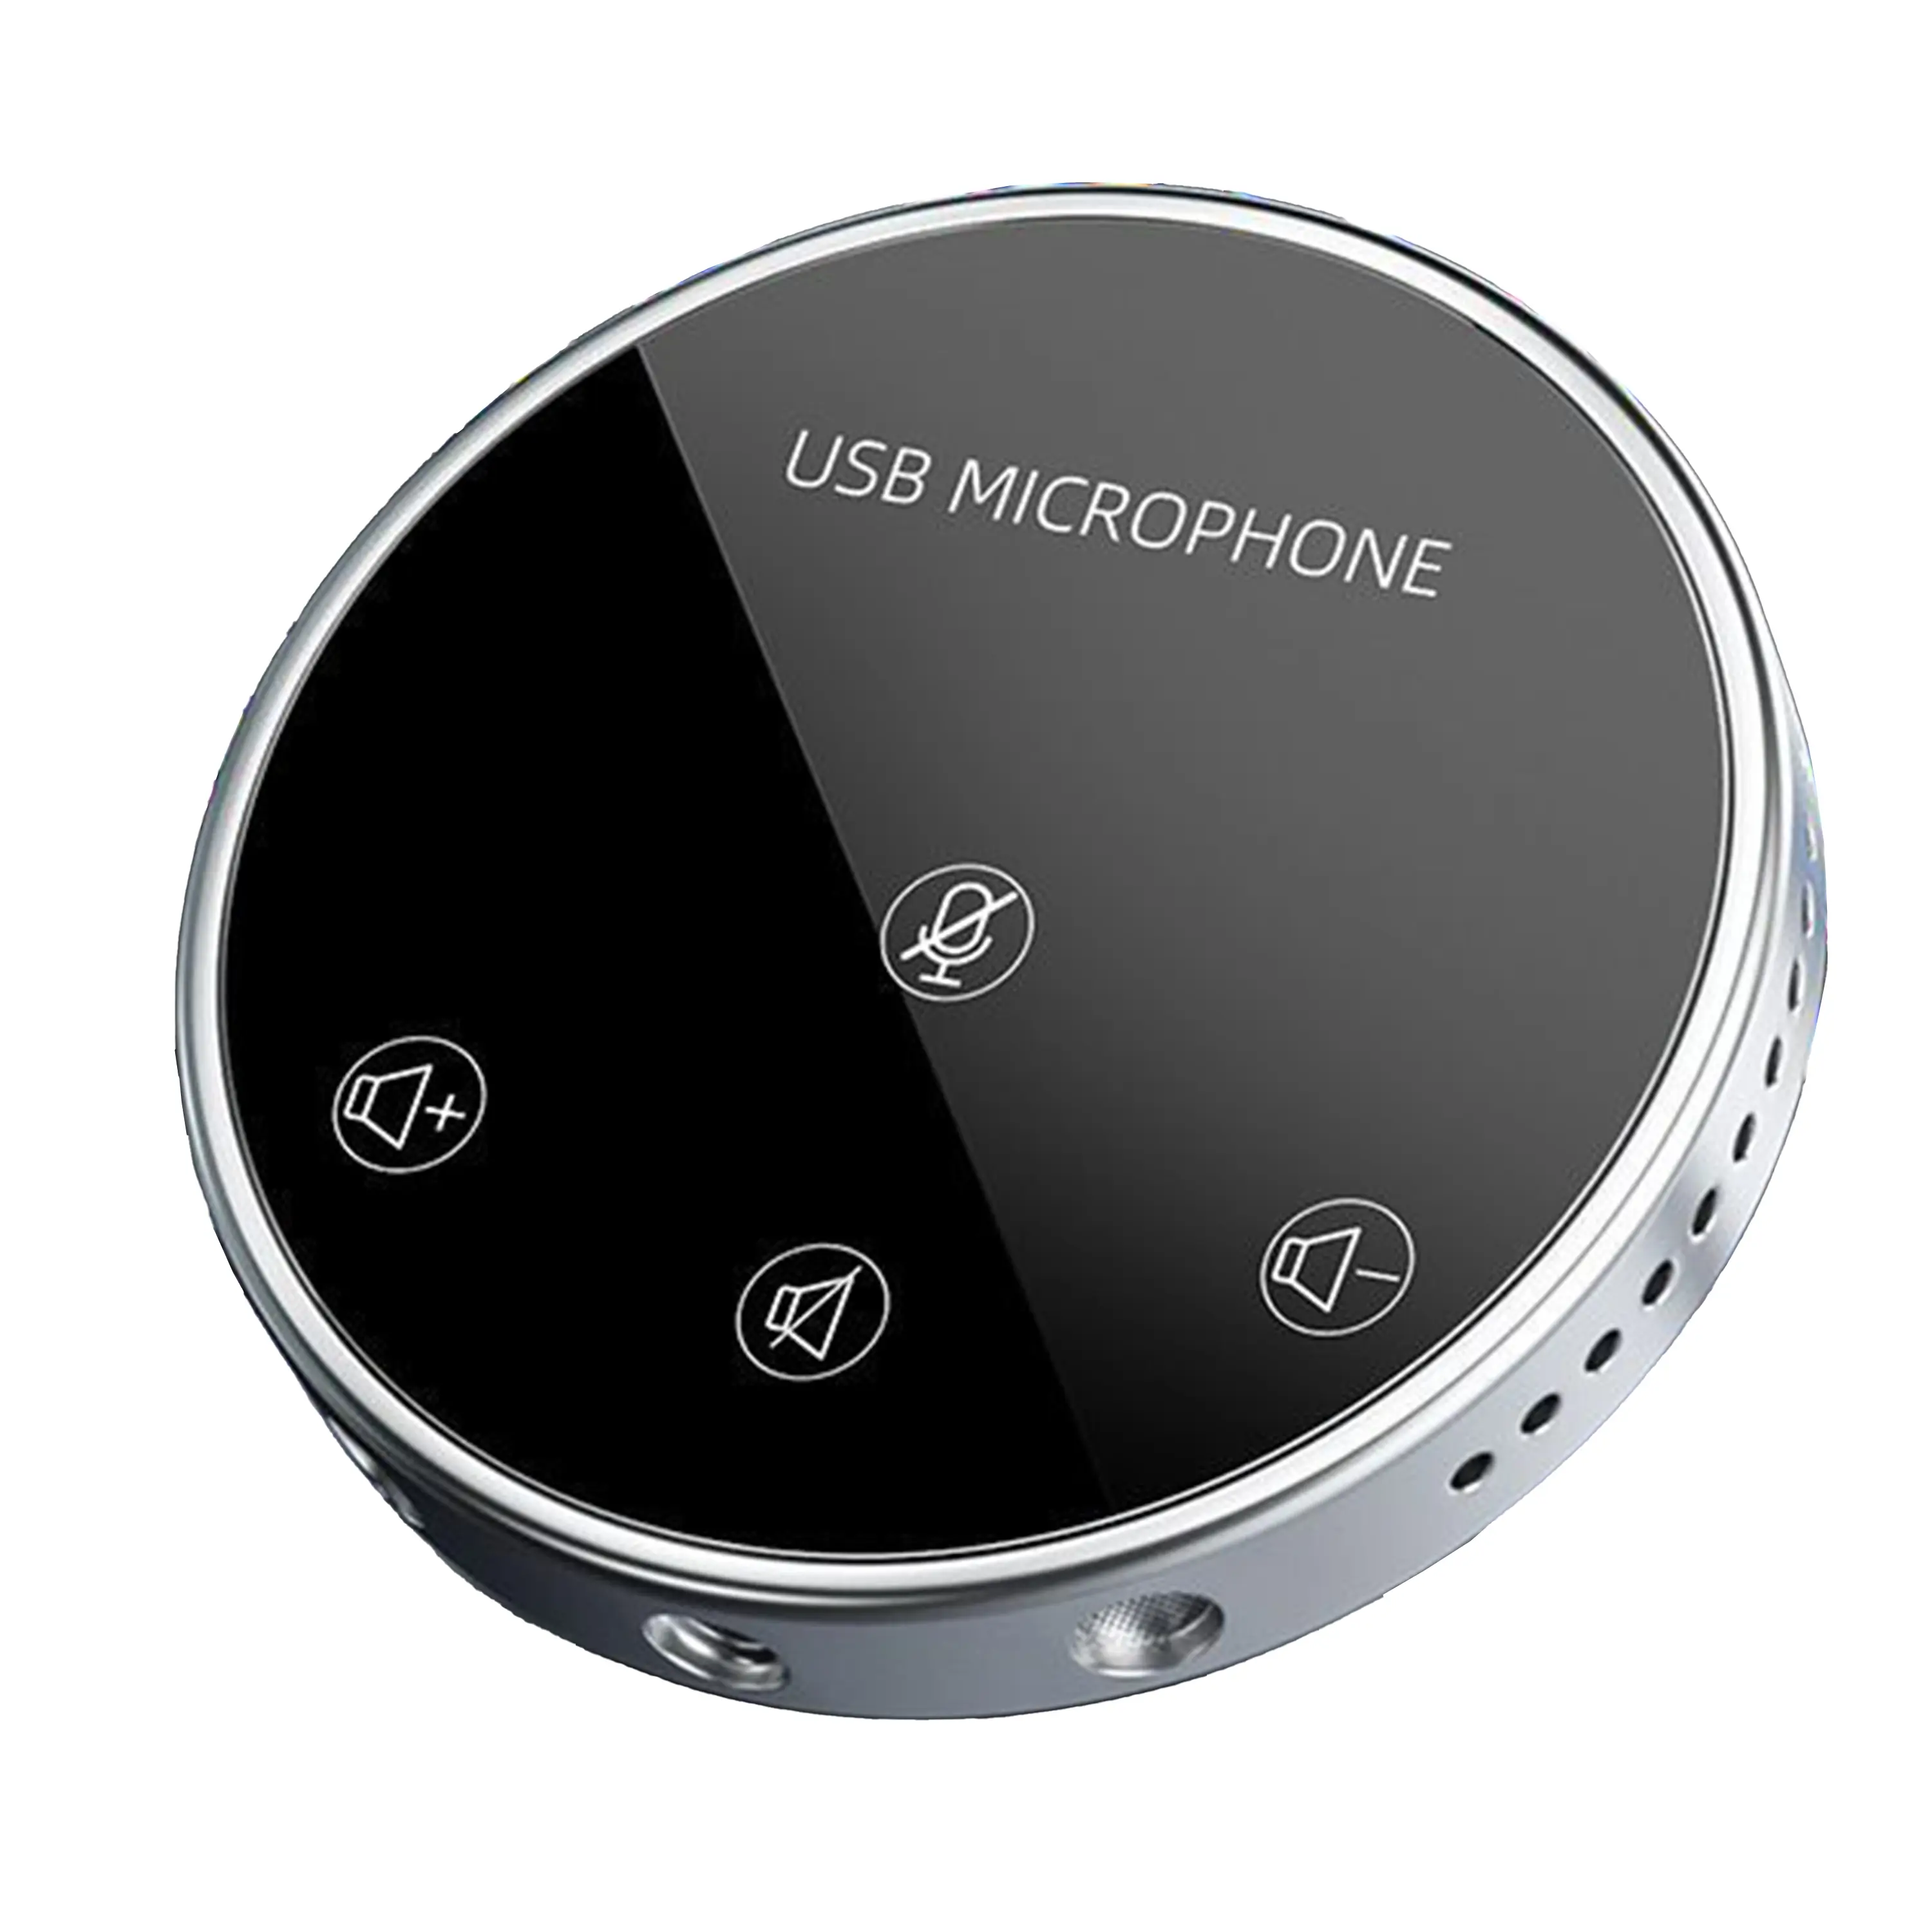
Conference Speakerphone● USB-C
● Plug and Play
● Intelligent Noise-Canceling
● 10ft/3m Extended Pickup Range
● 360° Omnidirectional Pickup
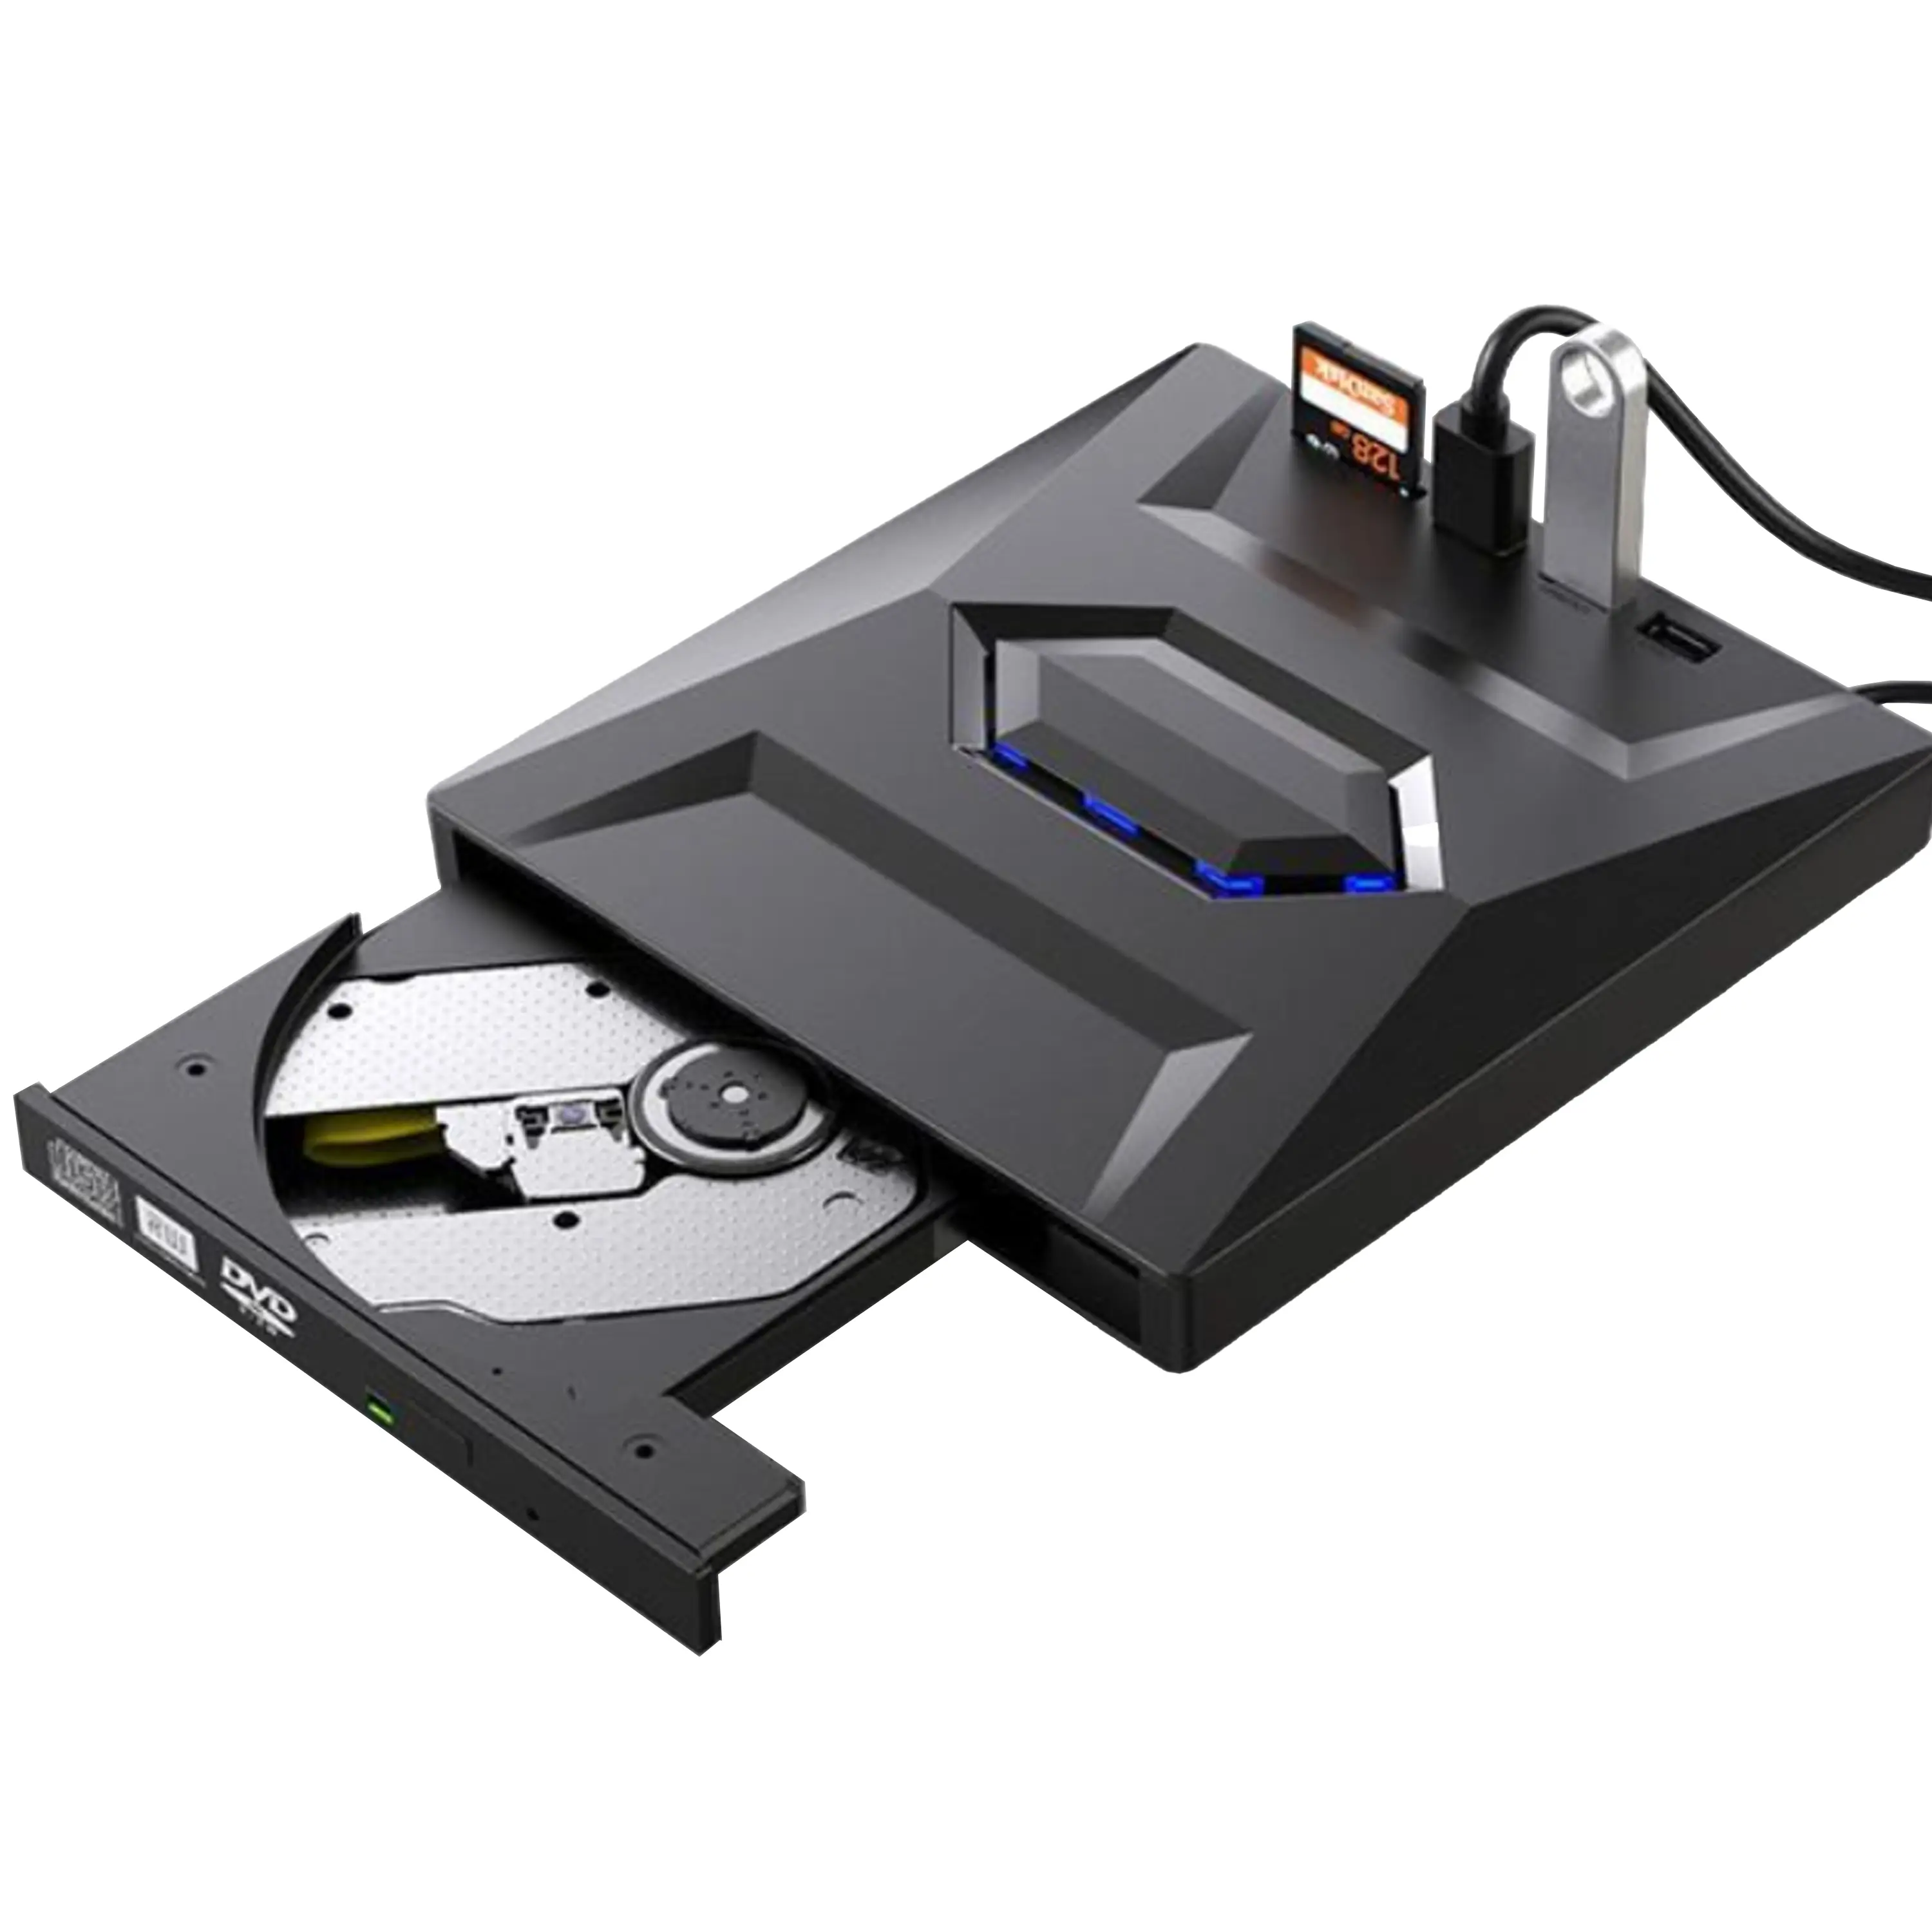
USB External CD/DVD Drive• USB and USB-C
• USB 3.0
• 8x DVD and 24x CD write/read speeds
• Portable
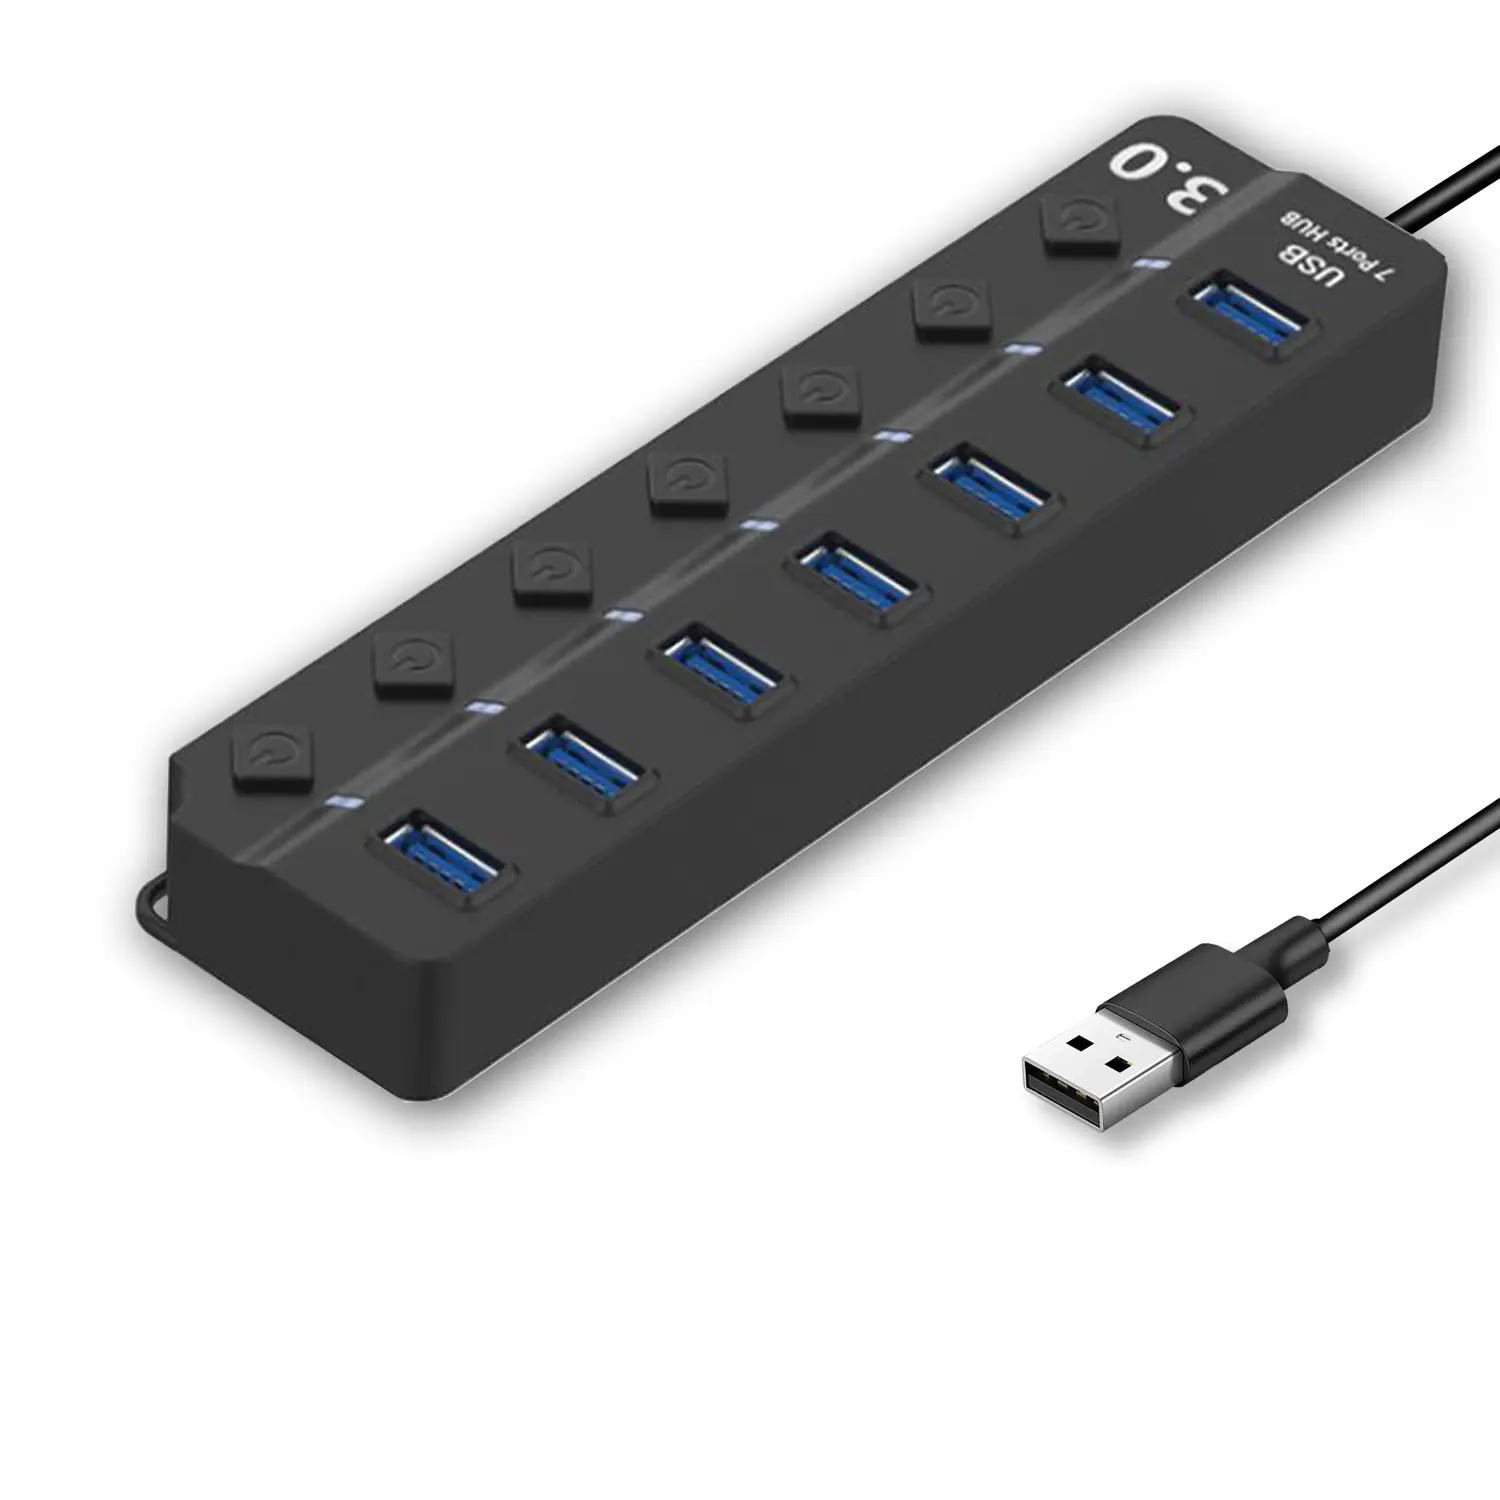
7-Port USB 3.0 Hub● USB 3.0
● Plug and Play
● 7-in-1 USB Hub
● Individual On/Off Switches
Revolutionize Your Presentations and Document Display with QWC 100S Document Camera
Enhance Call Experience: New Conference Microphone Now Available
AI-Powered Face-Tracking Webcam
Portable Document Camera Recommendations
Classic Design, Exceptional Functionality: QPC 22 Document Camera
Wireless Screen Mirroring Solution for All Devices
Latest Audience Response System: QRF 999
Introducing the QPC 80H3 Gooseneck Document Camera
Creating a Smart Integrated Classroom: What Do You Need?
Wireless Connectivity Upgraded: WiFi-Free Wireless Document Receiver
Flow!Works Pro: Interactive Whiteboard Software for Engaging Classrooms
How to Choose the Perfect Document Camera and Elevate Productivity
QWC 004 Conference Webcam: The Top Choice for Remote Education
QCamera: Dedicated Software for Document Cameras to Elevate Your Presentations
QRF999 Voice Response System: Enhancing Teacher-Student Interaction
Work From Home? Maybe You Should Try This Document Camera
The Ultimate Educational Tool: Gooseneck Document Camera
60GHz Millimeter-Wave Wireless Screen Sharing: QShare 100
What Does a Modern Conference Room Need?
QD5000 Document Camera: Unimaginable Versatility!
QWC 004: The Most Cost-Effective Webcam
QVote Interactive Classroom Response System Software
Functionality, Aesthetics, Portability! Meet the QWC 100S Document Camera!
Why Choose the BundleBoard H/H2 Interactive Flat Panel?
Save Your Budget—Introducing the All-New QPC 70 Document Camera!
QIT 600F3: Revolutionize Your Presentations
QCamera: Professional Document Camera Software
QPC 5: The Ultimate 4K Portable Document Camera
Elevate Your Meetings in Seconds: QWC 006 Webcam
Meet QOMO at ISE 2025
Wireless Document Camera Solution, Revolutionizing Wireless Technology
QRF Series, Transform Your Classroom!
QOMO, Building Intelligent Classrooms
QOMO QShare100 New Release
Outstanding Office Equipment Recommendations
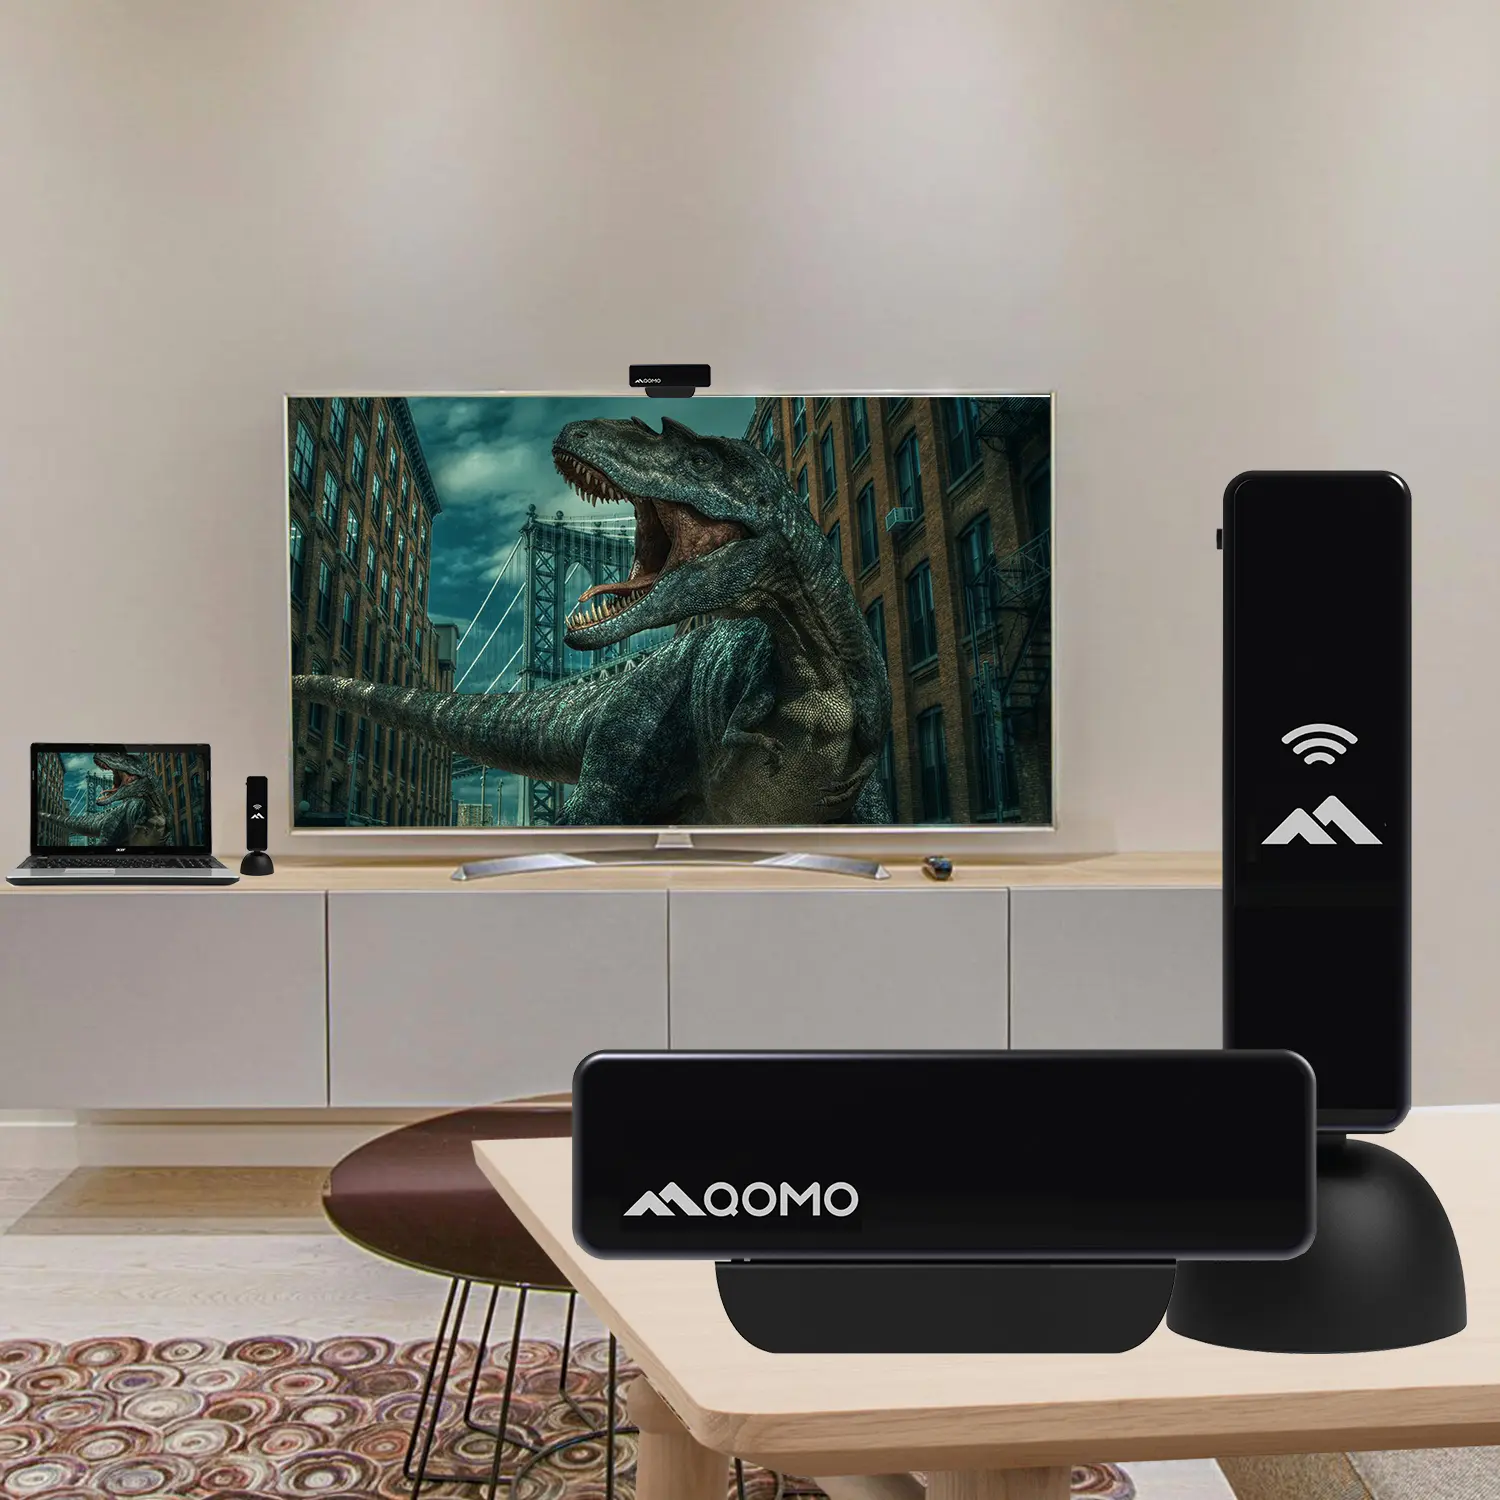
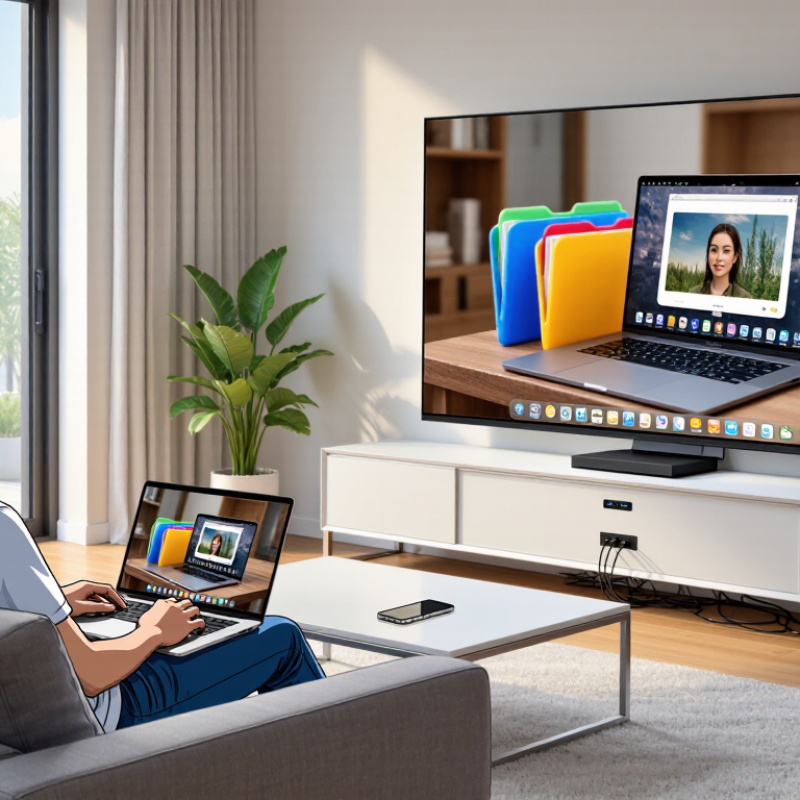
Watching a computer screen on a television can make a small display more useful, whether you are sharing family photos, following a presentation, or viewing a lesson from your desk. Computer Screen Mirroring sends the image—and often the sound—from your computer to a larger screen, making details easier to see. Some TVs support wireless features such as AirPlay or Miracast, while others work best with an HDMI cable and the correct TV input. Check both device manuals for compatible options; menus and feature names vary by model and operating system. Start with the basics. Make sure both devices are awake, select the matching HDMI input, or connect them to the same Wi-Fi network when your chosen wireless method requires it. Distance and network congestion can affect wireless performance.
This guide explains how to choose a connection method, find screen-sharing controls on common computers, and adjust picture or audio settings when needed. You will also learn what to check if the TV does not appear, the image lags, or sound stays on the computer. A cable is often predictable, but it can limit where you sit. Wireless mirroring feels tidy, though it may be less consistent. There is no universal setup. Matching brand names do not guarantee compatibility, and it is easy to overlook a simple input setting while searching through menus. Before sharing, close private windows and notifications that may appear on the TV. Expect a little trial and error. The steps ahead focus on practical checks, not promises that every device works the same way.
Screen mirroring sends a live copy of a computer’s display to a television. The computer captures each frame, compresses it, and transmits it through a cable or a wireless connection. The television or a connected receiver then decodes the signal and shows the image. Audio may travel along with it, depending on the connection and settings.
It is not quite the same as sending a video to play independently. With mirroring, menus, cursor movement, and open windows appear on the TV as they change on the computer. Small delay matters. Even a brief lag can make dragging a window feel less direct, though it rarely affects slides or a photo gallery. Wireless performance depends on distance, obstacles, network traffic, and the devices’ supported formats. A router in another room may cause stutter; a cable can provide a steadier picture.
Before sharing, check which display mode is active and whether the TV is set to the correct input. Duplicating the screen shows the same image on both displays; extending it gives the TV a separate workspace. That distinction is easy to miss. Close private windows and silence notifications, since they may appear on the larger screen. Resolution can also change how text looks, so inspect a small line of writing before settling in.
Before you try to mirror a screen, check what both devices can actually do. Look in the TV’s settings for a screen-mirroring or wireless-display option; names and supported standards vary. On the computer, confirm that its operating system offers a compatible wireless-display feature. If not, inspect available video ports and choose a suitable cable or adapter. Also check the TV’s supported resolution; an older display may not show a newer computer’s full output clearly.
For wireless mirroring, both devices usually need to share the same local Wi-Fi network. Guest networks, VPN settings, or router isolation can prevent discovery, even when internet access works. Move the computer closer to the router and TV, then retry after restarting the devices. A stable signal matters more than peak speed for a presentation, but video can still stutter on busy networks. Check audio output too; picture may appear while sound stays on the computer. I still overlook this sometimes.
Tips: Test with a short video before a meeting. Disable sensitive notifications, confirm audio, and keep a cable nearby. Compatibility pages can be unclear, so verify by testing your exact setup.
| Compatibility Check | What to Verify | Compatible When | If It Is Not Compatible |
|---|---|---|---|
| TV video input | Check whether the TV has an available HDMI input or supports a wireless display method that your computer can use. | The TV can receive a video signal through a matching wired input or a supported wireless receiver. | Use a compatible external receiver connected to the TV, or choose a wired connection supported by both devices. |
| Computer video output | Check the computer’s available video outputs, such as HDMI, USB-C with video output, or a supported wireless display feature. | The computer can send video using an output that matches the TV or an appropriate adapter. | Use an adapter only if the computer’s port supports video output. A USB-C connector alone does not guarantee video capability. |
| Cable and adapter | For a wired setup, confirm that the cable and any adapters support the resolution and refresh rate you want. | The cable path connects the computer’s video output to the TV’s input and supports the selected display mode. | Try a different compatible cable or adapter, and check that the TV is set to the correct input. |
| Wireless display support | Check that both the computer’s operating system and the TV or receiver support the same wireless display standard. | Both devices support a shared method for screen mirroring, and wireless display is enabled where required. | Update device software where possible, or use a compatible wireless receiver or wired connection. |
| Wi-Fi Direct connection | Some wireless display methods create a direct connection between devices rather than sending video through the home router. | The computer and TV or receiver support the same direct wireless display method and are within reliable range. | Check wireless display settings and keep the devices closer together. A shared router network may not be required for this type of connection. |
| Network-based casting | Other casting methods use the local network. Check that the computer and TV or receiver can reach each other on that network. | Both devices are connected to the same local network, and the network allows device-to-device communication. | Check guest-network isolation, router settings, and firewall rules. Guest networks may prevent devices from discovering one another. |
| Resolution and display mode | Compare the computer’s output resolution and refresh rate with the modes supported by the TV and connection. | The selected display mode is supported by the computer, connection, and TV. | Select a lower supported resolution or refresh rate in the computer’s display settings. |
| Audio output | Check whether audio is sent over the chosen HDMI or wireless connection and which playback device the computer has selected. | The TV or receiver appears as an available audio output, or audio is routed through another intended playback device. | Open the computer’s sound settings and select the TV or receiver when available; also check the TV’s volume and mute settings. |
| Power and sleep settings | Check that the computer, TV, and any receiver remain awake during setup and use. | Devices are powered on, and sleep settings do not interrupt the connection. | Wake the devices and temporarily adjust sleep settings while testing the connection. |
To mirror your computer screen to a TV wirelessly, check that both devices support screen sharing and are connected to the same Wi-Fi network. Open your computer’s display or connection settings, choose the wireless display option, then select the TV from the available devices. The names of these settings vary, so look for terms such as “cast,” “wireless display,” or “screen mirroring.” Keep the devices reasonably close to the router during setup.
Once connected, choose whether to mirror your screen or extend the desktop. Mirroring shows the same image on both screens, which works well for photos, slides, or a video viewed from the couch. Extending gives you a separate workspace on the TV. Expect a delay. It can make fast-paced games or precise cursor work feel sluggish. If the picture stutters, pause large downloads and move the computer closer to the router.
A wireless connection is convenient, but it is not always dependable. A crowded network, thick walls, or an older TV can interrupt playback. That matters. For clearer text, adjust the computer’s resolution to a setting the TV supports, then increase text size if needed. Before sharing, close private windows and notifications; they may appear on the larger screen. If connection menus are confusing, consult the device manuals, since available features differ across models.
Compare common display resolutions by their total pixel count. Higher resolutions require more data to transmit, so wireless performance also depends on your network and receiving device.
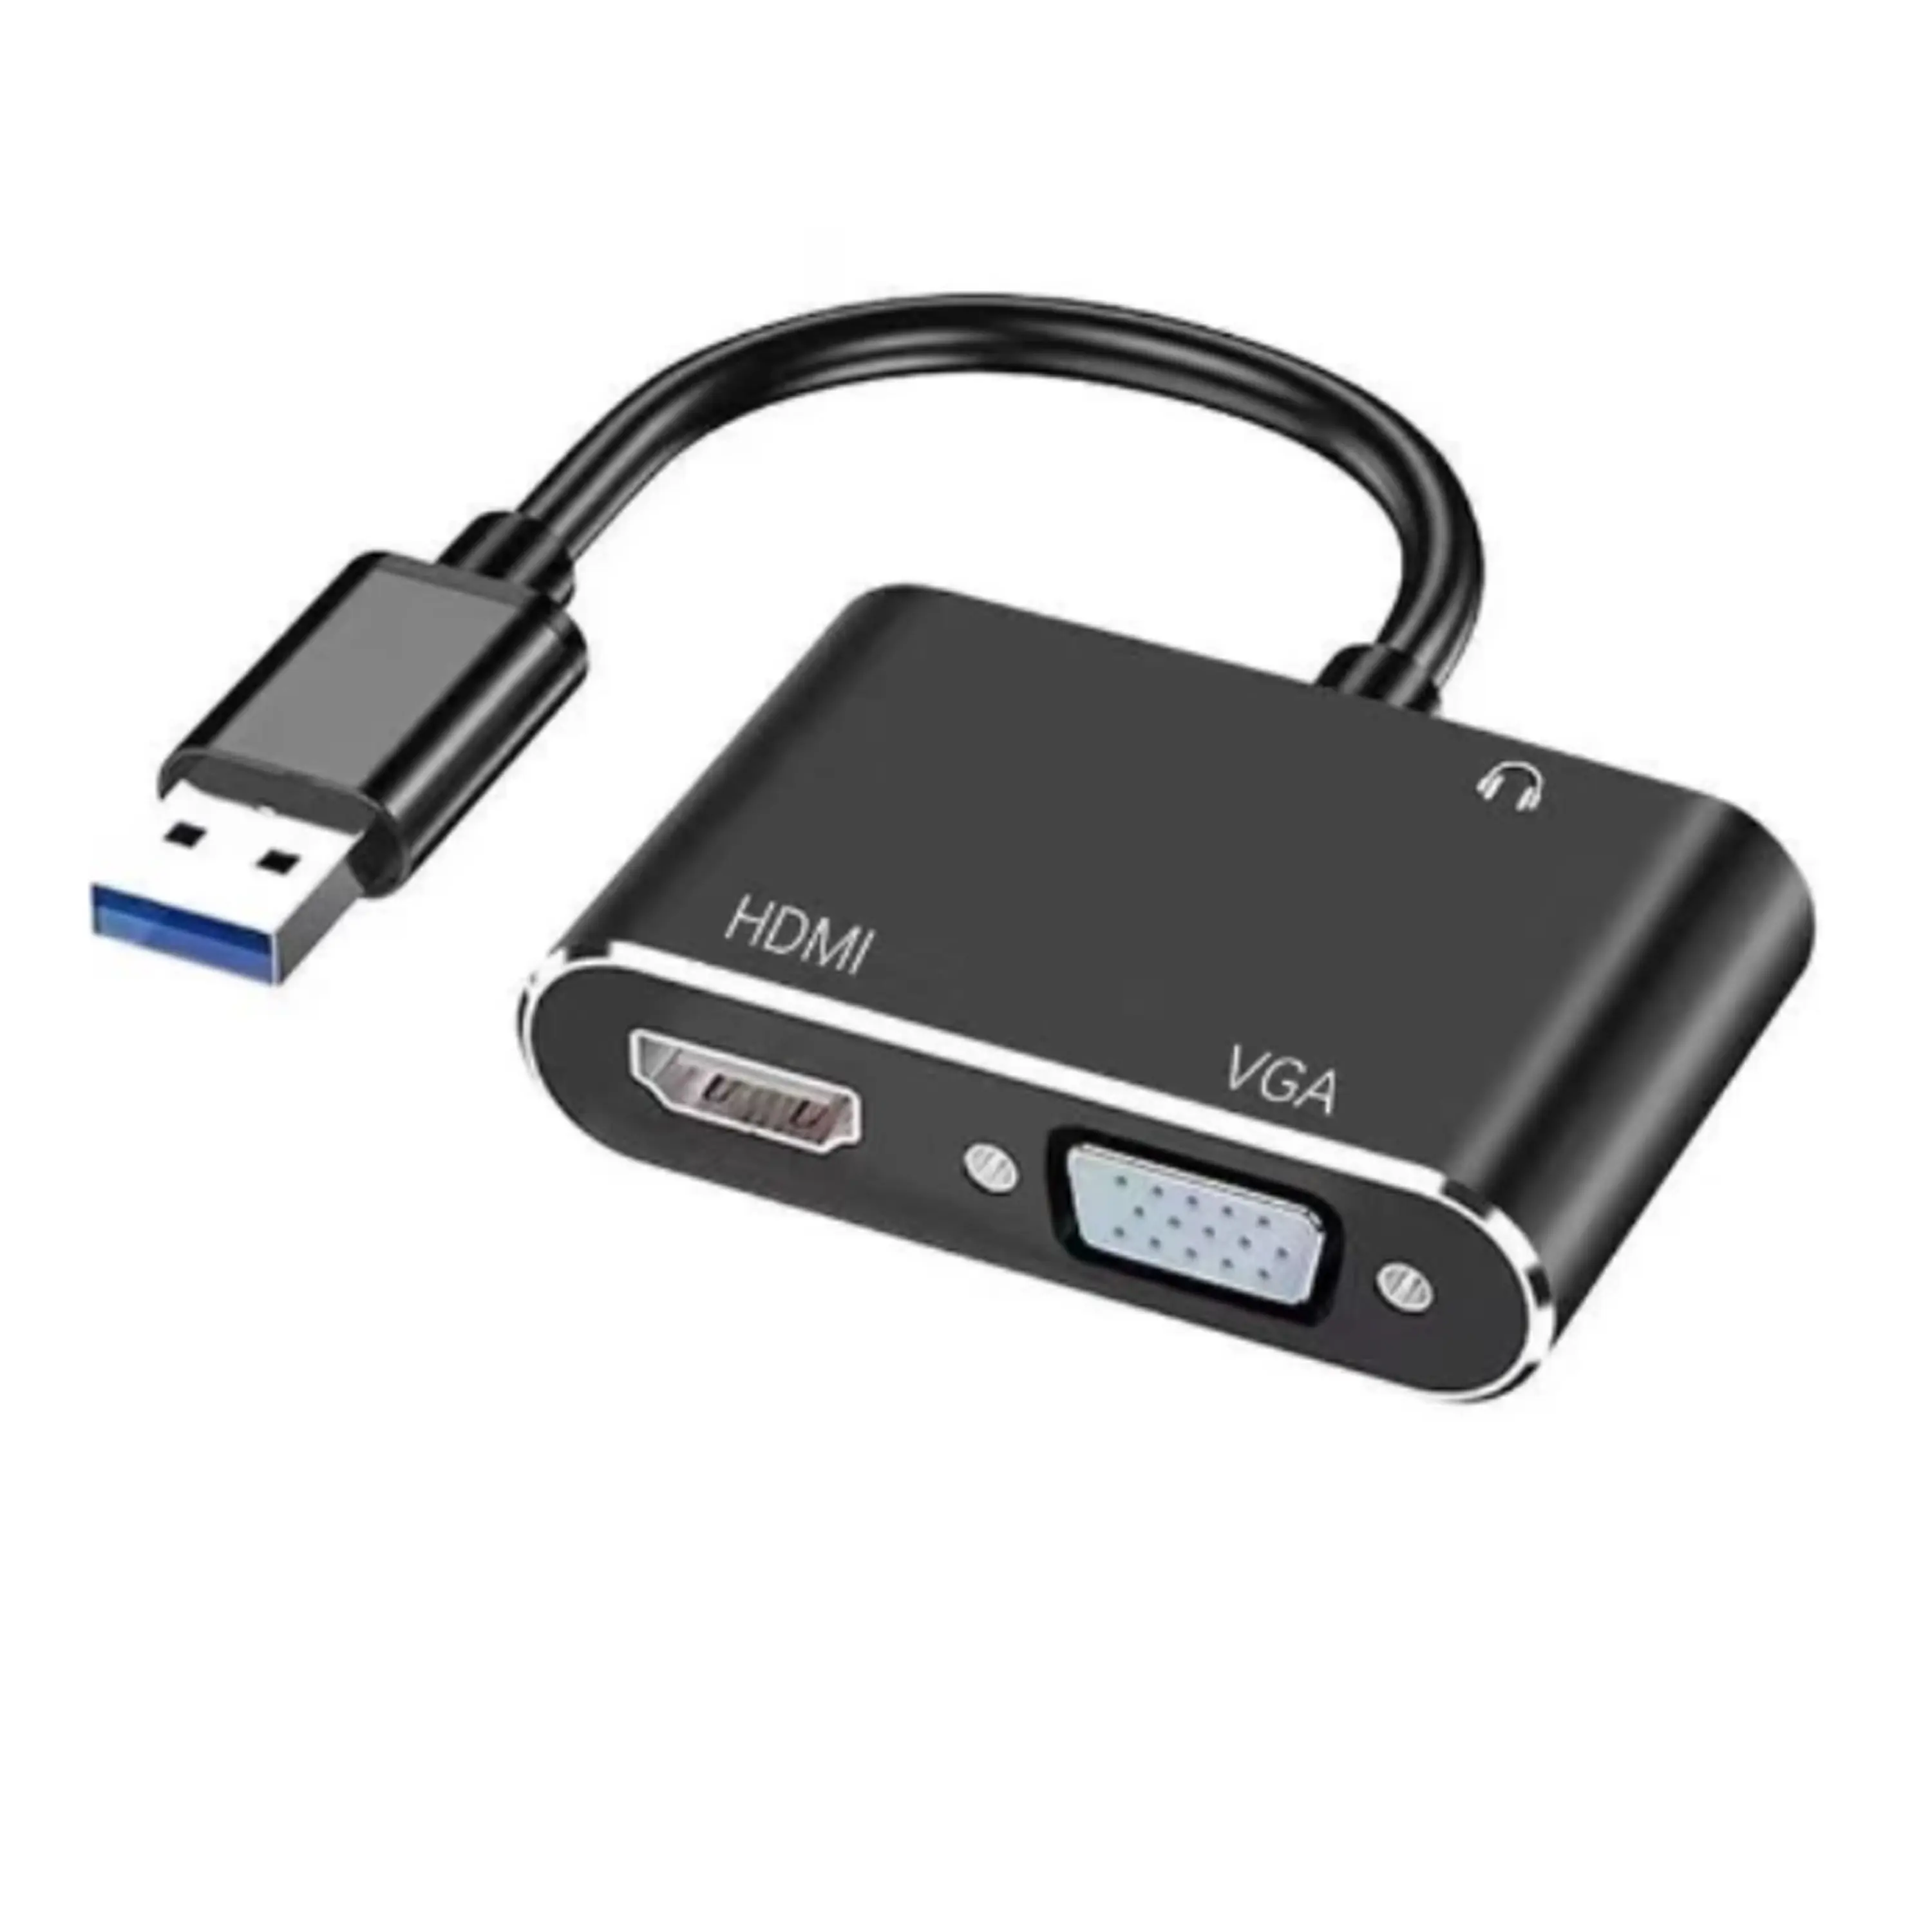
A cable connection can mirror a computer screen with little delay and no wireless setup. Check the computer’s video output and the TV’s available inputs before choosing a cable. Many televisions accept HDMI, while some computers need a compatible video adapter. Not every USB-C port sends video, so check the computer’s specifications. Connect the cable, select the matching TV input, then open the computer’s display settings and choose a mirrored or duplicate display. The picture may take a few seconds to appear.
If the TV shows a blank screen, check that the cable is firmly seated at both ends. Confirm the selected input, then try a supported resolution in the display settings. Menus can look different across operating systems, and a setting that works on one screen may look cramped on another. For sound, select the TV as the audio output device if audio remains on the computer. A loose connection can cause brief flickers; replacing the cable is not always the first fix.
Tips: Keep the cable long enough to avoid pulling on the ports, but not stretched across a walkway. Lower the screen resolution if text looks fuzzy. Small adjustments often help. Recheck the setup after reconnecting; it may not retain your preferred display mode.
When mirroring a computer screen, check display settings before changing cables or restarting devices. Select the duplicate or mirror option, then choose a resolution supported by both screens. A setting that is too high can leave the TV blank or crop the edges. Try a common resolution listed for the TV, and adjust scaling if menus or subtitles look oversized. That small mismatch matters.
If the image flickers or feels sluggish, check the refresh rate and connection type. A wired connection is often steadier for video, while wireless mirroring can be affected by distance and crowded networks. Keep the computer near the router, and close unnecessary video or download activity. Check that the TV is set to the correct input, too. Easy to miss.
For connection problems, reseat both ends of the cable and try another compatible port. With wireless connections, disconnect and pair the devices again; a brief restart can clear a stuck session. Update the computer’s display software through its operating system settings, and avoid changing several options at once. Change one setting, test the picture, then continue. I still find that last step easy to rush, especially when the screen is already half working. Recheck the resolution after reconnecting, since some computers quietly revert to their previous display arrangement.